If you like this Rast Hack, I’d really appreciate your vote here! 😉

I am sooooo excited to share my latest attempt to be a DIY diva.
(Ha! I have no idea where I came up with that, but we’ll go with it…)
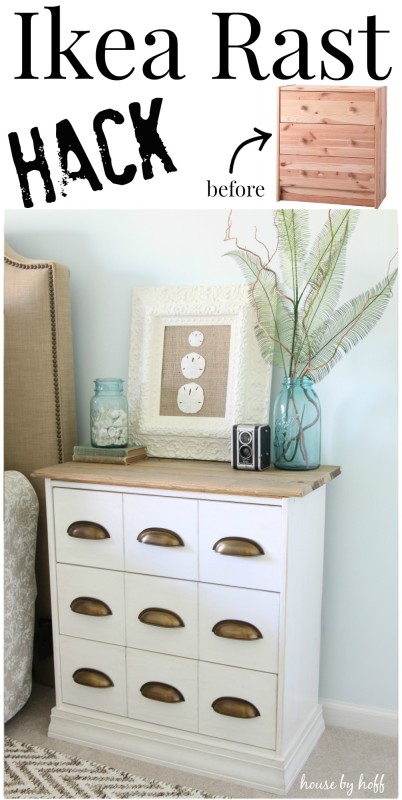
As is true with any diva, I required a team of assistants (my dad and Mr. Hoff) to help me accomplish the task. You see, the Ikea Rast dresser has been made-over time and time again in “blogland”, but it was the first time I’ve ever attempted to “hack” one of these basic dressers.
Let’s start with the tools and supplies, shall we?
Supplies for this Ikea Rast Hack:
– (9) 3 In. Williamsburg Satin Dover Cabinet Cup Pulls by Hickory Hardware
– Tongue and groove carsiding
– Liquid Nails
– Wood filler
– 3.25″ trim
– Plywood
– 1″ x 4″ piece of wood
– 2″ lattice wood
– Pittsburgh Paints & Stains‘ Trim, Door, and Furniture Paint in “Antique White”
– Pittsburgh Paints & Stains‘ Stain in Sealant in “Driftwood Gray”
– Paintbrush
Tools:
– Drill
– Miter Saw
– Table Saw
– Hammer/Nails (or Brad Nailer)
Instructions:
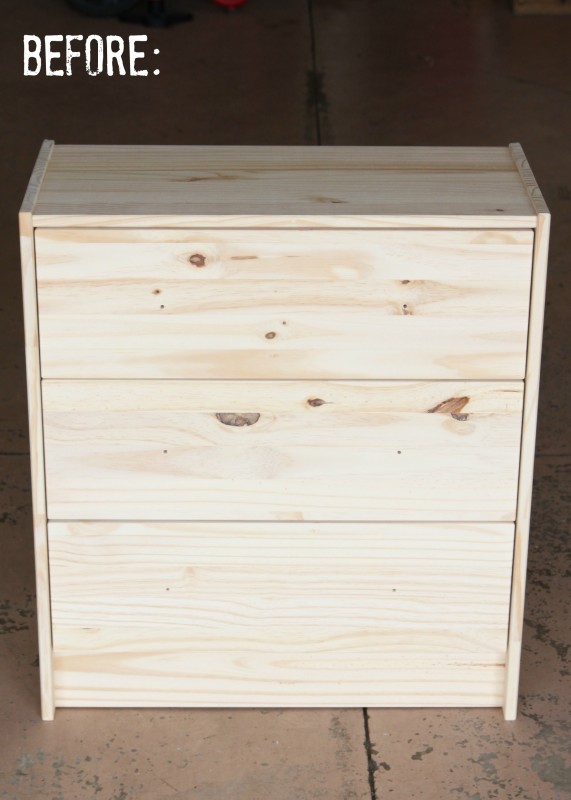
So, straight out of the box, the dresser looks like this. Pretty blah, no? I had a very basic idea of what I wanted to do, but it was an ever-evolving process of making decisions and talking my ideas through with my dad and Mr. Hoff.
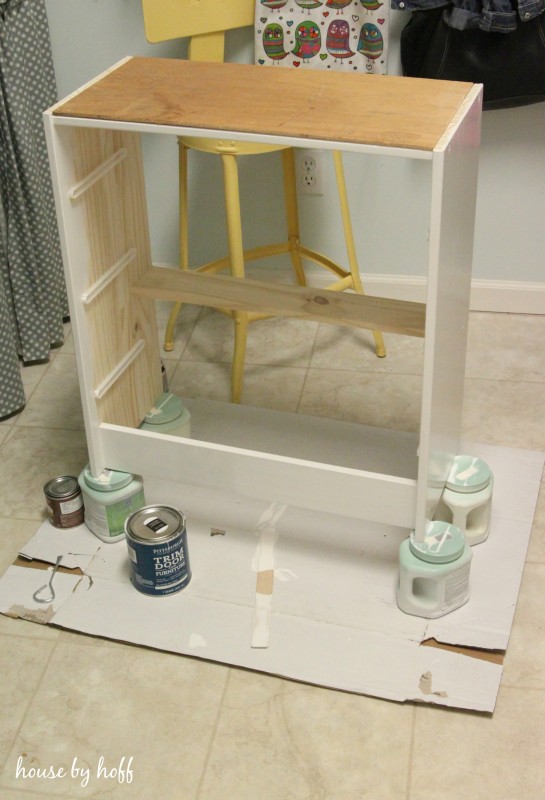
First I painted the frame of the Rast. I used Pittsburgh Paints & Stains‘ Trim, Door, and Furniture Paint in “Antique White”. (I would suggest priming the dresser first to cover up the knotty pine.) I painted one coat, let it dry, sanded it with a fine-grit sand paper, then painted another coat. This paint is great, and leaves no brush-strokes whatsoever! Next, to create a flush surface for our dresser’s top, we cut a piece of plywood to fit on top of the Rast, and used liquid nails to glue it down.
I knew I wanted to use wood for a two-toned look for this piece, so we used tongue and groove carsiding (that I had on hand) to create rustic top for the Rast. After I cleaned the old carsiding off, we fit the pieces together, and Mr. Hoff measured and cut the carsiding to leave approximately 1″ of overhang. The final top ended up being 26.5″ in length, and 14″ in width.
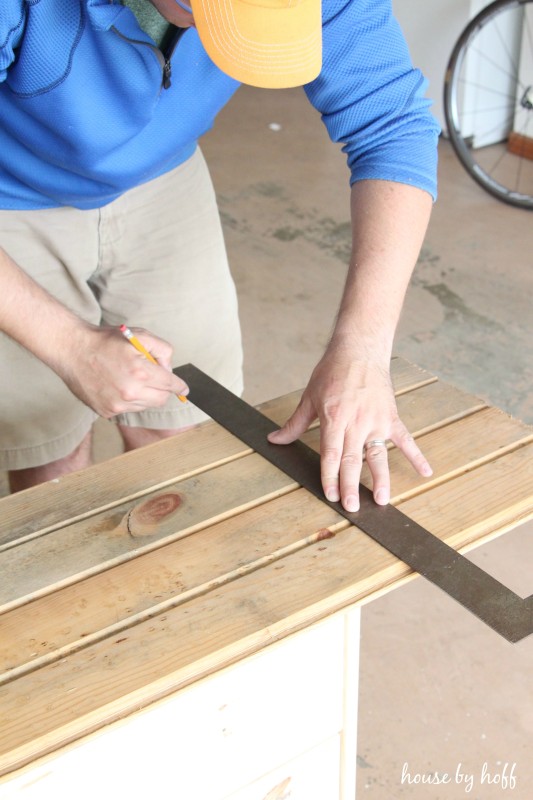
We used liquid nails to glue the carsiding table-top to the plywood underneath. Next, we attacked the bottom of the Rast. I wanted to create a flush surface across the bottom, so that we could add some 3.25″ trim. To “fill in the gap” at the bottom, Mr. Hoff used his brad nailer to attach a 1″ x 4″ piece of wood. It still wasn’t flush, so we used the brad nailer to add two pieces of 2″ lattice wood. Finally, we had a flush surface, and we were ready to add trim!
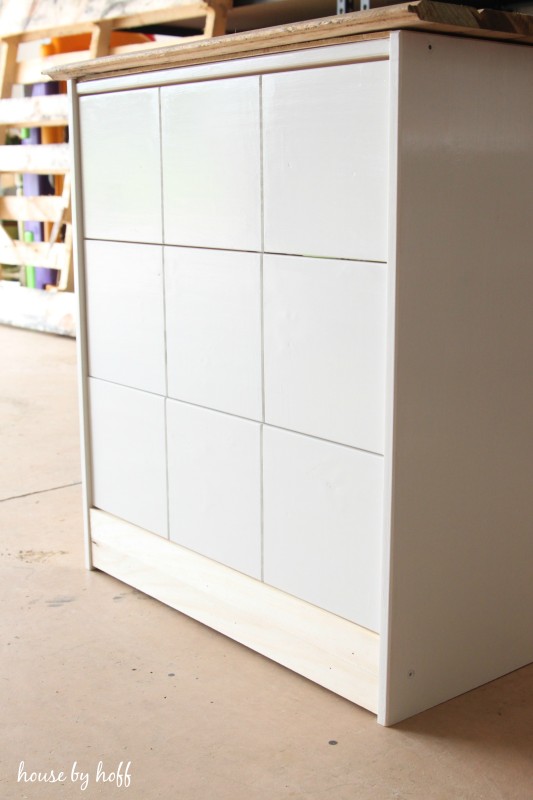
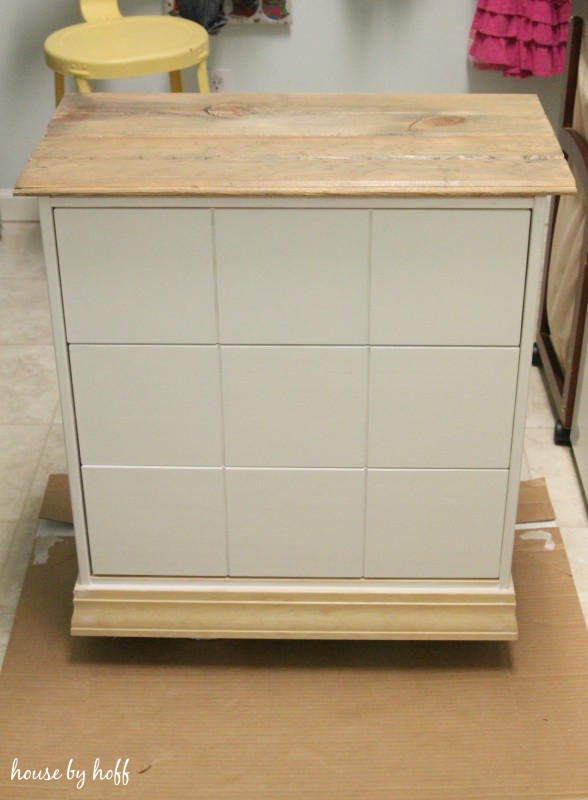
Mr. Hoff used his miter saw to cut the 3.25″ trim, and used his brad nailer to attach it to the bottom of the Rast. We caulked the gaps, filled the nail holes, and waited for it to dry before painting it. Now let’s talk about the drawers. My father used his table saw to create the grooves in each drawer. This made the three long drawers appear to be nine square drawers. I was very inspired by this Rast makeover by Thrifty & Chic. She offers a great tutorial on how to create grooves in the drawers. 😉
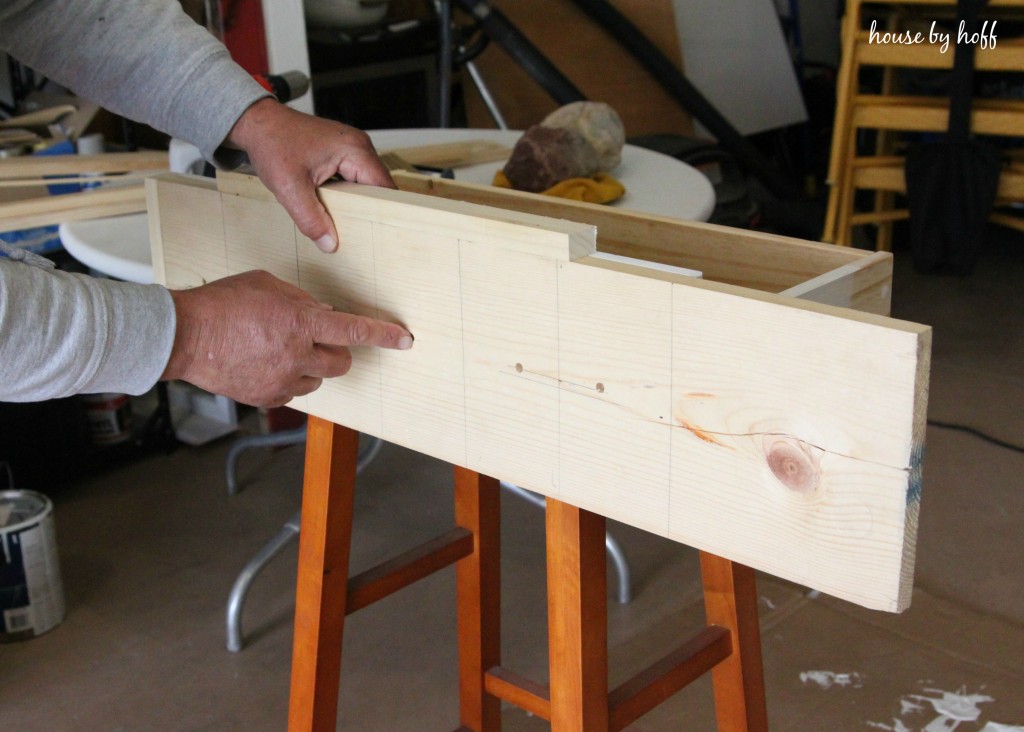
After my dad created the grooves in the drawers, he made this ingenious jig to make sure that we drilled the holes for the pulls in the exact same place on every drawer. This man has a talent for thinking things all the way through before executing. I consult him on every major DIY I attempt, and I love getting his input and help! 😉
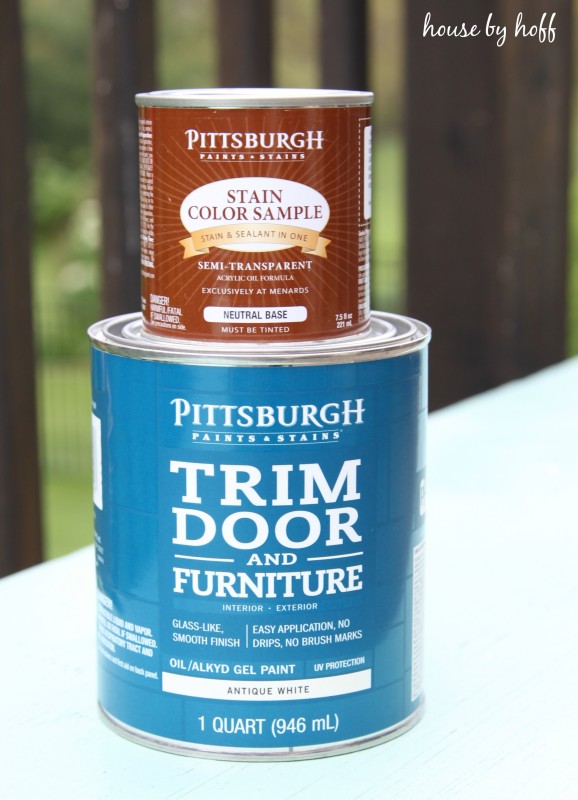
As I mentioned, I used Pittsburgh Paint’s Trim, Door and Furniture paint in “Antique White” for the base, and their stain in “Driftwood Gray” for the top of the dresser.
The Finished Product:
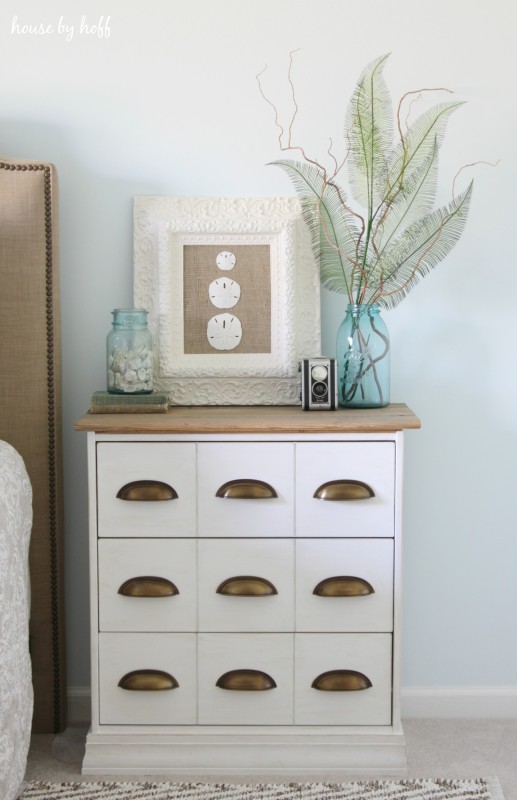
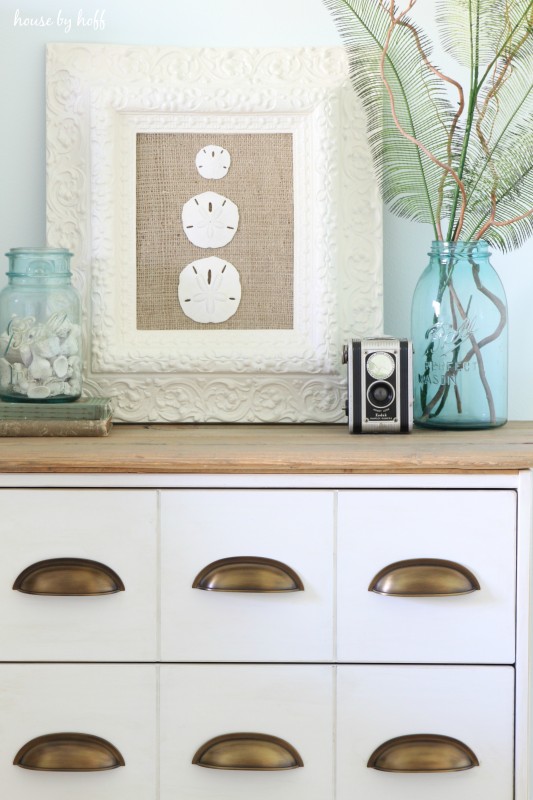
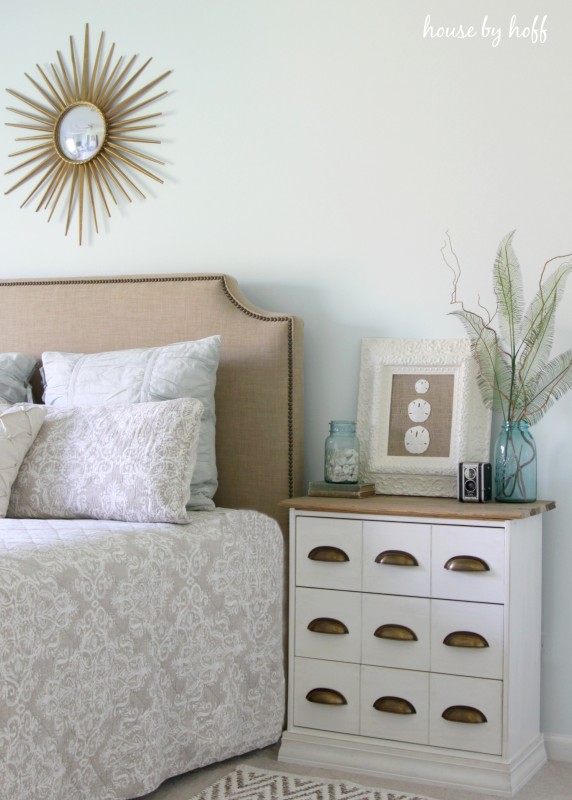
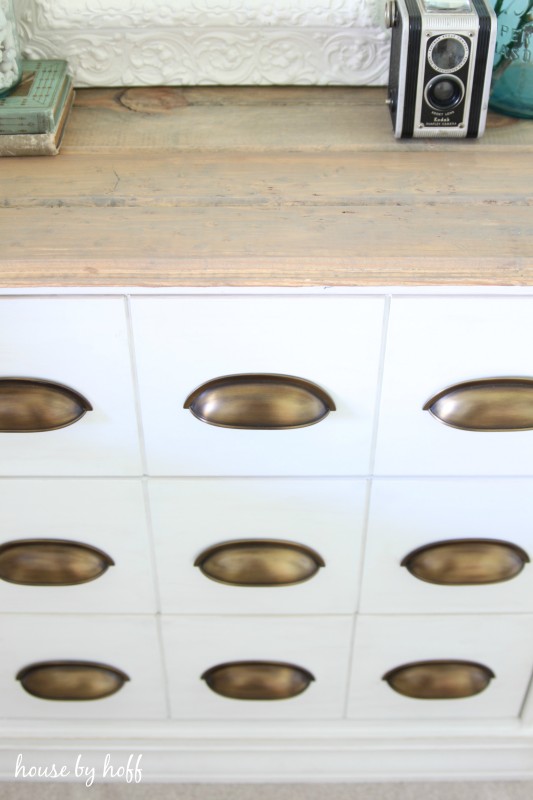
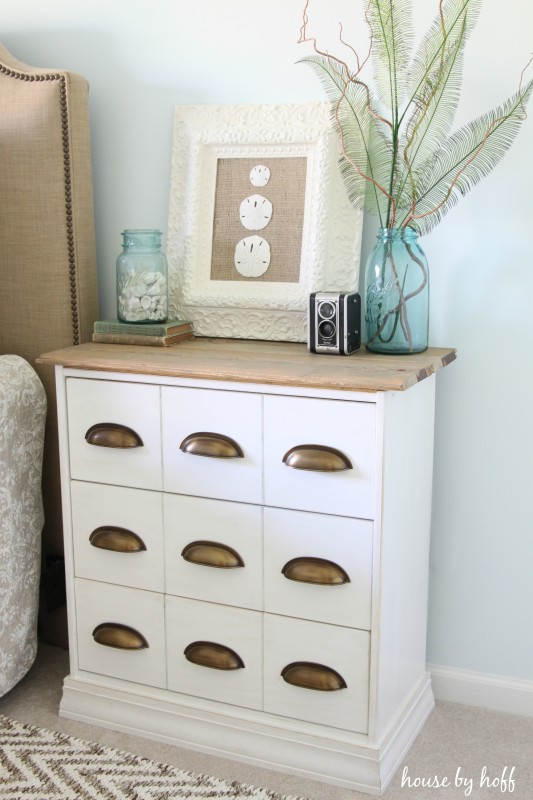
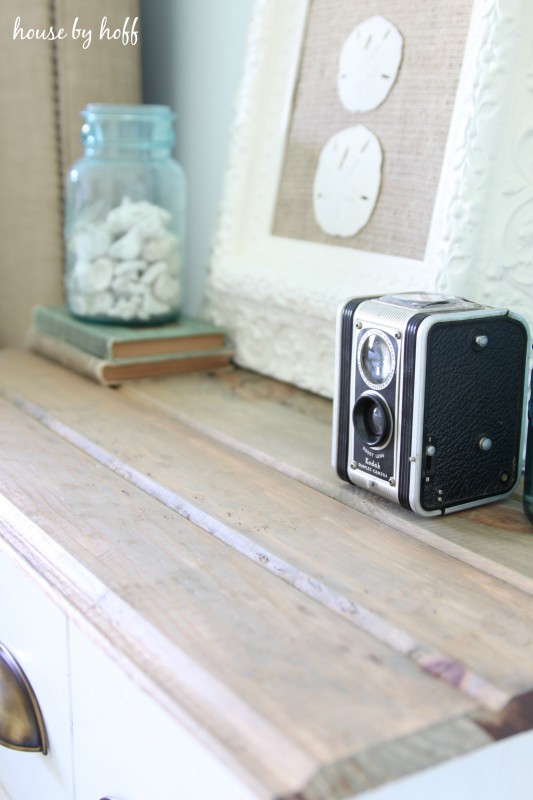
I am using my new dresser as a side table in our master bedroom. It’s the prefect size for a side table, and I kind of want to make another one for the other side!!! (I just need to get Dad and Mr. Hoff on board!)
😉
Have a great day!
I’m linking up at: Link Party Palooza, Thrifty Decor Chick, Furniture Feature Friday
Oh my goodness, this is awesome, April!! It looks amazing – what a transformation! The grooves in the drawers is a stroke of genius.
Thank you so much, Karen! I am so happy with how it turned out! xo
WOW, April! I would have never guessed that was a Rast!!! You killed it!
Thanks, Jenna!!! 😉
It looks incredible, April!! I love the library catalogue feel. And the wooden top is perfect. It feels likes a completely different piece- what a makeover! Beautiful choice of hardware – the perfect finishing touch:)
Thank you so much, Krista! Such compliments coming from you! xo
Love it! Also love the white frame with burlap. I think I will do that. Thanks!
Thanks, Susie! I love that seashell art too! Find the full tutorial here: http://www.housebyhoff.com/2014/05/seashell-art-its-30-thursday/
Girl That dresser is so cool!! Great job. I really love it!!
Thank you, Shawnna! You always have the nicest things to say! 😉
You are SO inspiring April! Thank you so much for giving detailed directions, products used and photos! I always look forward to another post from Hoff House! (My best friend in 5th grade had the last name of Hoff…..so when I first saw your blogs I was hooked just by the name!) Great job!
Cheryl, you just made my day! I’m so glad that you are inspired, and I love that you got hooked on the blog because of my name! Ha!!! 😉
This turned out amazing! I’m still in the process of making over our two Rast dressers. I think the bigger top and the trim at the bottom really beef up this tiny piece of furniture.
Thank you, Rosy! Yes, they definitely helped make the piece more substantial and “finished”. 😉
Pure inspiration!!! I love the step by step guide with pictures!!!
Thank you so much, Sherry! I’m so glad you found some inspiration! 😉
I love what you did with your dresser! This was such a fun project to be a part of! Love the color you chose and the hardware is beautiful!
It’s just gorgeous, April! I love everything you did to it. 🙂
Thank you, Rachel! xo
This turned out so cute! I recently did an Ikea Rast hack for our nightstands too but had to go with just paint since I’m not so handy (and hubby is still learning all those woodworking skills). I’ll have to refer back to this if I ever find someone handy to help or get brave enough to learn some carpentry on my own! Great work!
Thanks, Lauren! I just recently started learning how to use a miter saw and nail gun…we’ll get there! 😉
Love this! I’m planning a trip to pick up 2 of these in the near future. I am also going to do a two toned look with paint and wood. Yours looks great!
Thank you so much, Christin! Good luck with your hacks! 😉
This turned out awesome – I love the faux 9 drawers, clever! Pinned.
awesome transformation, it looks totally custom now! That hardware is amazing!! Great work.
-Shonee
http://www.hawthorneandmain.com
I love how you put the trim around the bottom! It looks great 🙂 Where did you get your headboard from? I have been looking for one that color. Thanks!
Thank you, Amanda! The headboard is from a local furniture store, and I got it so long ago that I can’t remember the brand. So sorry that I can’t be more helpful!
I love it! Wow! It turned out amazing!
Hi April, this looks great! Would you be willing to share how you paired it with other furnishing? I’m curious in what dresser would go well with this look. Thanks