I will show you how to make a DIY five board bench with this easy tutorial!
Today is a fun day around here! I’m participating in a Summer DIY Blog Hop hosted by the wonderful Taryn from Design, Dining + Diapers. If you are stopping by from Setting for Four, welcome! I hope you come back again and again!
As a home decor/DIY blogger (admittedly heavier on the home decor than the DIY), am I cheating if steal a DIY from my dad? 😉
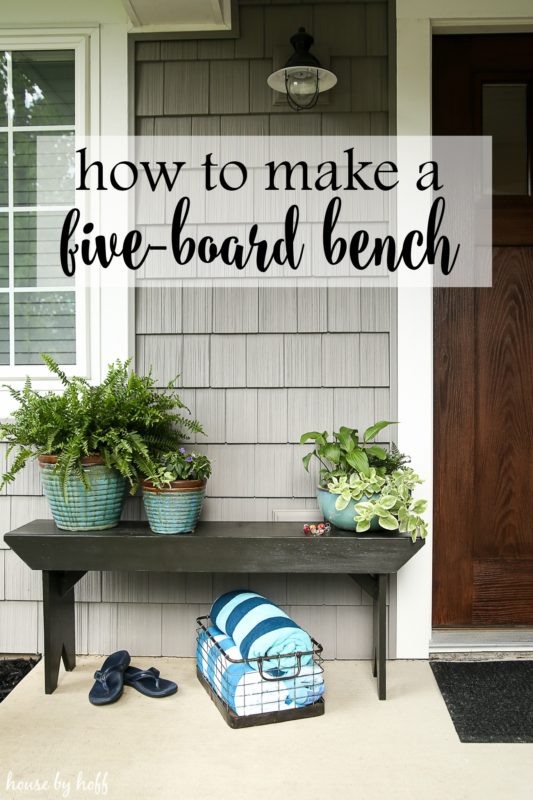
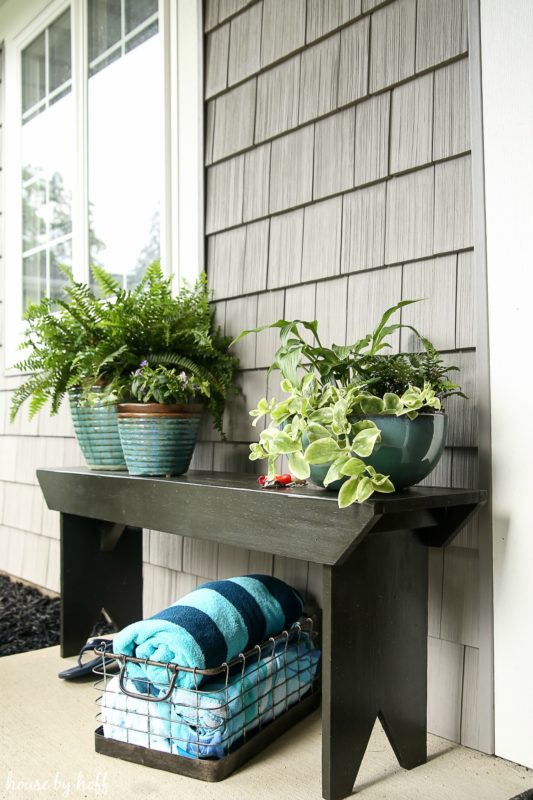
He’s always been such a handy guy, and when he made these cute five-board benches for the outside of my parents’ newly finished lake home, I just had to get the exact details and share them with you! One important thing to note is that this is a bit of a modified five-board bench. Dad actually used more than the five boards to make sure this bench was extra sturdy. So it’s a variation of the classic five-board bench style.
Supplies:
- One 12 foot long 1″ x 10″ pine board (Although this is called a 1″ x 10″ board, it is actually 3/4″ x 9 1/4″ when you buy it at the store….just FYI.)
- 8′ long 2″ x 2″ (this is optional)
- Indoor/Outdoor Wood Glue
- 2″ finish nails
- 2″ deck screws
- 1 1/4″ common nails
- Paint color of your choice
Tools:
- Table saw
- 10″ miter saw
- Jig saw
- Cordless Drill
- Hammer
- Nail Set
- Square
- Clamps
- Tape Measure
Directions:
To make this easy, we’ll refer to each of the five boards using the designated number on the photo below.
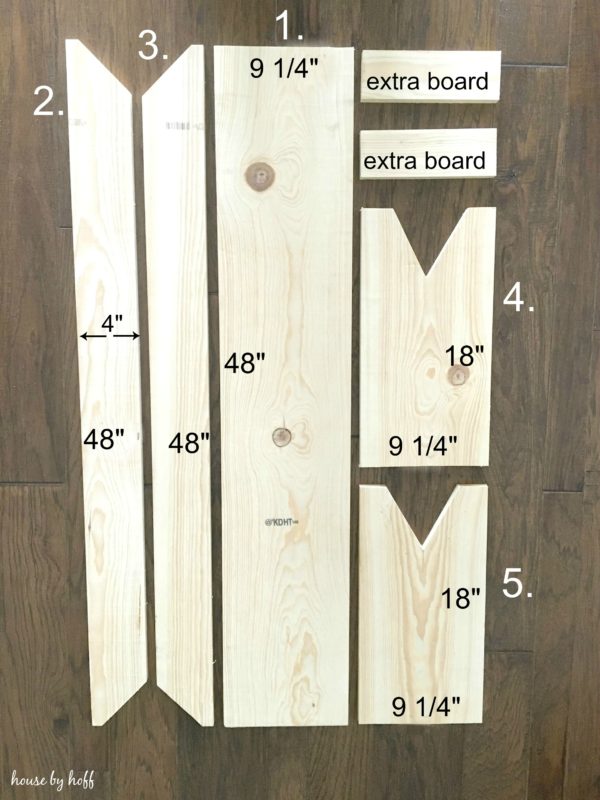
1. First Dad cut out the pieces for the five-board bench from the 12 foot long 1″ x 10″ pine board. He based his dimensions off of a bench that he already had, but we included the basic dimensions in the photo above.
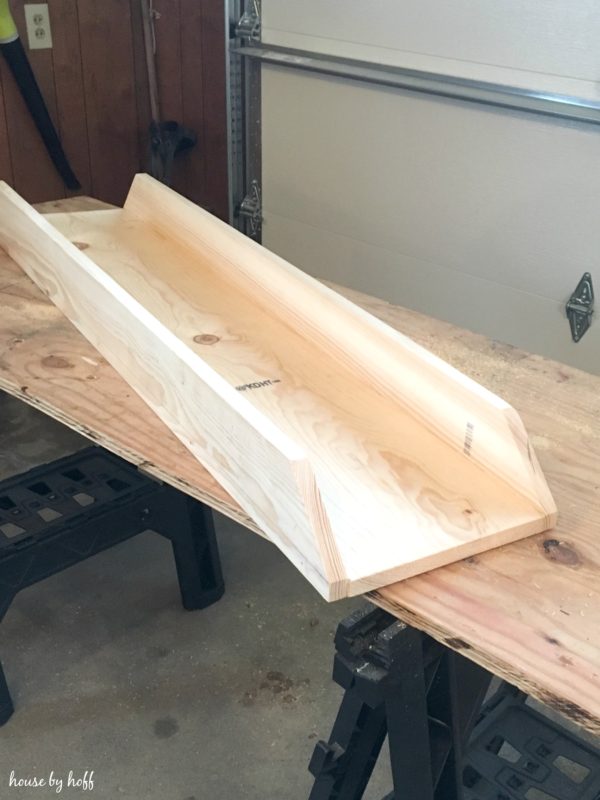
2. Next, he attached boards 2 and 3 to board 1. We will call boards 2 and 3 “stretchers.” He pre-drilled five holes in each stretcher, then started a nail in each hole. He glued each stretcher along board 1 and held it in place as he nailed. While the glue dried, clamps were used to hold it in place.
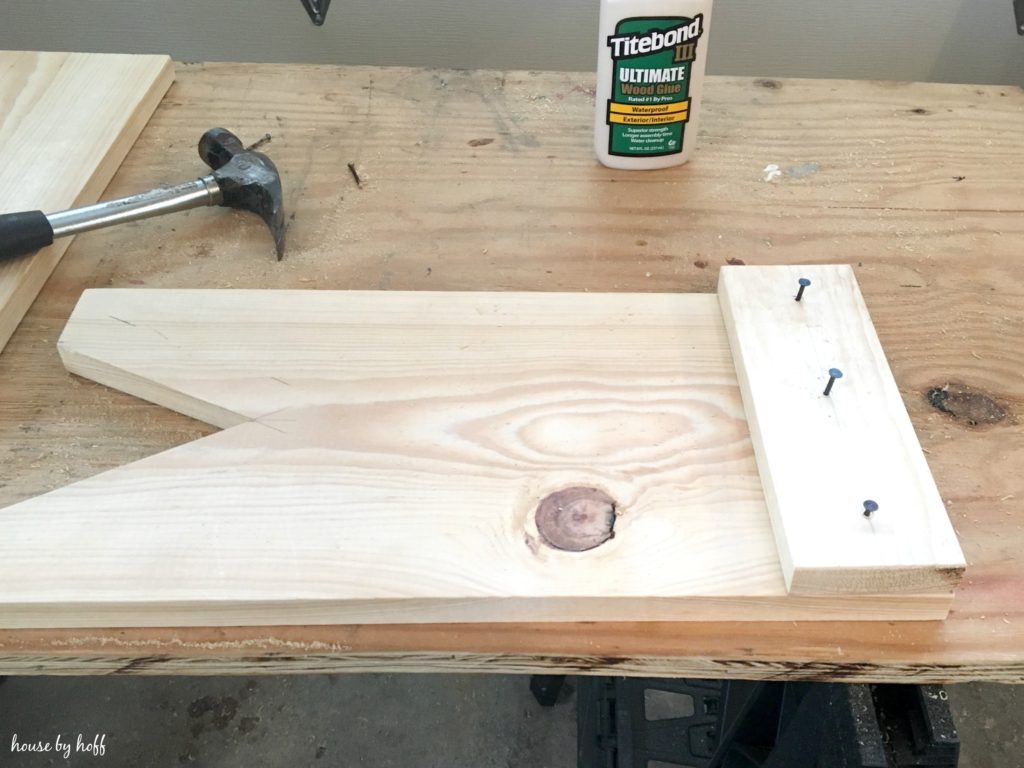
3. Using 1 1/4″ common nails, he glued and nailed the extra boards to each leg. He did this to make the bench more sturdy, and less likely to crack.
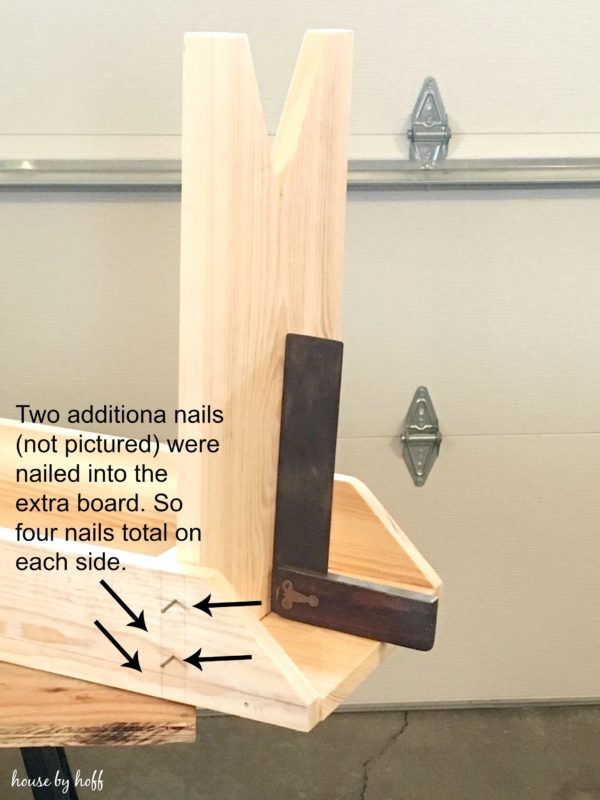
4. He attached each leg using the 2″ finish nails. See the picture above to see where he nailed each of the four nails on each side of each leg. So 12 nails total.
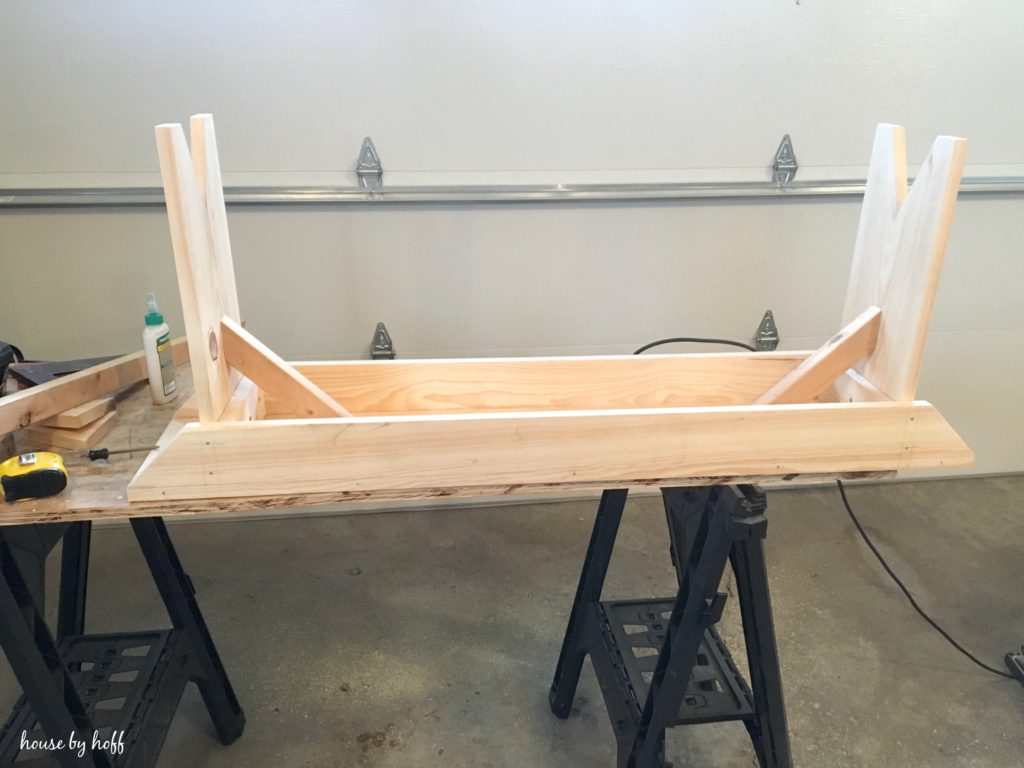
5. To make the bench even more sturdy, Dad cut and attached these braces, (which were made out of the optional 2″ x 2″ boards.)
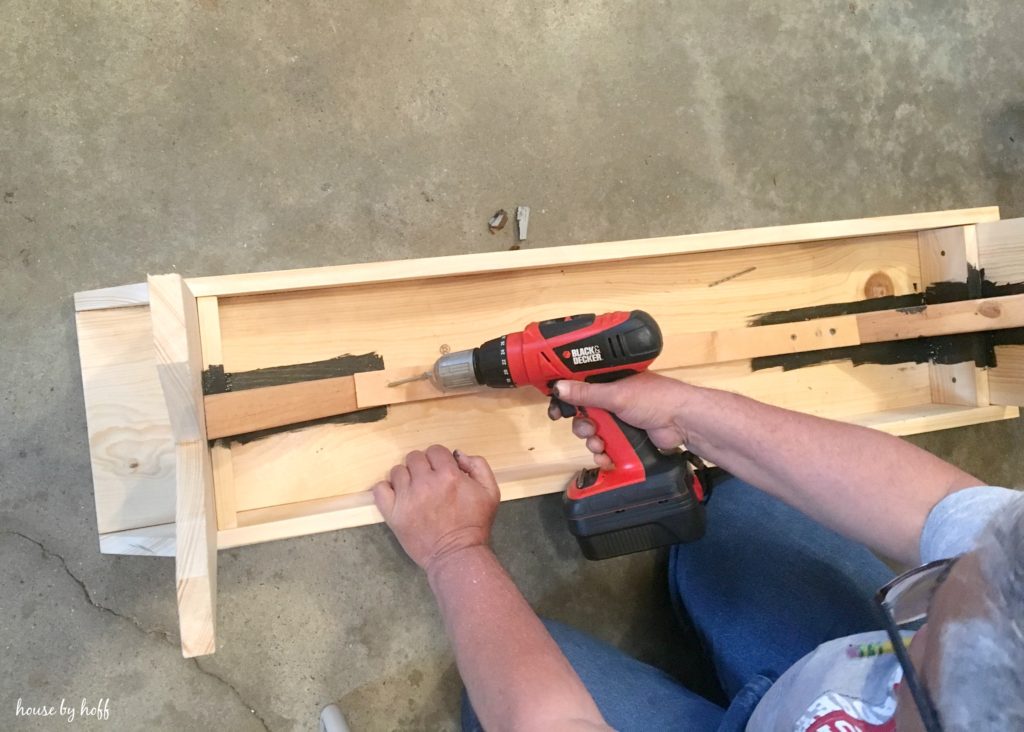
6. He used 2″ deck screws to attach the bracing to the bottom of the bench.
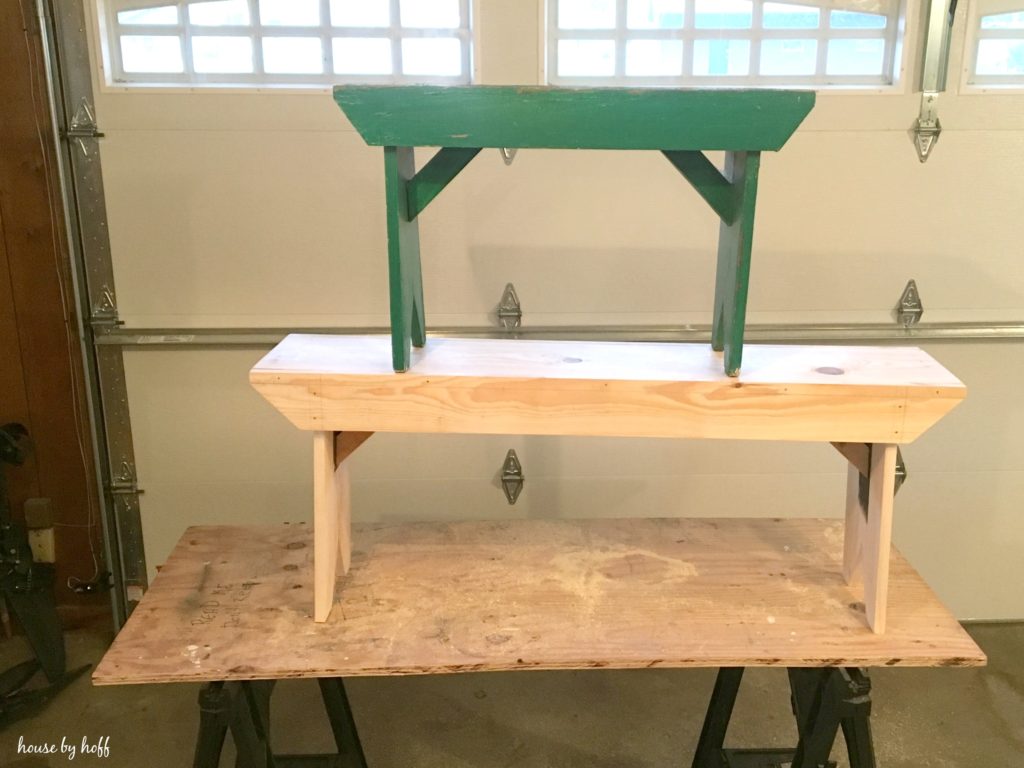
Tada! Here is one of Dad’s lovely finished benches pictured with the original antique bench, that he used as his guide. It was built by our old neighbor, who we all remember very fondly.
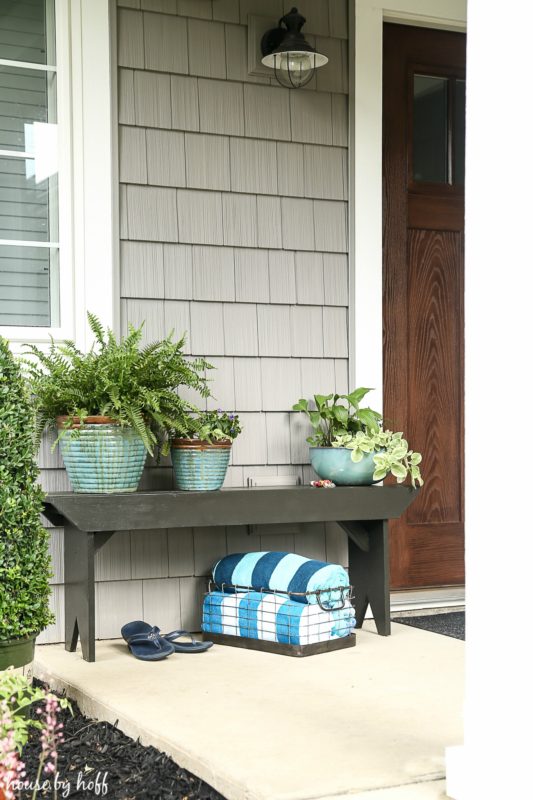
So, here is the bench at my parents’ newly finished lake house! I would love to get over there and take a lot of pictures of the finished project…the before/after of the exterior of this place is amazing!
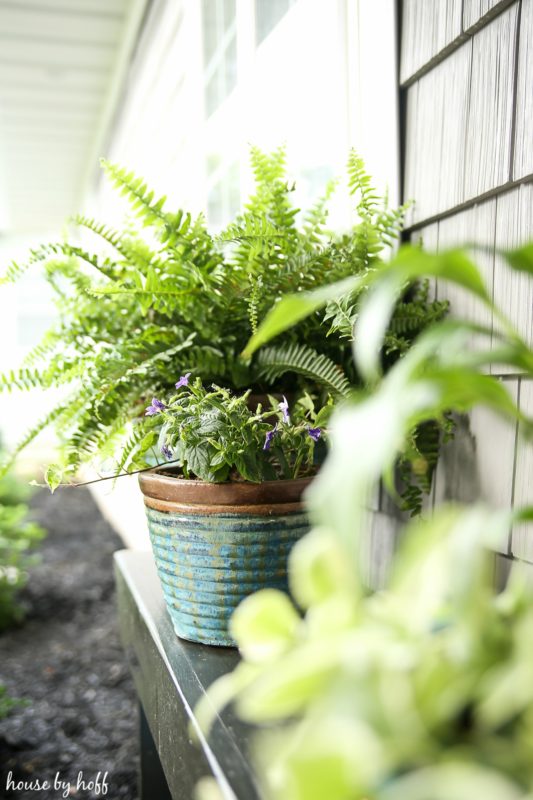
My mom is using the clever benches mostly for a place to put her plants. She loves planting flowers…I wish I could have inherited her green thumb. 🙁
We included some of my grandpa’s antique fishing lures in these shots just for fun. Aren’t they cool?
~
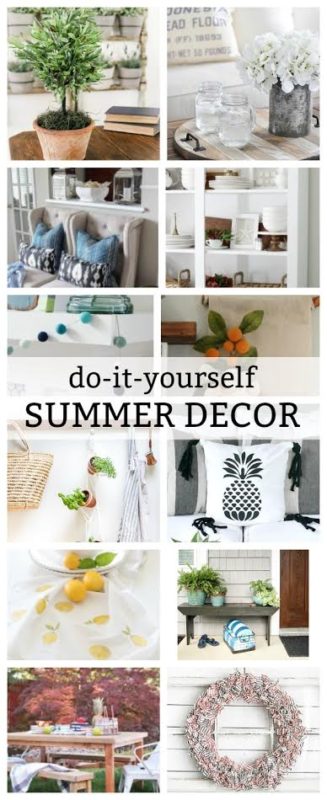
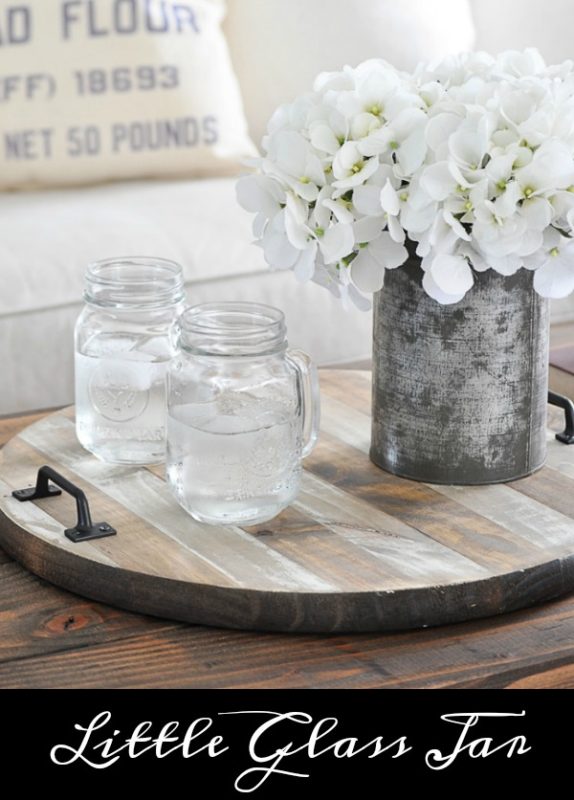
Make sure to go check out Little Glass Jar’s Farmhouse Tray next up on the blog hop!
Have a great day! 🙂
I’m linking up at the Show and Tell Link Party
It’s such an adorable bench, April! I love the color you chose and it fits your porch perfectly. I love it!
My mom used to have an old bench with this design — I always loved it! I might just have to build one for myself. Happy Summer!!
This is such a classic! I love how it turned out and it’s the perfect addition to your porch1
This is so cute! I love the look of benches on a front porch. Great job!
You did an excellent job. I love it, and can’t wait to try making one.
Thanks for posting clear, concise and detailed directions. Your bench looks great! It’s a place to display plants, but also gives everybody a place to sit down and take off their shoes off before tracking mud into the house — ha-ha.
Carol (“Mimi”) from Home with Mimi