Today I’m reposting a favorite post from last year, my Three-Tiered Planter!
Man, I loved that thing.
I even kept it alive for most of the summer.
Then I got a teaching job, and it was all downhill from there.
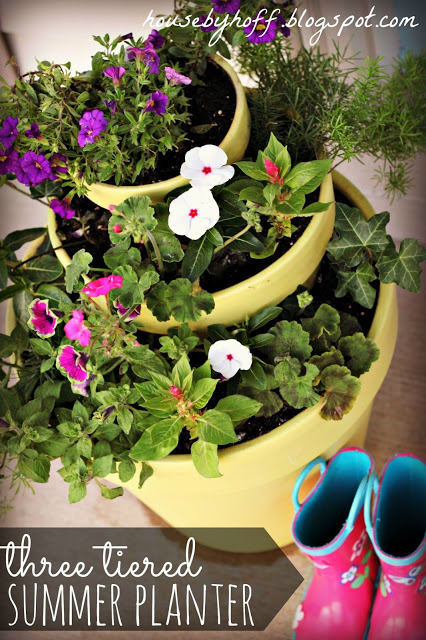
I had to enlist the help of my mother, “Mrs. Greenthumb”, to help me pull this project off!
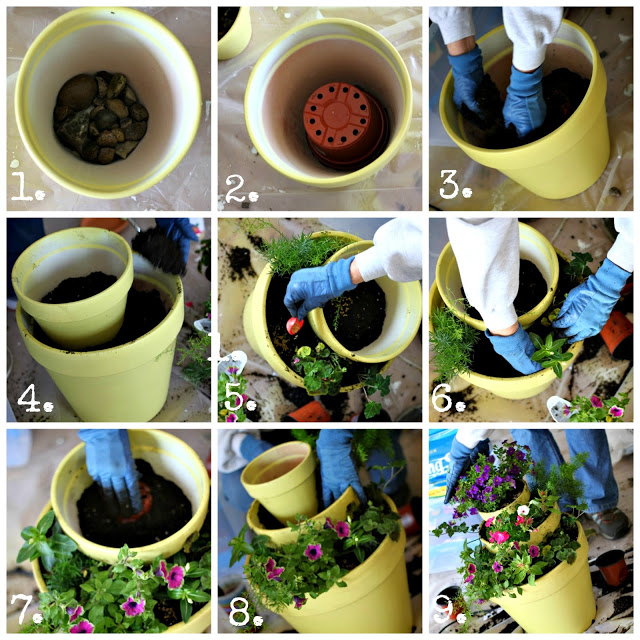
1. Before we began, I spray painted my three terra cotta pots with Krylon’s “Lemongrass”. We filled the bottom of the largest pot with rocks for two reasons; for drainage, and to get some more height for the second pot.
2. We turned a plastic pot liner upside down inside of the bottom pot. This would serve as a base for the middle pot.
3. We filled the bottom pot with potting soil (the kind with fertilizer in it).
4. We repeated steps 1-3 with the middle pot and placed it in the bottom pot.
5. Let the planting begin! My mom always digs a hole and puts a half spoonful of fertilizer into the hole before placing the plant on top.
6. We planted all of the flowers in the bottom pot.
7. We positioned another plastic pot liner in the middle pot to serve as a base for the tip-top pot! 🙂
8. We planted all of the blooms in the middle pot.
9. Finally, we filled the top pot with planter potting soil and planted the last of the flowers on top!
My mother patiently explained to me that I get “full sun” in the front of the house, (even though it only gets full sun for half of the day…go figure!) so we found flowers and plants that do well in full sun.
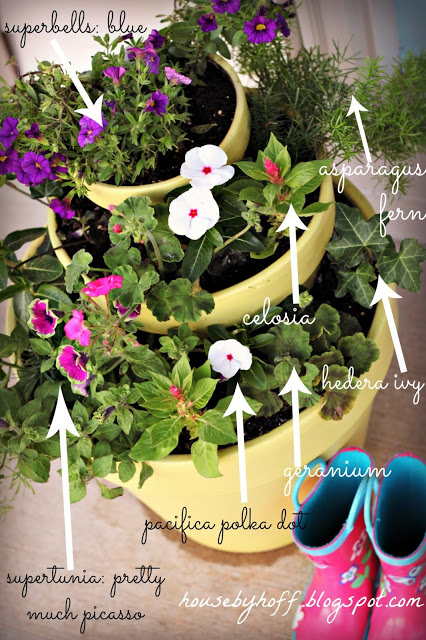
We purchased all of these plants at Meijer.
She really was gorgeous, wasn’t she?
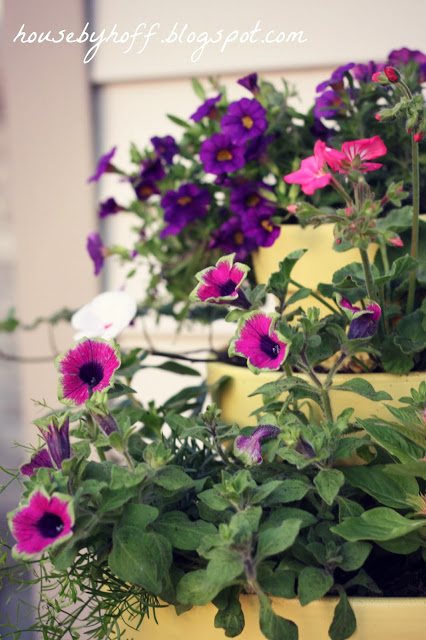
Because I chose terra cotta pots, I had to water these beauties every. single. day. Yikes!
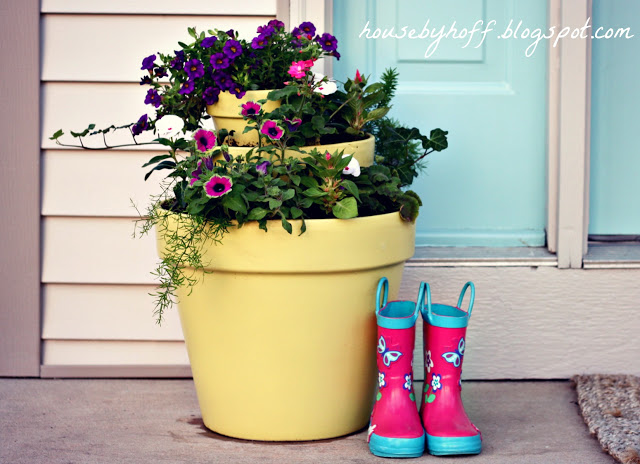
Didn’t Miss L’s wellies add the perfect touch? 🙂
(And yes, I added a drainage saucer under the bottom pot after I took pictures!)
This is a really cute idea, April! I just planted some flowers last weekend for my patio, and had my mom assist too. You have given me some inspiration for updating my front door pots now 🙂
~Erin
Thanks, Erin! 😉
So cute! Great idea! We would love for you to share with us at Your Designs This Time!
http://elizabethjoandesigns.com/2014/05/designs-time-no-10/
A beautiful & creative decoration.