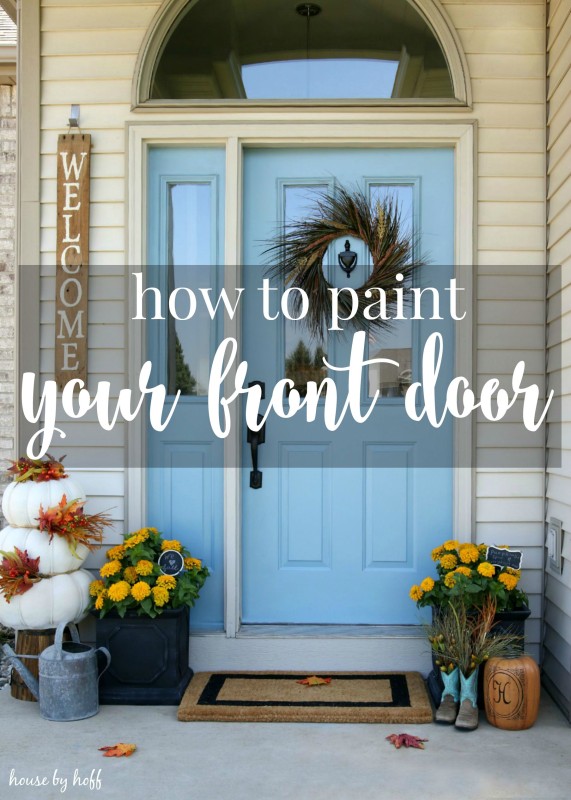
Recently I repainted the front door again, and I want to share a few easy tips for how to paint your front door.
How to Paint Your Front Door
I’ve painted my front door a couple of times now…and as far as I’m concerned, if you’ve done something a couple of times, you’re pretty much an expert, no?
I recently repainted our front door, and I thought it would be the perfect “basic” tutorial for our first edition of “Back to Basics”.
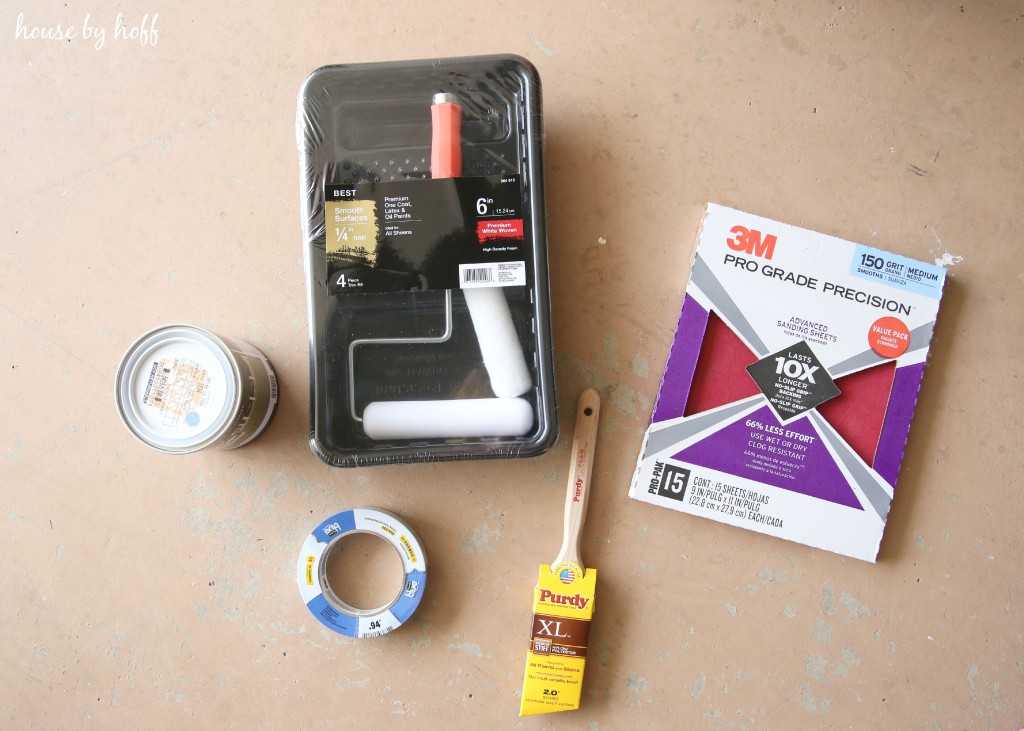
What you’ll need to Paint Your Front Door:
- Sandpaper – I used 150 grit
- Painter’s tape
- 6″ foam roller
- 2″ angled paint brush
- Paint – I used Behr’s exterior paint. It is a paint and primer in one. The color is “Dolphin Blue” and I used a semi-gloss.
- Wet rag (for cleaning up any drips or drops)
- Drop cloth (to keep your porch or stoop drip free!)
*Note: Timing is important when painting your front door. Try to choose a time when the sun isn’t beating down on your door. The hot sun will make your door hot, which would make painting difficult.
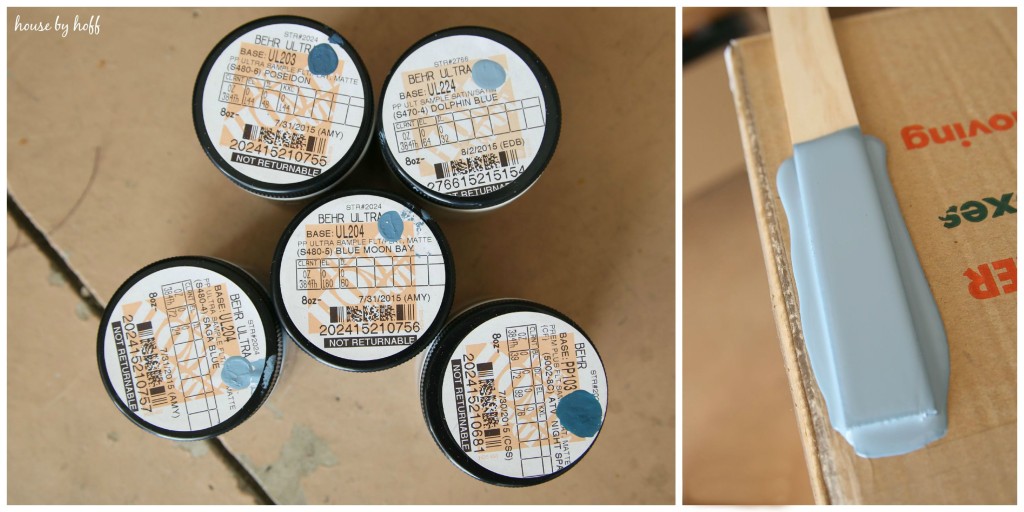
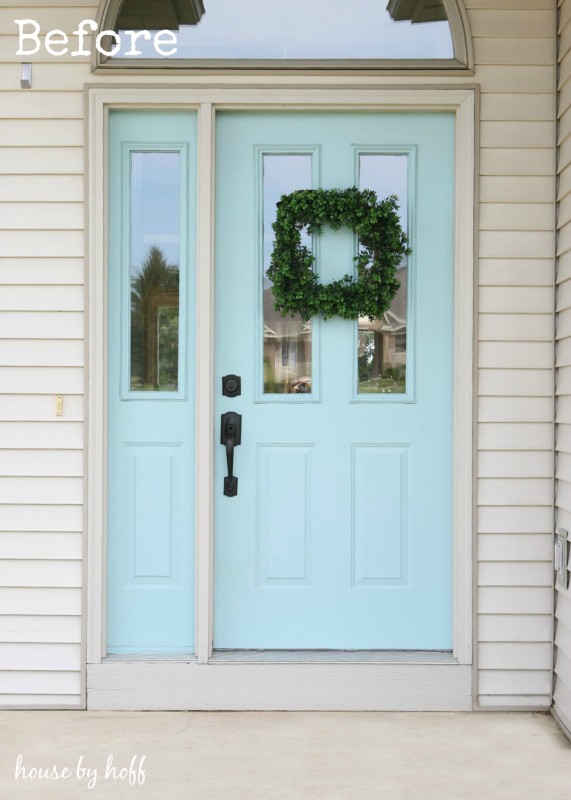
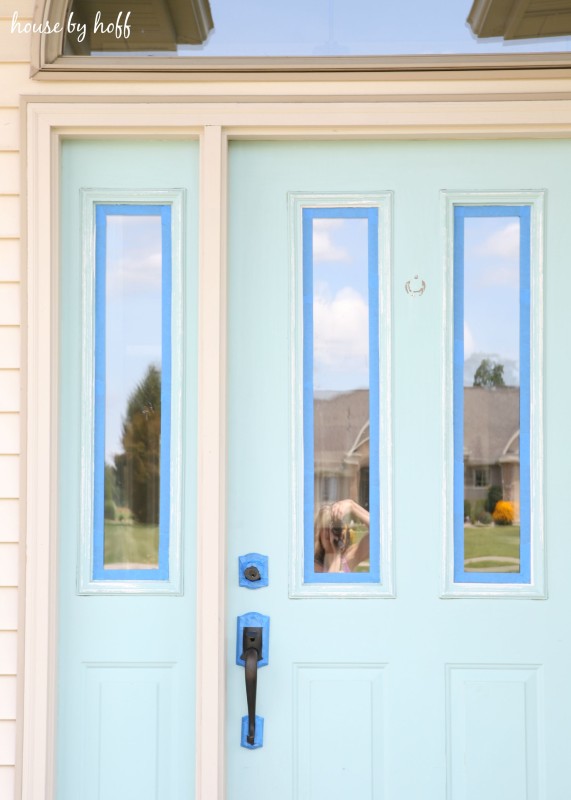
Step 1: Find the perfect color
I took finding the perfect door color very seriously and lost count of how many times I went back and forth from Home Depot to find the perfect shade of blue. Then I brought home sample sizes and painted an old cabinet door with the color I was testing and put the old cabinet door out on my stoop and studied the color at different times of day. I ended up choosing a lovely blue shade with gray undertones. As I mentioned above, the new color is “Dolphin Blue” by Behr.
Step 2: Sand your door
So once you’ve decided what color you want to paint your door, it’s time to give your door a good sanding. Sand the entire door and any trim you will be painting. You want to give your new paint a rough surface to adhere to and remove any loose paint. I absolutely hate sanding, but it is a necessary evil. This is the part of the project that you’ll have to remind yourself that it has to get ugly before it can be pretty.
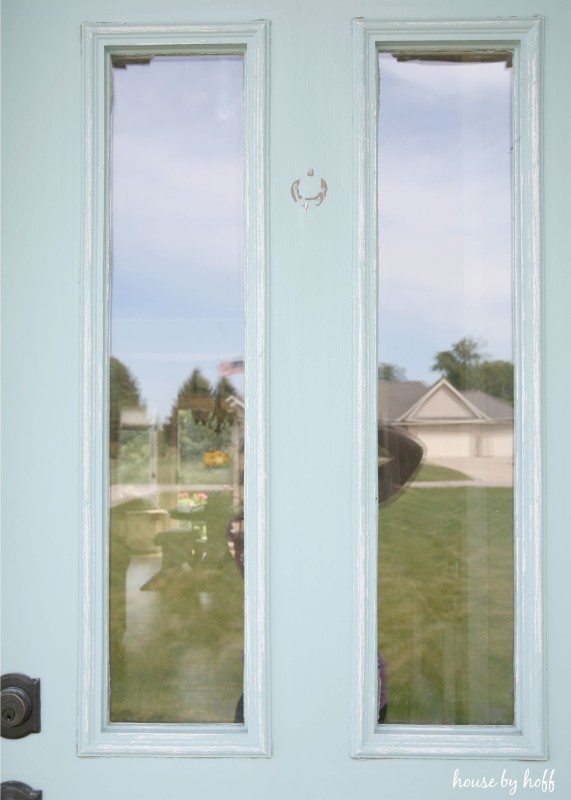
Step 3: Tape off windows (and possibly trim and doorknobs)
This is another part of the process that I actually hate. It takes me forever to get the tape exactly right on the windows. I opted not to tape off my trim, as I knew it would just take me longer, and I’m a pretty good painter at this point, and I feel confident that I can keep my paint off of the trim. If I do get paint on the trim, I’ll use my wet rag to wipe it up quickly. I also taped around my doorknob and keyhole. I probably should have taken them off, but Mr. Hoff wasn’t home, and I wasn’t feeling up to the job. 😉
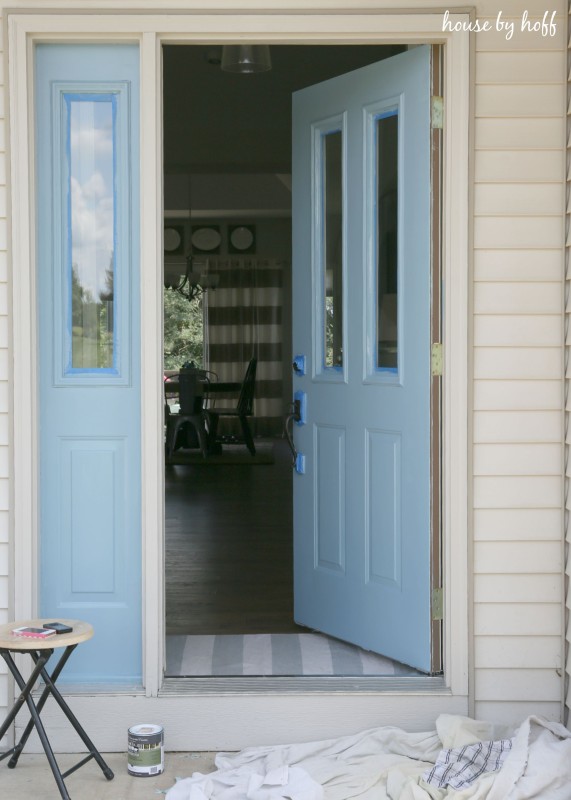
Step 4: Start painting
Ahhh! At last, we are at the fun part of the process! I gave my door two coats of paint. I start by trimming with my 2″ angled brush, then use the foam roller to paint in as much as possible. The foam roller is great because it does not leave any brush strokes. The one thing you have to be careful of is rolling over paint that is already drying. It will pull on the drying paint and leave you with a rough and uneven surface. If this happens, do not panic. Just let the paint dry completely, sand the area with fine grit sand paper and repaint. No biggie!
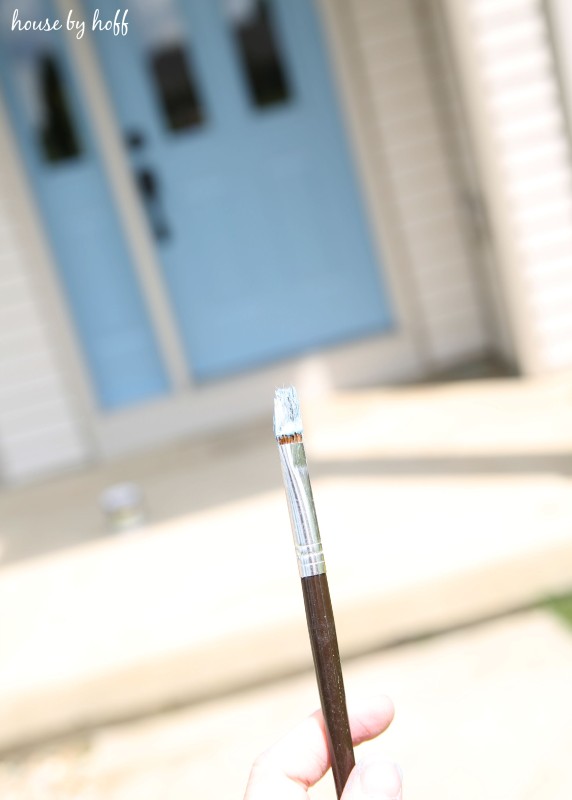
Step 5: Remove tape and touch up
When you begin to remove your painter’s tape, you’ll more than likely find that some of your paint comes off with it. Frustrating, I know. I always use a tiny brush to touch up any spots where the paint has come off.
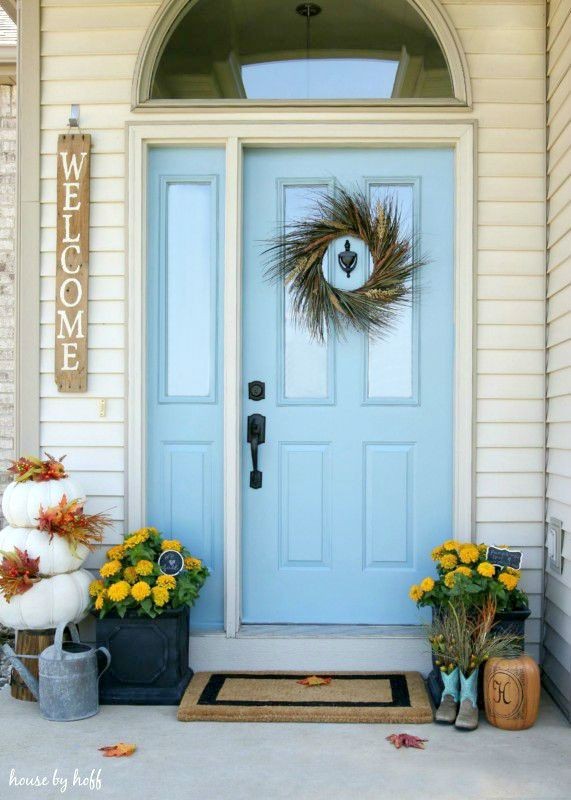
Step 6: Decorate your new front door
After my paint was dry, I added a knocker and decorated my door and front stoop for fall! This is the best part of the whole process, and I love my new door color!
So, what do you think? Are you ready to pick up a paint brush and give your front door a face lift? 🙂
~
Have a great day!
Such an easy to follow tutorial–pinned it to my “Tips” board. Thanks, April! XO, Christy
Great! I’m so glad you found it helpful, Christy! 😉
Such a great tutorial! Love it 🙂 And that color! Looking forward to these next few weeks with you all!!
Thanks, Rachael! 😉
OMG, I cannot stand sanding either!!! Great, super helpful post April! Now, who is doing that egg boiling post…I need that too!!!
Ha! I actually hate anything that has to do with making it more messy…but then it’s always worth it in the end! 😉
LOVE the door! That color is perfection and your fall vignette is simply smashing! I am totally cracking up about the fact we were talking about boiling eggs over wine (pun intended … cracking … get it?). Thanks for the tutorial, you have inspired me! xx, b
Wow, thanks for the great tutorial(s). I don’t know how I ended up here, but sure glad I did. I’ve spent a couple of hours just looking around here and now need to get off my rear and find a new project to start. I’ve been contemplating painting the front going out to the enclosed front porch and this tutorial was just what I needed. Thank you for taking the time to create such lovely projects and then sharing them with us all.
Great post! Maybe I’ll get brave enough to paint my front door after 5 years of thinking about it…is that a steel door or wooden? Do I still try to sand a steel door that has never been painted, just the white factory colour?
Hey Kim! It’s steel, and yes I would still sand it to “rough it up” a little. 🙂 Good luck!
As an experienced painter, I can guarantee that you do not have to tape off the windows! It is super easy to scrape paint (or almost anything, for that matter) off of glass with a razor blade.
Great job! Looks beautiful and I’ve been debating on my color choice for my front door and I’m going with the Dolphin Blue, love it so thanks for the share. For a tip from a more experienced do-it-yourself painter, take the tape off BEFORE the paint dries and it won’t pull off any paint!
Thanks, Deborah! And good tip too! xo