I consider myself a girly girl.
~
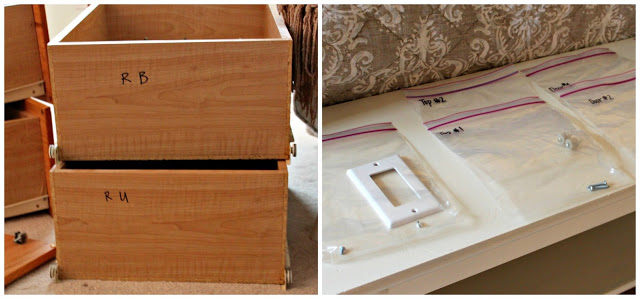
(Ok, sorry, that’s like three steps in one.)

You’ll want to sand all areas that are to be painted. We used a 180 grit sandpaper. As soon as you finish sanding, use a shop vac to clean up what dust you can. The dust is so fine, that the shop vac won’t be able to get it all. To ensure you have a very clean and dust-free surface, use cheese cloth to wipe down cabinets and trip.
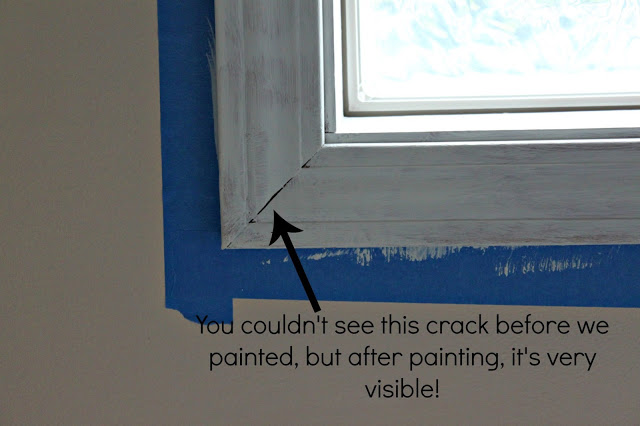
Step 3: Caulk any cracks you see
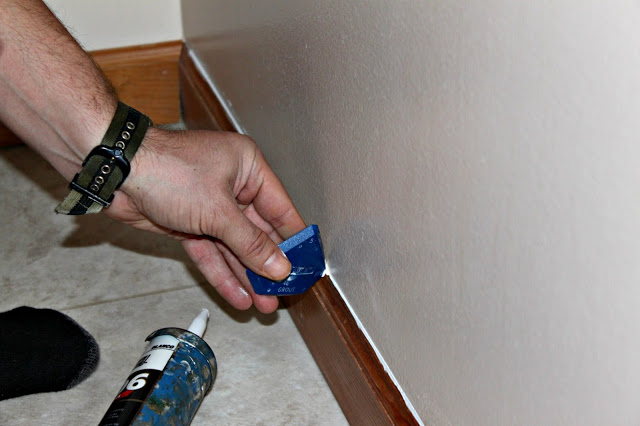
This step is absolutely crucial if you are painting your cabinets or trim white. Cracks that could never be seen with darker trim will be very visible when you paint the wood white.
Step 4: Use painter’s tape to tape off floor and wall
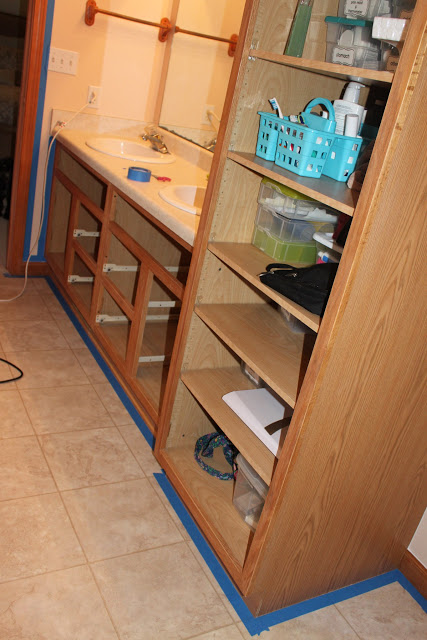
This step is pretty self-explanatory, but to avoid getting trim paint on your floor or walls, you’ll want to use some tape! 🙂
Step 5: Prime your surface
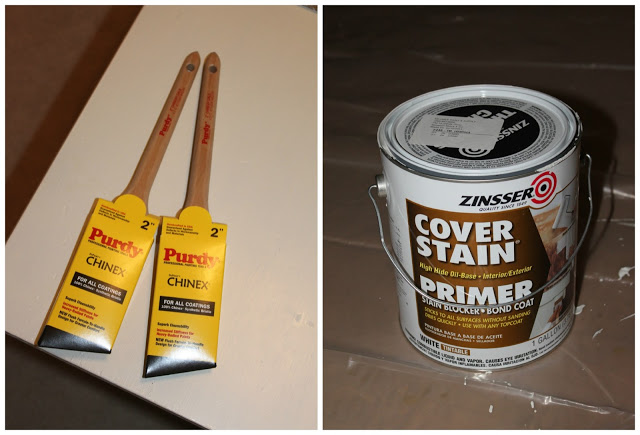
We used 2″ angled brushes and Zinsser Cover Stain Primer to prime our surfaces.
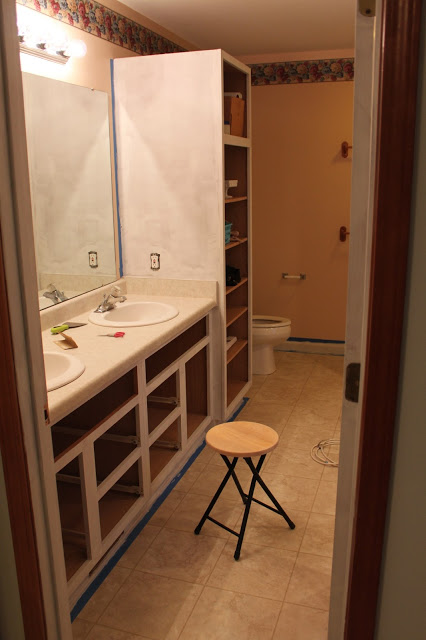
Whew! All done priming! The door and drawer fronts were painted out in the garage.
I will continue to update you as we get to the actual painting phase of this project!
I’m excited to be co-hosting Aimee’s Share Your Creativity Link-Up Party over at It’s Overflowing on Saturday! If you have some fun project to link-up, please join us! I link up to her party every week and get lots of great ideas! Hope to see you Saturday!
Have a great weekend! 🙂
Great tips, April! Caulking is a MUST! It gives it that nice finished look!