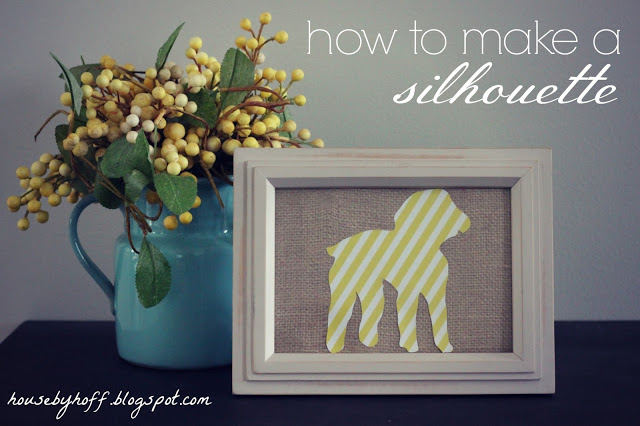
I have been dying to make some silhouette art ever since I got my Silhouette Cameo for my birthday.
I searched Google and Youtube for tutorials but struggled to find one that was easy to understand.
So I figured it out on my own, and I’m sharing with you how I did it!
Step 1: Take a photo that will make a good silhouette. Here is the one I used:
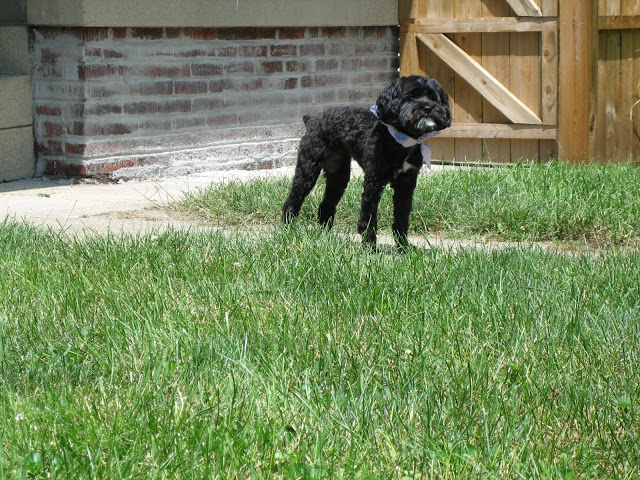
Not the best possible photo to use, but it was the best I could find in my collection of dog photos. (I didn’t really want to take her outside and take new pictures.)
Step 2: Click and drag your photo from your desktop to the Silhouette Studio desktop.
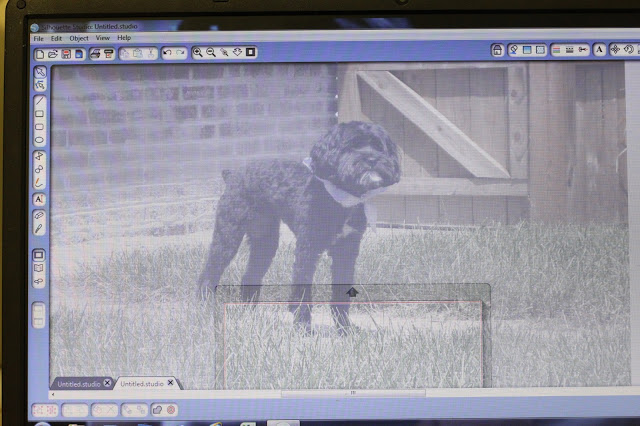
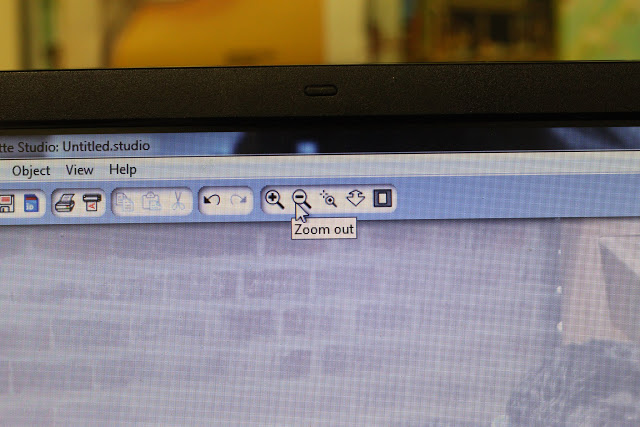
For some reason, the photo takes up the entire screen, so zoom out until you get the image to a size that you like.
Step 3: Click the little tool that looks like an 8, or the “Draw a Curve Shape” tool.
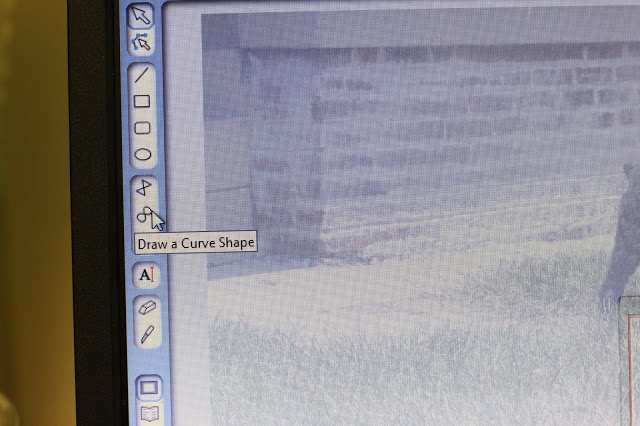
Step 4: Click and trace, click and trace, click and trace….
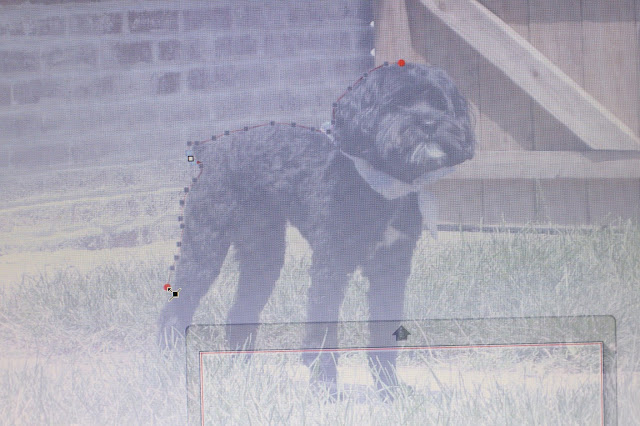
Each point is a place where I’ve clicked my left mouse button. Basically you click it when you want to change directions, tracing the entire outline of your subject.
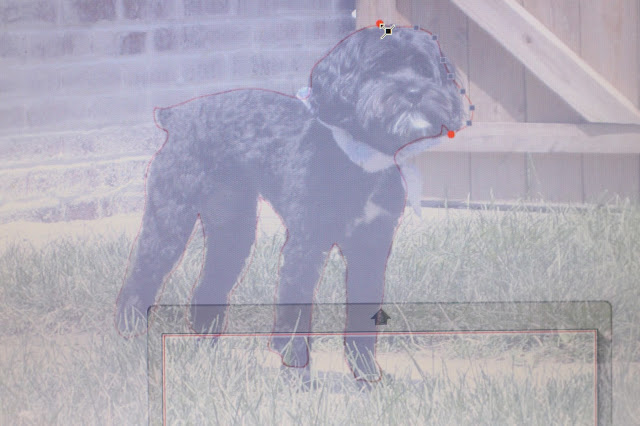
Double click your last point when you’re finished tracing, this will turn the tool off and leave you with your traced subject. See the red line? That’s the “cut line”!
Step 5: Go to Edit, Select All
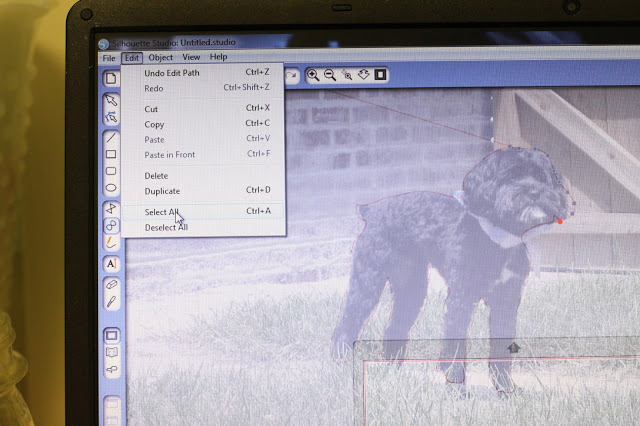
Step 6: Resize your silhouette to fit your page, or to size it to fit a certain frame, and send to Silhouette for cutting!
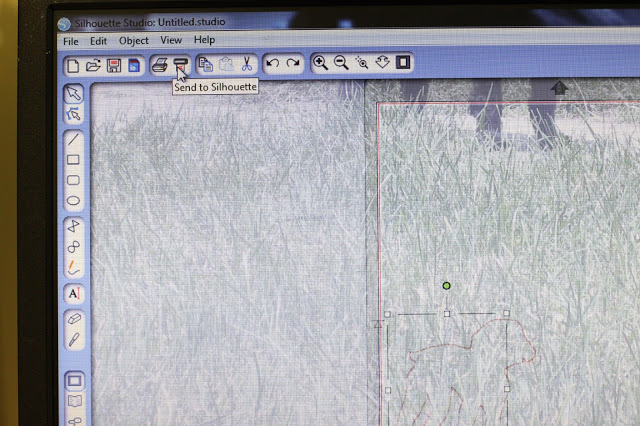
I’m not sure how to get the original picture out of the background…any tips on that? It doesn’t really affect the outcome, just kind of annoying.
Step 7: Watch and listen in amazement as your silhouette gets cut!
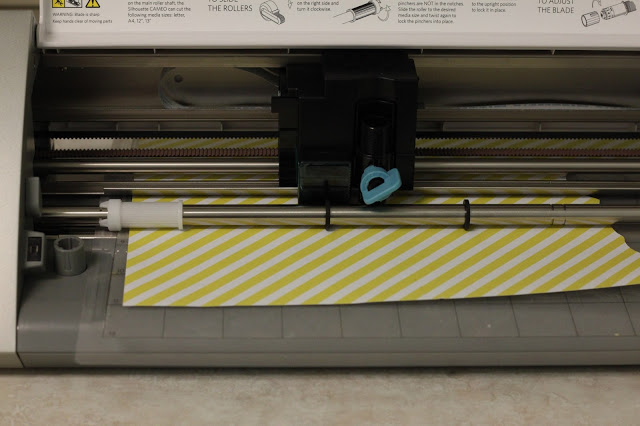
Does anybody else like the sound it makes when it cuts? It sounds kind of musical…really!
Step 8: Admire your cute silhouette!
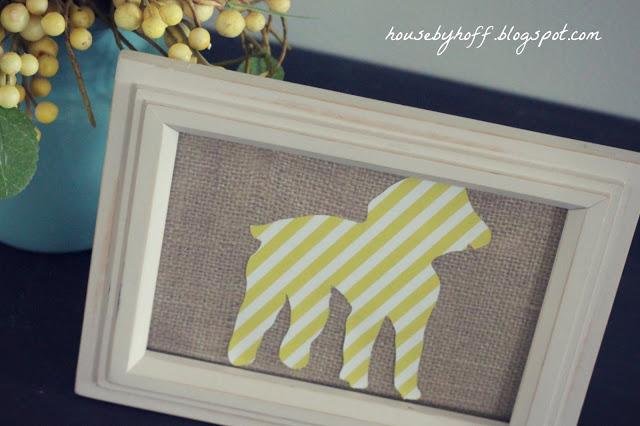
Now…I know most people don’t have a Silhouette Cameo, so I found a tutorial for making silhouettes by printing a photo, cutting out the silhouette, tracing it onto paper, etc.
Here is a link to the Silhouette Cameo on Amazon, if you think you might want one! 🙂
Have a great day!
Leave a Reply