I will show you how to create your own personal DIY song lyric sign!
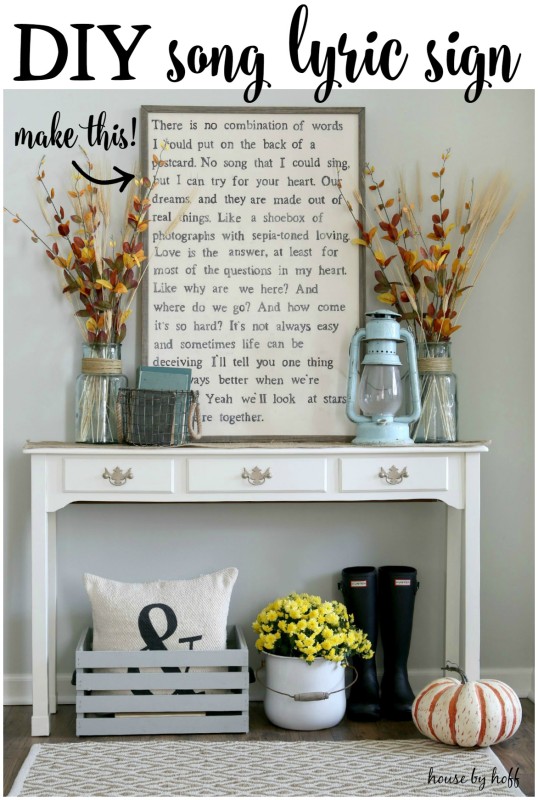
I’m SO excited to finally be sharing my DIY Song Lyric Sign with you all today! This has been by far my most asked about project since I posted about my fall vignette about a month ago, and I’ve been itching to get this post published for you!
The idea for how to create this lyric sign was a combination of my own thinking and sign-making methods I have seen before, but the idea to create a sign like this was inspired by the very talented Tiffini from House of Belonging. Her Etsy shop blows me away, and I adore her unique style. This sign was not a very easy DIY, so if you decide that making one for yourself isn’t in the cards, I would just hop on over to her shop! In fact, I plan on purchasing a few of her signs in the future!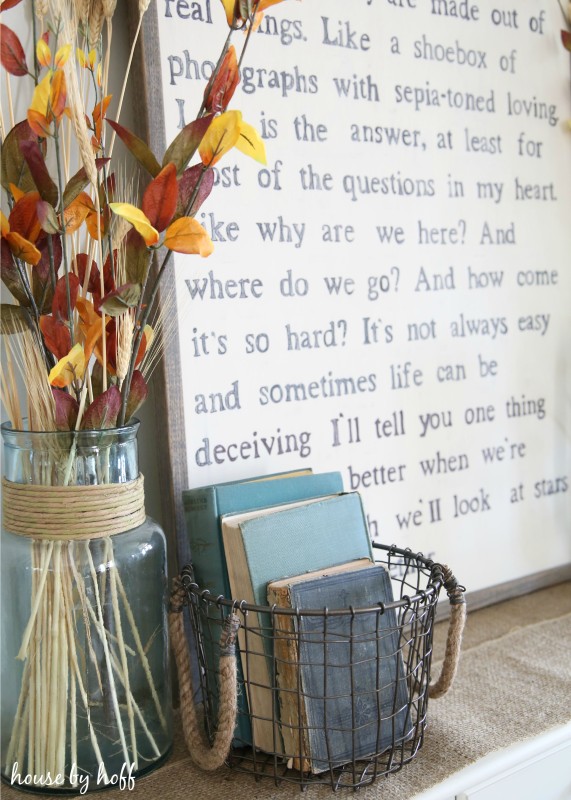
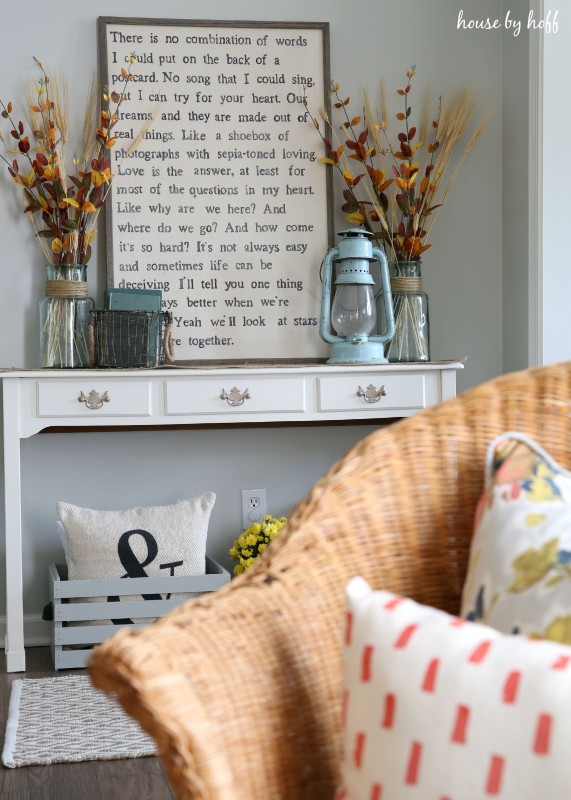
Jack Johnson’s song, “Better Together” has always been one of my favorites. Really, anything by Jack Johnson is my favorite, but this song has always felt special to me. It really expresses the way I feel about my little family…it’s always better when we’re together. (Well, assuming Miss L is in a good mood, and Mr. Hoff isn’t heating up tuna fish or something disgusting in the microwave, and I have my to-do list finished, etc., etc…HA!) So maybe I should write my own song called, “Sometimes it’s better when we’re together…” 😉
Preparing the sign and trim:
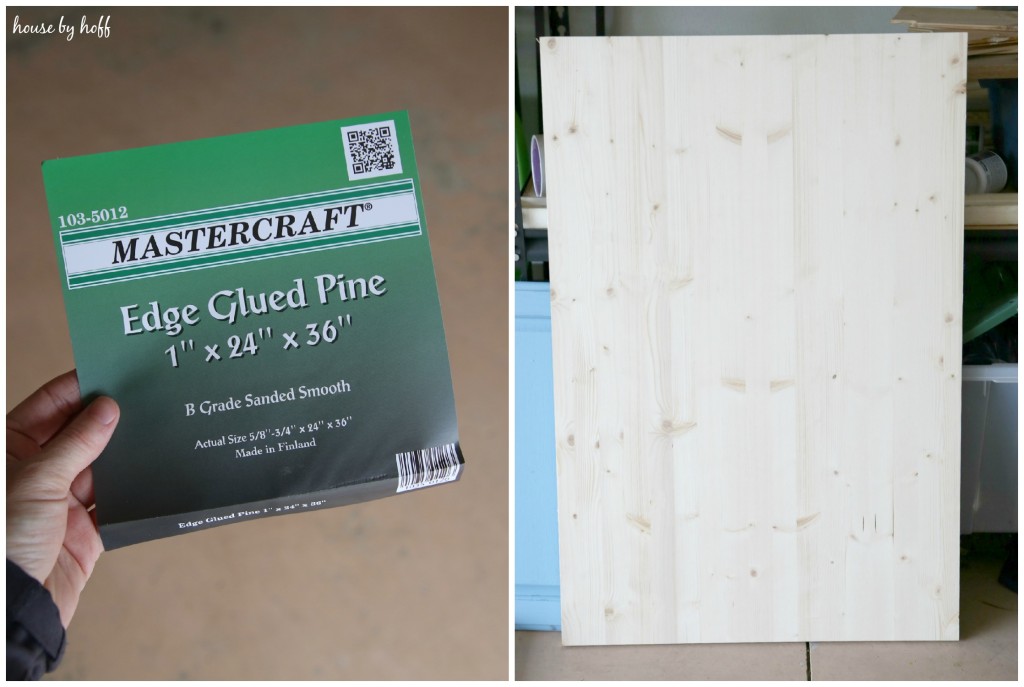
So, I recently shared with you my discovery of these amazing pieces of edge-glued pine (mine is from Menards). They are the perfect size for a sign like this, so we didn’t have to cut it at all. To prepare this board for my song lyric sign, I painted three coats of off-white chalk paint on it before lightly sanding it with a fine grit sand paper to make it smooth.
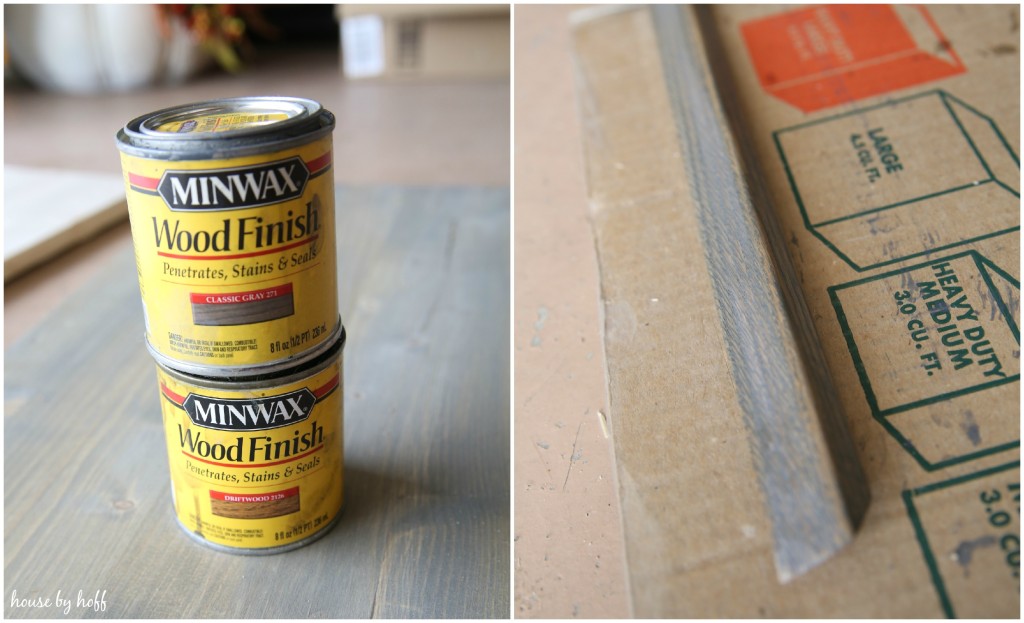
Mr. Hoff cut four pieces of trim to create a frame for this sign, which he then attached to the sign with a nail gun. Before he nailed it on, I sanded the pieces of trim and used a combination of Minwax’s “Driftwood” and “Classic Gray” to achieve the perfect tone of “brownish-grayish” or “Driftwood-y.” I apply the Driftwood finish first, let it dry completely, then apply the Classic Gray.
The Font:
I searched for a long time to find the perfect font to use for sign, and I finally settled on “Tigerlily” which I purchased from Createive Market. Figuring out how large to make my font took some trial and error. I ended up typing up the song lyrics, and printing them off (as many words as I could fit on each page) at a font size of 130
Transferring the words to the sign:
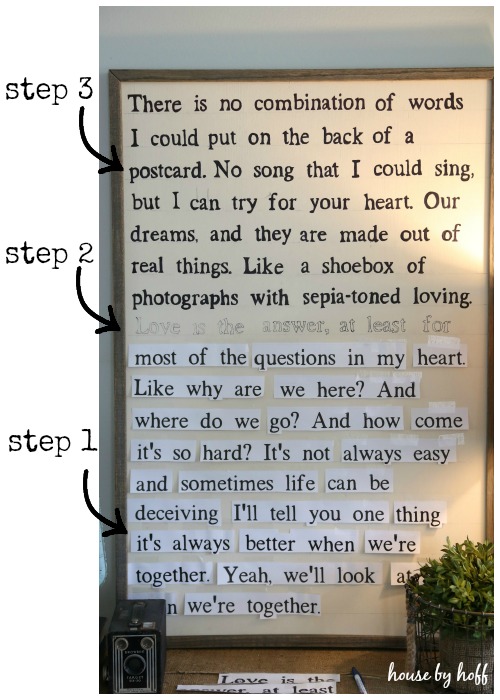
Step 1: I cut out each word, or a couple of words, and lined them up on the lines I had drawn in pencil approximately 2 inches apart on the sign. I used scotch tape to tape them up.
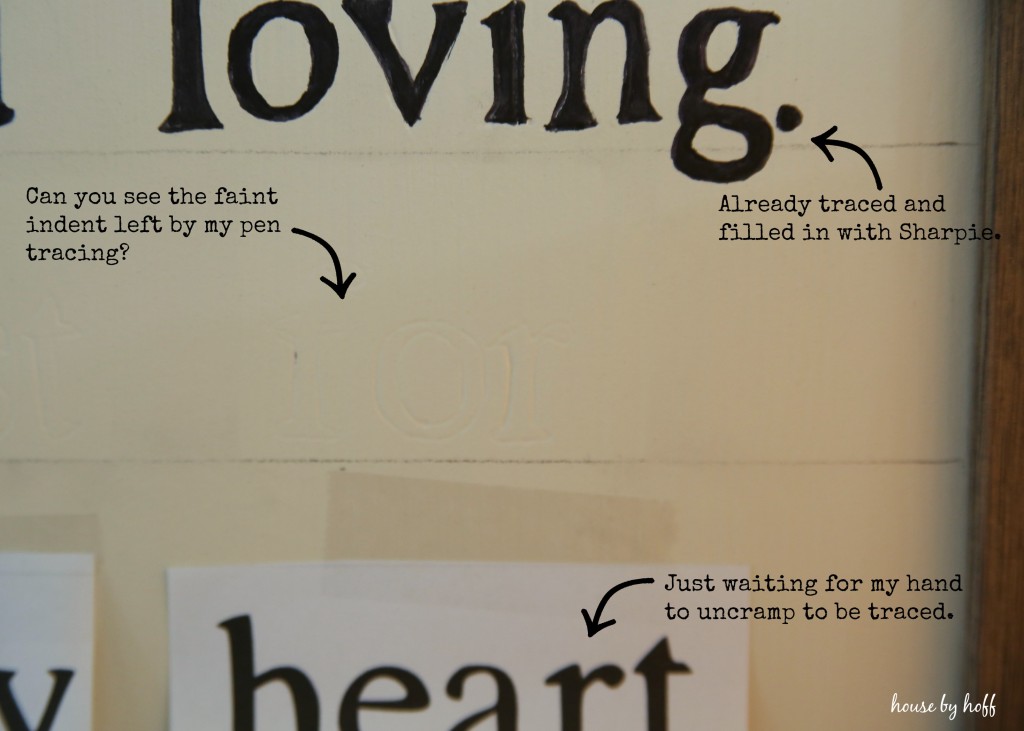
Step 2: Pushing very hard with the point of a pen, I traced each and every letter and word over the paper. I was pushing very hard, because I wanted to leave an indent in the wood of each letter and word. After tracing each word over the paper, I would peel it off, and left behind was the perfect indentation of the word. I took a fine-tip sharpie and traced the indented word, leaving traced hollow letters.
Step 3: Using the same fine-tip Sharpie, (or sometimes a thicker Sharpie…depending on which one’s ink was working better at the moment) I colored in every word. Every. single. letter. and. word. It took me two weeks and probably 15 Sharpies to do this.
Here is a closer look of my handy work. This sign took me two weeks to complete because my hand would start to cramp after about 30-minutes of working on it, and I would have to take breaks. Also, it had to be daylight for me to actually see the indented words well. Most days I would trace what I could during the daylight, then color the letters in while I watched Real Housewives, or something equally as awesome, at night. 😉
Finishing the sign:
After all of the letters and words were traced and finished, I erased the pencil lines and gently sanded with a fine-grit sand paper over the words to make the sign and words appear distressed. I wanted this sign to almost look as though it could be a page from an old, worn book.
~
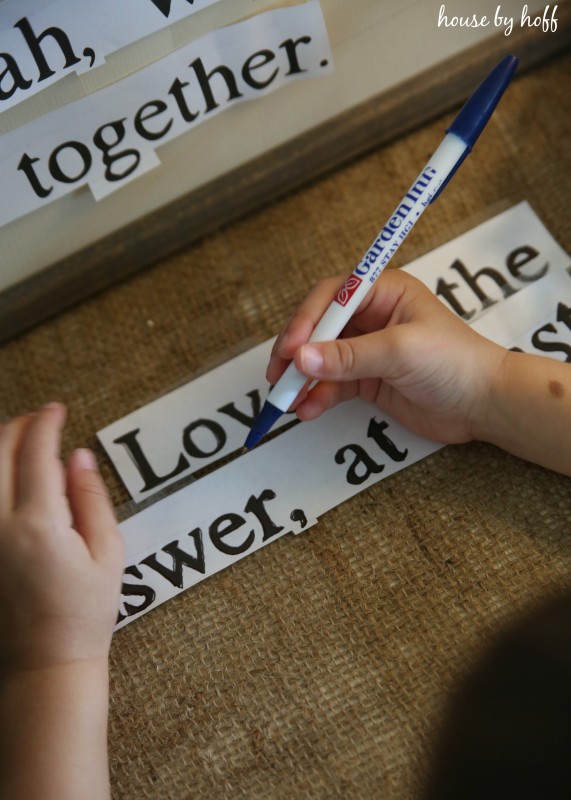
Miss L. got in on the action too…she’d stand under me while I traced letters and “help me”. I’m still kind of surprised that she didn’t get her hands on a Sharpie and start scribbling on the sign in an attempt to “help”. #thankgoodness #hidethesharpies
…and that my friends is the true story of how I gave myself carpel tunnel in one project. 😉
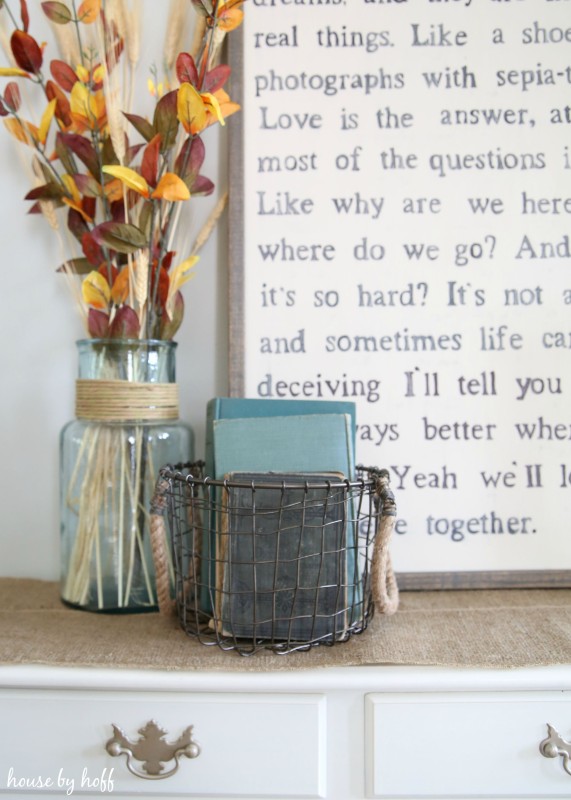
Kidding! It took me a long time, and it was a very tedious process, but I have to say that I’m glad I did it. It turned out great, and it is a real statement piece in the house.

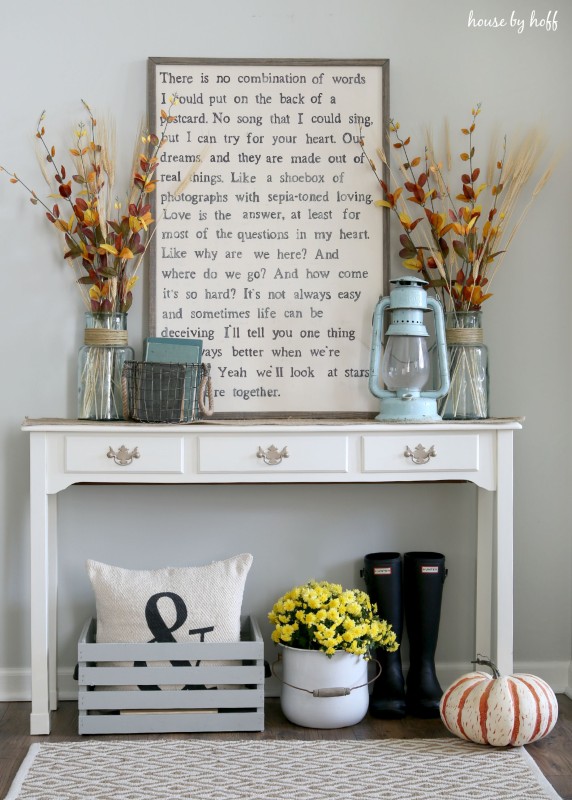
Whew! So that’s it! That’s how I made my song lyric sign.
Hop on over to my DIY Sign for Fall for another great sign idea!
Have a great day!
🙂
Looks absolutely amazing in your home! Great tutorial my friend! Xo
Thank you so much, Aniko! xo
I love this song so much! It is pure, sweet, and happiness. I have been wanting to do something like this with a few quotes and one or two songs to out around my home. I like the simple look of the letters. I will be doing this for sure. Thank you for the idea!
I’m so glad you found this helpful! And you’re right, this song is pure, sweet, and happy! I love that 😉
That looks like a lot of work – but looks SO good! There’s a store that carries beautiful giant quotes like this one near me – and I’m always tempted to purchase until I look at the price tag. I’ll have to give this a try!
It WAS a lot of work, but it was SO worth it! You should definitely give it a try! xo
That is just so cool!! Love it girl! great job!
Thank you, Shawnna! xo
Cool! You’re talented and smart. Those signs aren’t cheap.
Hahaha! That just made me laugh…can you get that printed on a t-shirt and send it to me??? In all seriousness, thank you very much! 🙂
Anytime.
This turned out beautiful! Your hard work and dedication for 2 weeks was well worth it my friend. Great job!
I love this! I keep seeing signs like these and would love one but not finding one that is just right. Now I can totally do this and make it personal! Thanks.
What a fun DIY! And what a perfect song to display the lyrics to!
It is stunning April! And well worth the carpel tunnel!
Yes! I love this so much. The HOB signs are gorgeous but yes, pricey! I’ve thought about DIYing one but I’m kinda scared lol. Yours is gorgeous, April!
Love this idea!! Getting married soon and would love to capture the lyrics of our first dance.
I love this! I was just thinking about different kinds of art my living room needs, and this post has inspired me! Thank you. Your sign is beautiful. 🙂
love this! I’m going to recreate for a 10 year anniversary present. Can you post a pic or description of what kind of trim you used? I’m totally fine to cut and mount it but am curious what you used to wrap the sides and front. Thx!
Hey! This post was so fun to read! I am on board and want to make one myself just because yours looks so great! 🙂
I saw this on Pinterest and I really love it! I’ve done a lot of painstaking word art, but never a piece that intensive! My hat is off to you! I’m going to wait until I get my Cricut machine to tackle a project like this, tho. I know my limits!!!
Love this sign! I have had it on my list of to do’s. Going to try to get one completed myself for our 10 year anniversary! Thank you for the great tutorial and idea. 🙂
HI,I love this idea!
I am hoping to do this with our wedding song lyrics to go in our bedroom.
Just one question:
Once the words are outlined using a sharpie, could you colour them in with a black paint marker instead of colouring them in with the sharpie as well? I know that paint markers tend to glide a bit better and maybe cover better as well?
Thank you,
I’m sure you could…I think it’s easier to be precise and in control of your ink with a Sharpie though. My experience with paint pens is that they can be runny, and it can be hard to keep the paint where you want it. Just my opinion. 😉
Hello.
I absolutely love this idea! I just had a question. What is the “sign” specifications. Size, thickness, finished wood? I didn’t see anywhere in the tutorial what I was looking for when buying an appropriate piece of wood for this project.
Thanks!
Thank you, Holly! The board is 1″ x 24″ x 36″. I didn’t cut or alter the board in any way, so I’ll stick with that! 🙂
Love it & want to try it! If a “Hoff” can do it so can a “Huff” lol
Haha! Good luck, Mary! 😉
This looks soooo cool! If I saw it in a store I’d swipe it up immediately 😉
I’m impressed. You did a great job. It may have taken you longer than you wanted, but I think it was well worth it.
I’m curious if you think stamping the letters on would create a similar finished product? I really want to take this on but looking to save some time!
I think it would, Suzanne! I guess you’d just have to be really careful to make sure your letters stay straight…Would you stamp using paint? 🙂
How and where did mr hoff make he frame? I’m trying to make this and am stumped on that part…
He used our miter saw to cut the trim pieces to fit around the wood sign. He cut 45 degree angles, and they all just fit together. We used a nail gun to attach them to the sign. Hope that helps, Haley! 🙂
Did the frame overlap the main board at all or just butt up against the edge??? Im trying to figure this out too!!!
Yes, the trim folds over the front edge. 🙂
April,
This looks super! I am very impressed. I’m also concerned about your carpels! Everything I love to do – drawing, painting, stitching, crafting – has led to very real issues for me with carpel tunnel. I have had surgery on my right hand a few years ago, knew I needed it on my left, and began having issues with my right again when my friend, Tina, told me about taking Vitamin B6. It has really helped! And, since the B vitamins are water soluble they don’t build up in your body, so you can’t get too much. As much as you obviously love doing what you do, and, like me, push yourself to keep going, even with it hurts, you might want to think about taking it, if you don’t already. I don’t sell it or anything, I just don’t want you to have problems later.
Deb
One suggestion next time could be try using graphite paper- I’ve done this for a lot of my signs and it works amazing! I love this piece!
What is graphite paper and where do you find it? I am about to tackle this and was going to use stamps, but am looking at other options as well:).
Graphite Paper is also known as “tracing paper”. Those of us old enough to have learned to type on “real” typewriters, know that “carbon paper” is a form of graphite/tracing paper. You can find it in some craft stores (probably art department), but always on Amazon.
Hi April!
Would love to pick your brain on this. I’l made a few signs this way but am currently working on my first with sharpies as opposed to paint. it seems the sharpies, both thin and regular tip dry out almost instantly when filling in the letters (presumably because of the paint?)! I know you said you went through 15 sharpies, but does that sound right? i cant figure out if i’m doing something wrong, or if there is a way to bring these dead sharpies back to life! thoughts/tips/tricks?
Hmmm…I was able to use them for awhile (a couple of hours, maybe?) before they dried out. The definitely didn’t dry instantly. What kind of paint are you using? If you put them down for awhile to “give them a break,” does that help? 🙂
wanted to give you an update! i was using regular non-craft paint. BM white dove in matte. but i did just keep striking out over and over with the sharpies. i switched to PAINT pens! and it worked like a charm! thats for the tutorial and the font lead. i have a thing about fonts and this one was perfect:) i was going to post a pic here but i don’t see the option! unless the link below works somehow, but i have a feeling it wont…
Awesome! I’m so glad you figured it out! 🙂
I am doing this project right now and having same problem with sharpies! I went through a five pack just doing the first row of words. I am using chalk paint. It’s like the paint soaks up the marker. Not sure if I trust my skills with paint pens.
I use this method to make my signs all the time! I found a tip that helps me TREMENDOUSLY which is to hold the flashlight on my phone up against the indentation and go over it with pen. That way I can see where I am painting and I get super sharp lines 🙂
GREAT idea!!! Thanks, Angela!
I LOVE THIS!!! I am thinking of trying to tackle something like this – What size piece of wood did you use?
Thank you so much! It was 24″ x 36″. Good luck! 🙂
Hi, just started this project. Is there a secret to getting the letters on the wood? I’m pushing so hard with a pen that the paper is almost tearing…and the indention is barely there. Any other tips?
Hmmm…I don’t know any “secrets.” Are you using pine? The outlines is faint after pushing and tracing the letters, but shouldn’t be so faint that you can’t see it. Hope this helps!
This sign in AMAZING. Thank you so much for sharing.