This post is sponsored by The Home Depot #DIYWorkshop
Well, my friends, Father’s Day is around the corner, and we’d better get a move on! I just so happen to have a fantastic Father’s Day Football Toss project courtesy of the Home Depot and their DIY Workshop to share with you, because what guy wouldn’t love a football toss for the backyard?!
Mr. Hoff and I has fun putting this football toss together, and personalizing it to show our Indianapolis Colts pride! 😉
Materials:
- 1 – 1/2″ x 2′ x 4′ Sanded Plywood Board
- 2 – 1″ x 4″ x 12′ Common Boards
- 2 Packs – Everbilt #10 x 1 1/4″ Phillips Zinc Plated Flat-Head Wood Screw (8 per pack)
- 1 Pack – #10 x 3/4″ Phillips Zinc-Plated Flat-Head Wood Screw (12 per pack)
- 1 Pack – Everbilt 2 1/2″ Zinc-Plated Narrow Utility Hinges (2 pack)
- Paint or Stain (I used Behr Premium Plus Ultra Interior & Exterior Paint and Primer in “Pure White” and a custom color match for the Colts Blue we were going for.)
- One foot length of string or twine
- One small nail of any type
Tools:
- Circular Saw
- Reciprocator Saw
- Drill
- Drill Bits – 1/2″ and 1/8″
- Heavy duty Stapler/Staples
- Pair of Snips or Wire Cutter
- Measuring Tape or Carpenters Square
- Pencil
- Safety Goggles
- Sanding Block
Directions:
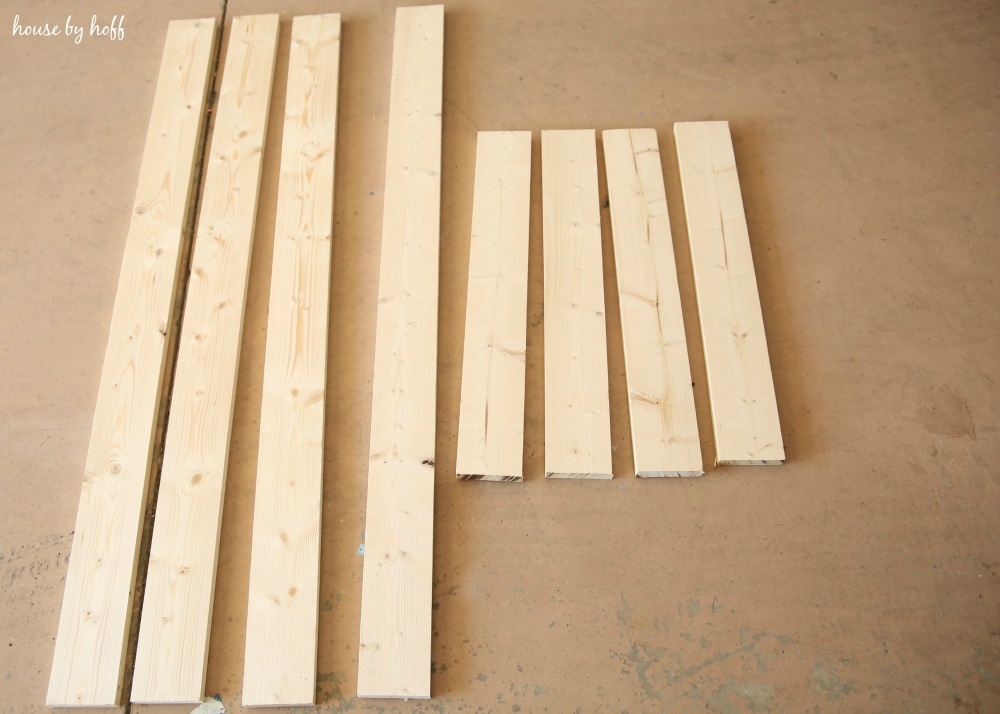
Cut the legs and braces from the (2) 1″ x 4″ x 12′ boards using the circular saw.

Below you can see the 4 legs, which measure 1″ x 4″ x 4′. The 4 braces measure 1″ x 4″ x 2′.
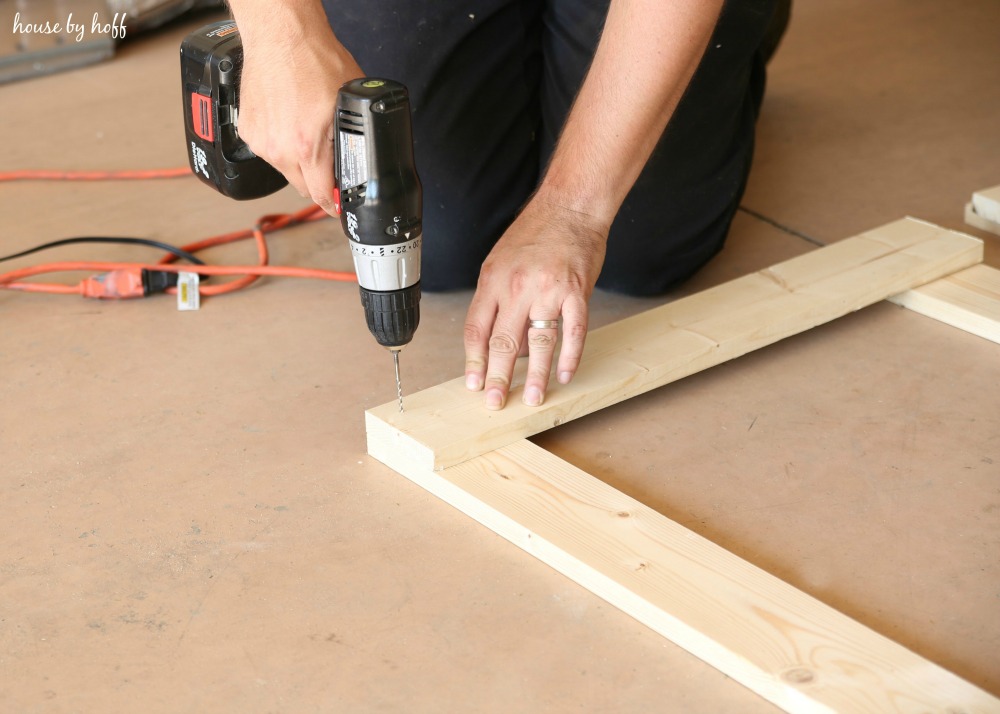
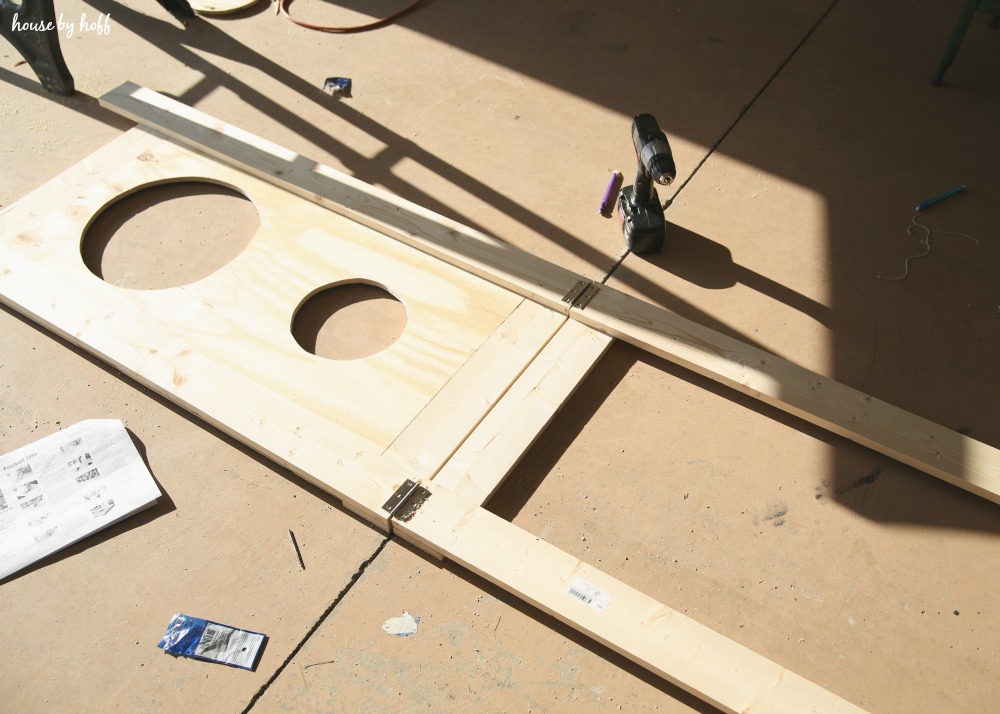
Lay 2 legs flat 2 feet apart. Lay 2 braces on top of the legs, one flush with the top of the legs, and one 3 ft below the top. Using a drill and 1 1/4″ screws, secure each brace.
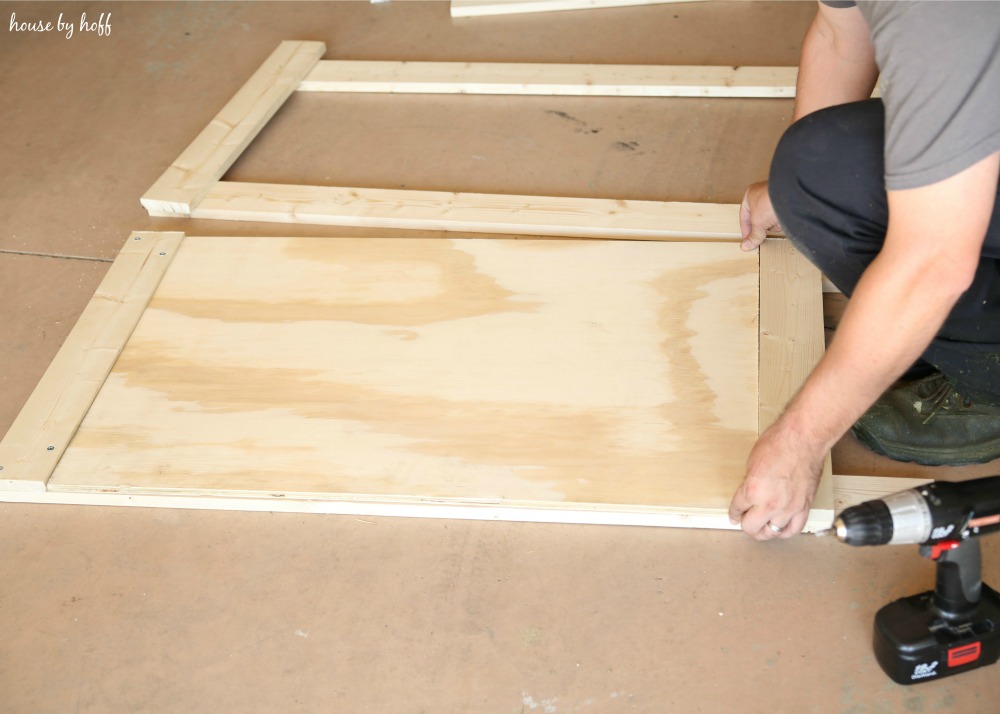
Below you can see the frame partially assembled. You’ll want to cut your plywood board to 2′ x 3′ so that it fits in between the braces on the front panel.
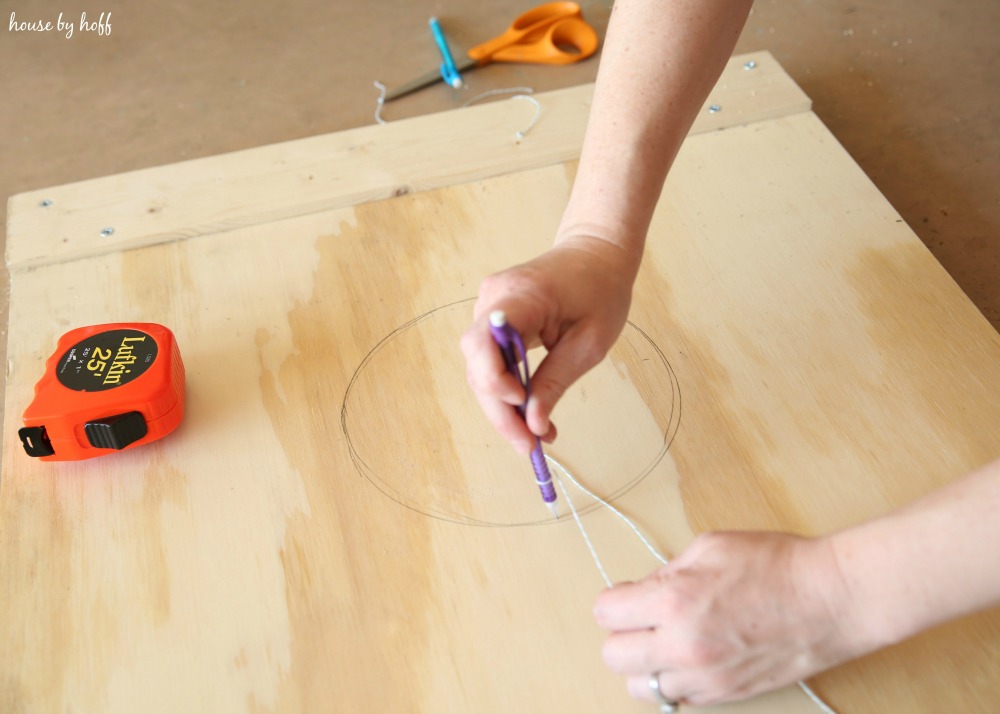
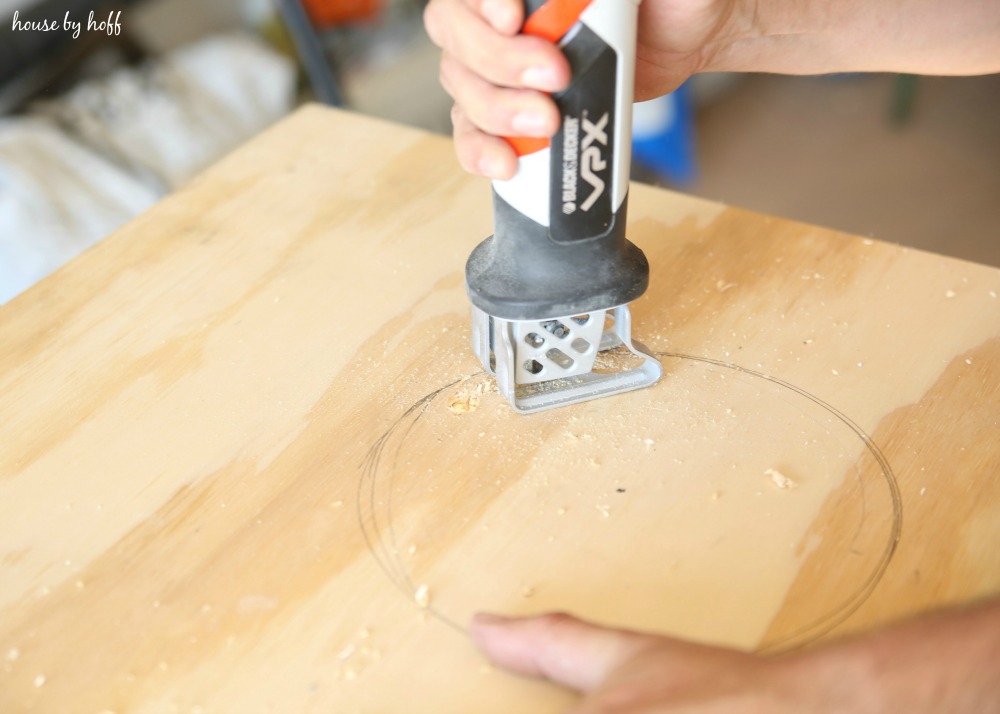
Next comes my favorite part, drawing the circles on the front panel! Looking at the 2′ x 3′ plywood vertically, mark 9″ from the top and 9″ from the bottom. Nail a nail into the centered bottom mark. Tie one end of a string around the nail head and one end around a pencil ensuring the string is 6″ from nail to pencil. Next, draw a circle keeping the string tight. You should now have a 12″ diameter circle.
Using the centered top mark, nail a nail into the center mark and tie a string around the nail head on one end and to a pencil on the other end, ensuring that the string when stretched from nail to pencil is 4″. Draw circle. You should now have an 8″ diameter circle.
Using a 1/2″ drill bit, pre-drill one hold inside the edge of both circles. Using the reciprocator saw, cut both circles out.
Lay both frames back to back with plywood and braces facing outward. Using the drill, secure the hinges to the top side of each frame.
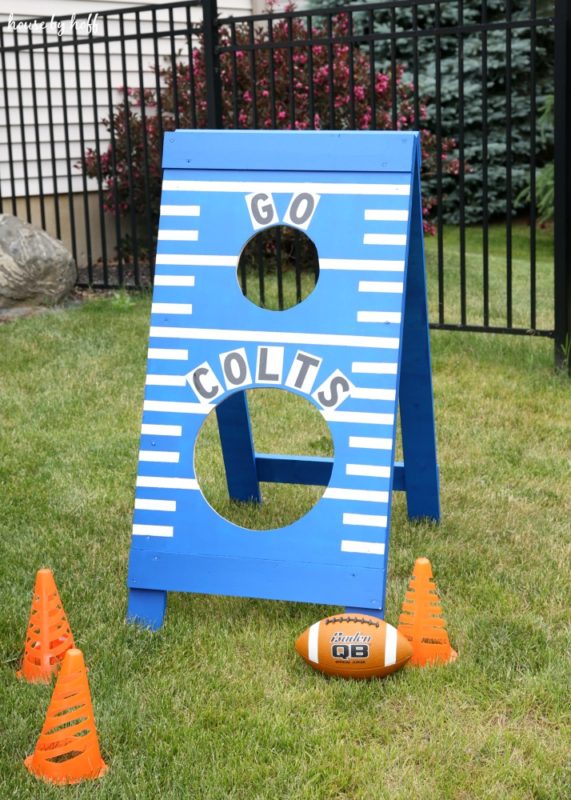
We wanted our football toss to have an Indianapolis Colts theme, so I painted the front panel with Behr Premium Plus Ultra Interior & Exterior Paint and Primer in “Pure White.”

Next, I used painter’s tape to mark off lines to resemble a football field. Finally, I painted the entire frame twice with a Behr Premium Plus Ultra Interior & Exterior Paint and Primer custom color match for the Colts Blue color we wanted.
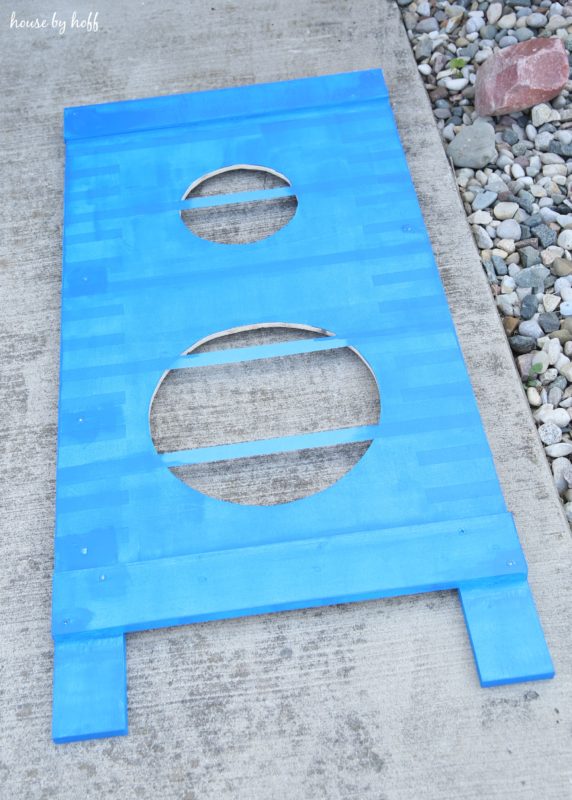
When I peeled the tape off, the white football field lines were left. I also added some vinyl letters from Home Depot to show some team spirit. 😉
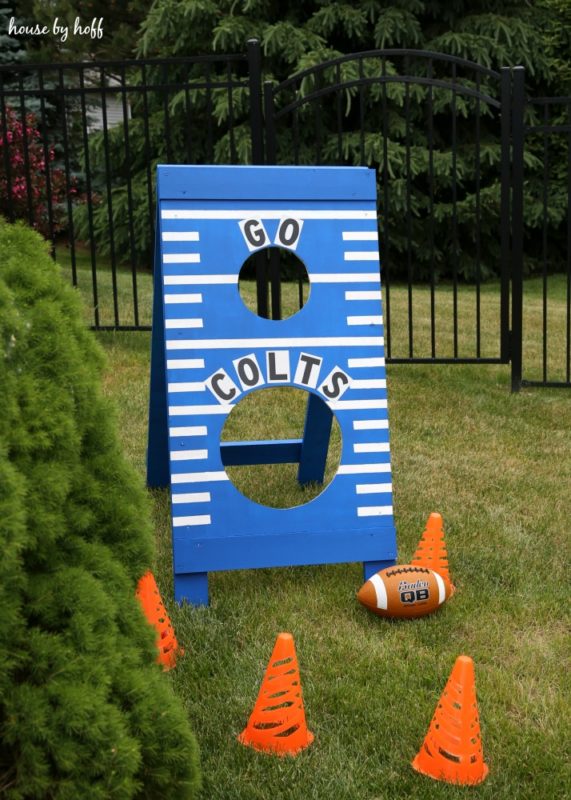
We’re quite pleased with our finished product!
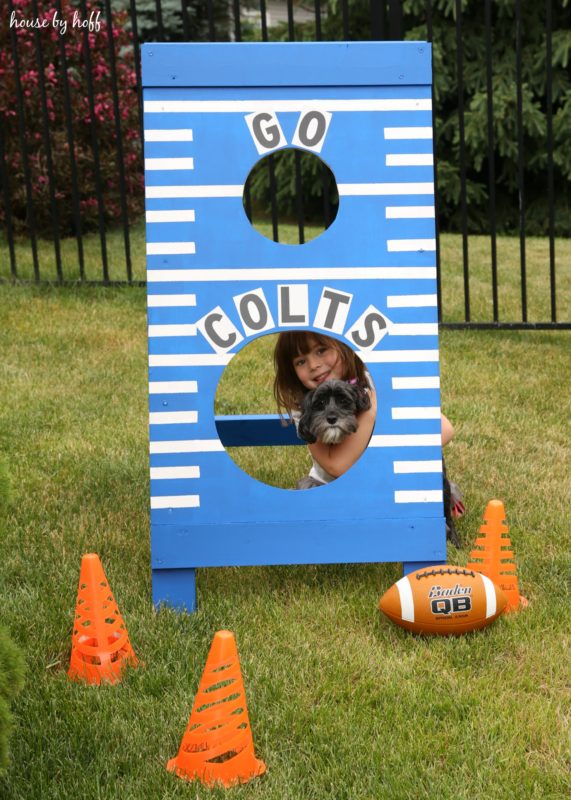
Our two little Colts fans have found many uses for this football toss. 🙂
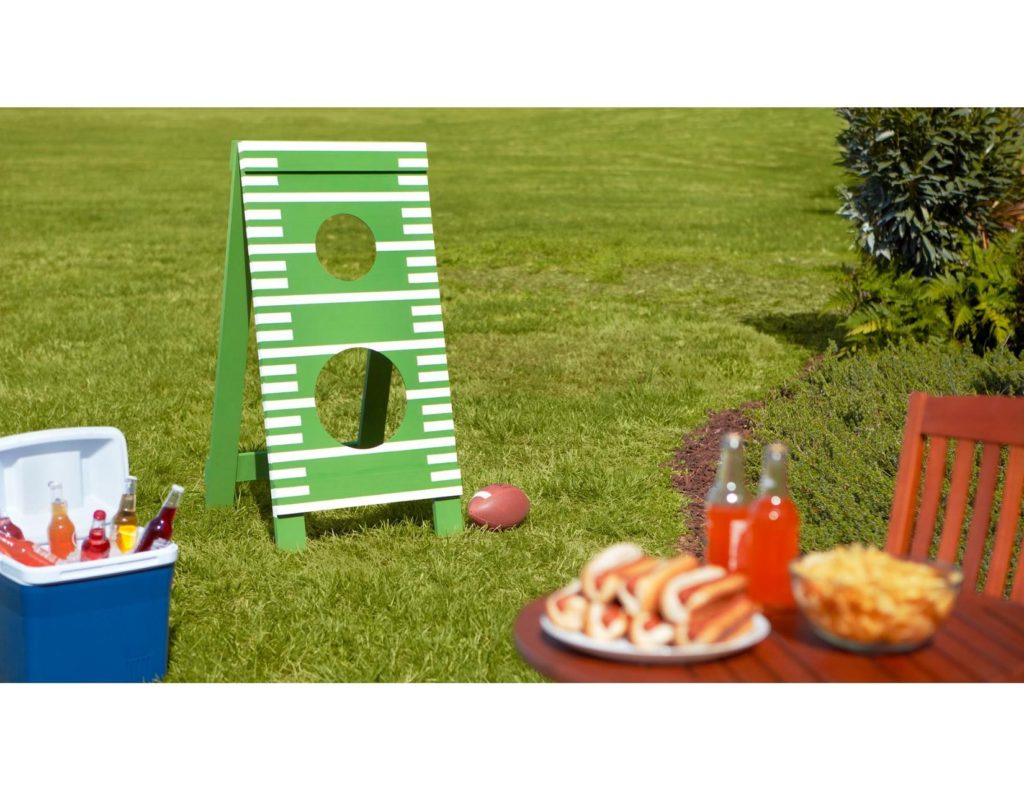
Be sure to check out even more Football Tosses below!
Confessions of a Serial Do It Yourself Blog
I hope you’re inspired to make a DIY Football Toss of your own for Father’s Day this year!
At the DIY Workshops you can learn how to build decor projects, how to make easy home repairs, and how to operate tools through demonstration and step-by-step instructions. The Home Depot offers Workshops at all of their locations for people of all ages and experience levels. Their workshops are great. They offer DIY, DIH (Do-It-Herself), and Kids Workshops. Attendees won’t always be able to make and take the project (changes by store), but you’ll walk away with the skills to recreate the project at home.
You can visit The Home Depot’s website to find out what workshops are offered and get signed up at your local store!
I like how you did the lettering around the circles! Turned out great.