How could it possibly be $30 Thursday again?
Maybe it’s because I’ve been working so hard on my bathroom, but I barely made the deadline this month. I normally turn my homework in early, finish a project well ahead of deadline, but I barely got my Pallet & Plate Wall Art slapped on the wall in time this month!
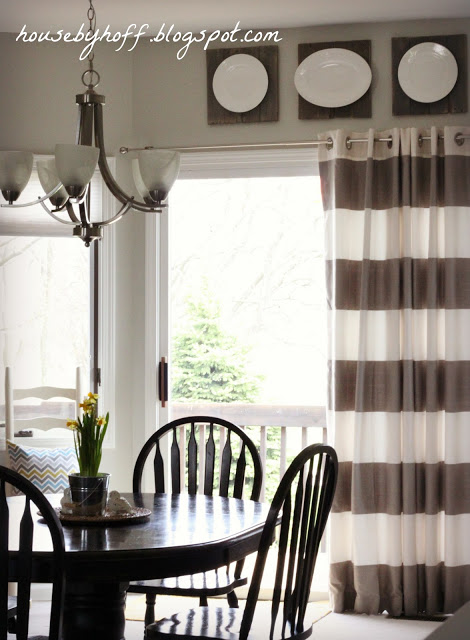
I’m relieved to say that it didn’t affect the quality of my work. I love my $30 Thursday project this month! I had an empty space above my sliding glass door that had been waiting patiently for me to hang something on it. That space would catch my eye in the middle of breakfast and bat it’s eyelashes. It would whisper sweet nothings to me as I fed Miss L. her dinner, it would poke my shoulder in the middle of vacuuming the floor…it. needed. something.
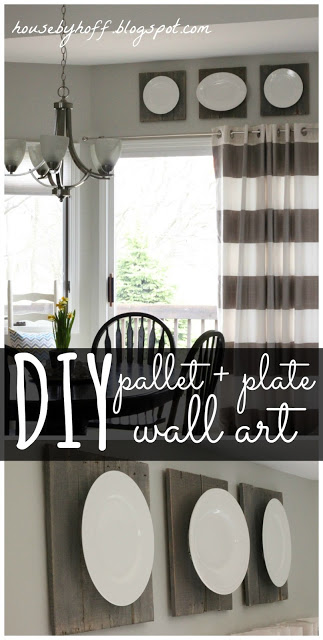
I considered doing some pallet art. I considered hanging some plates. Then, in a moment of sheer genius, I considered doing both. The idea for Pallet & Plate Wall Art was born!
Here is how I did it:
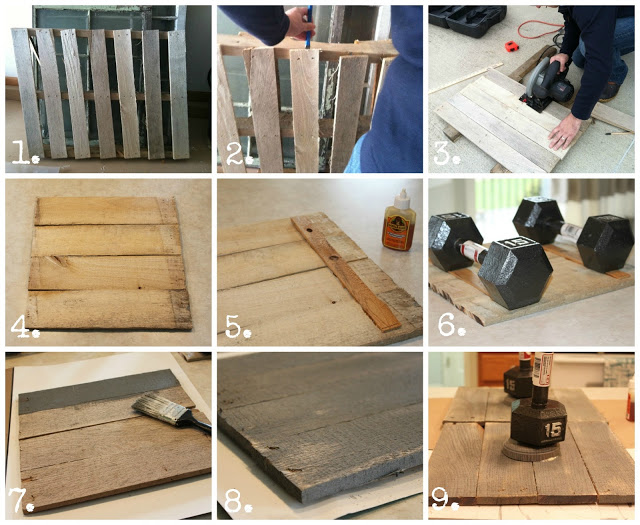
1. I had been looking around for a pallet to snag. I asked at a few stores (they just looked at me like I was weird), I looked on Craigslist, then I mentioned it to Mr. Hoff who found one on the side of the road out in the middle of nowhere….what are the odds?! He picked it up for me and brought it home.
2. Using a chisel and a hammer, Mr. Hoff removed the boards while I snapped pictures with one hand, and held a squirming toddler with the other.
3 I had Mr. Hoff cut the boards in half. The squirming toddler was now somewhere in the middle of the yard with no shoes on.
4. I lined up four boards. It was the perfect size for a plate!
5. I put Gorilla Glue on two shims and placed them on each side of my pallet square. The shims were cut to size, and were perfect for holding my pallet boards together.
6. To hold my shims in place while they dried, I used two 15 lb. weights that I didn’t even know we had use all of the time to stay toned and fit.
7. Using Minwax Wood Finish in Classic Gray 271 and a paint brush, I painted my boards.
8. To give them an aged and “roughed up” look, I sanded with medium grit sandpaper until I achieved the look I wanted.
9. I wasn’t sure how to properly mount my plates onto my finished pallet squares. After considering it for awhile, I bought some 4″x4″ round wood plaques at JoAnn. I finished them in the same Classic Gray Wood finish and, using Gorilla Glue, mounted them to the pallet square. I used the 15 lb. weight to hold them in place. Note: Gorilla Glue really expands while it dries! Periodically wipe up the excess glue that “leaks” out with a paper towel or rag.
10. {Not Pictured} I used Gorilla Glue to glue the plate to the round wood plaques.
11. {Not Pictured} I used 3M Command Damage-Free Hanging Strips to mount the Pallet & Plate Wall Art to the wall.
I really like the contrast of the rough and worn pallet wood with the white, bright plates!
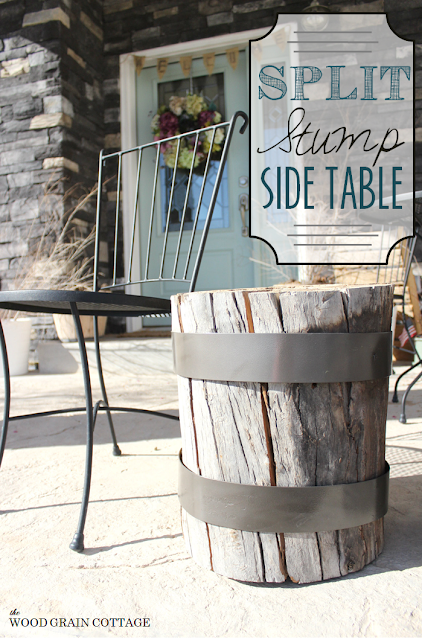
This Split Stump Side Table is another one of Shayna’s genius and creative ideas!

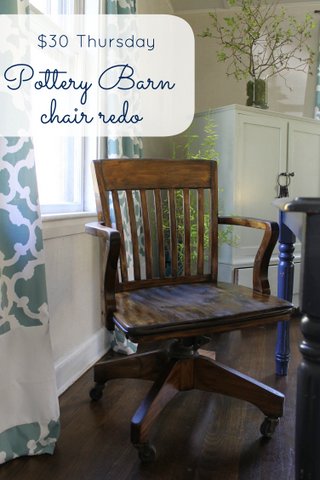
Jen’s Pottery Barn chair redo looks just like an antique, doesn’t it?
Remember to keep up with our $30 Thursday projects on our Pinterest Board!
Have a great day! I’m substitute teaching in a 2nd Grade classroom for the afternoon….eeeek! 🙂

GREAT job, April! I absolutely love it! 🙂
-Shayna
http://www.TheWoodGrainCottage.com
Thanks, Shayna! 🙂
This turned out really well. I love the juxtaposition of the smooth plates and the pallet wood.
Thanks, Bronwyn…I love that too! 🙂
Those are great, April!! Love the pallet wood with the plates – so rustic chic 🙂
Thanks, Chelsea! 🙂
that turned out fabulously, april! love how it fills the space above the sliding glass door!
these are GREAT!!! Love this! Thanks for linking up at Give Me the Goods Monday!!!
What a great idea! So cute & makes it pop!! Where did you get your curtains??