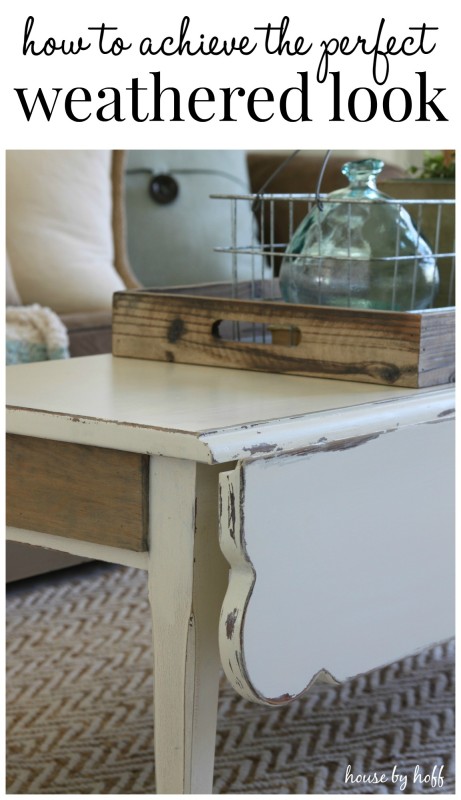
I’ve been painting furniture for, mmmmmm about 10 years. I’d say I’ve had some hits and some misses, but this coffee table I’m counting as a total hit. It turned out exactly how I wanted, and I’m spilling the beans for how I achieved the exact “weathered” look I was going for.
There are many methods and strategies for weathering furniture, but I’m going to tell you what worked for me. 😉
What you’ll need:
– Chalk Paint
– Vaseline
– Fine Grit Sandpaper (I used 320 grit)
– Water Based Polycrylic Protective Finish (I use Minwax)
– *Optional: Palm Sander
– *Optional: Minwax’s Wood Stain in “Classic Gray” (I used this because I didn’t like the original wood color of the coffee table.)
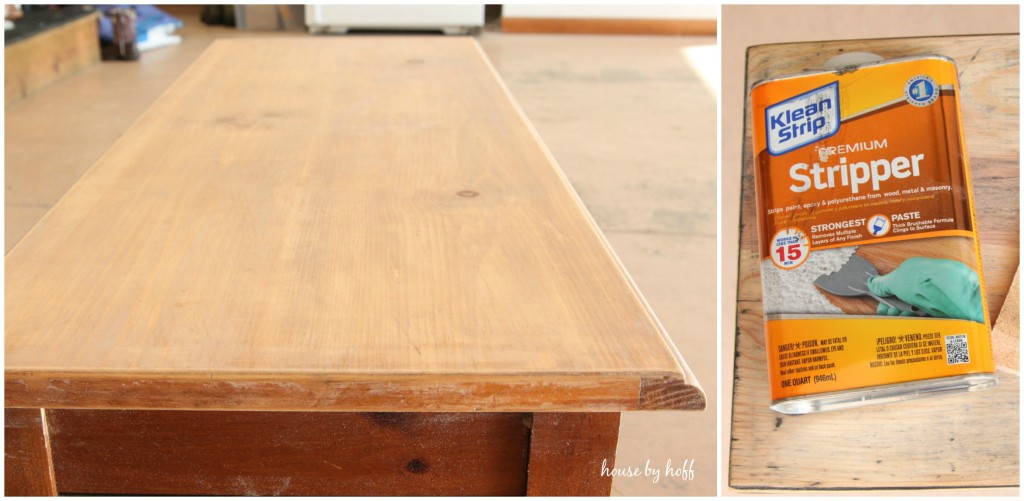
– *Optional: Premium Stripper (I used this because I wanted to strip the original finish off of the coffee table.)
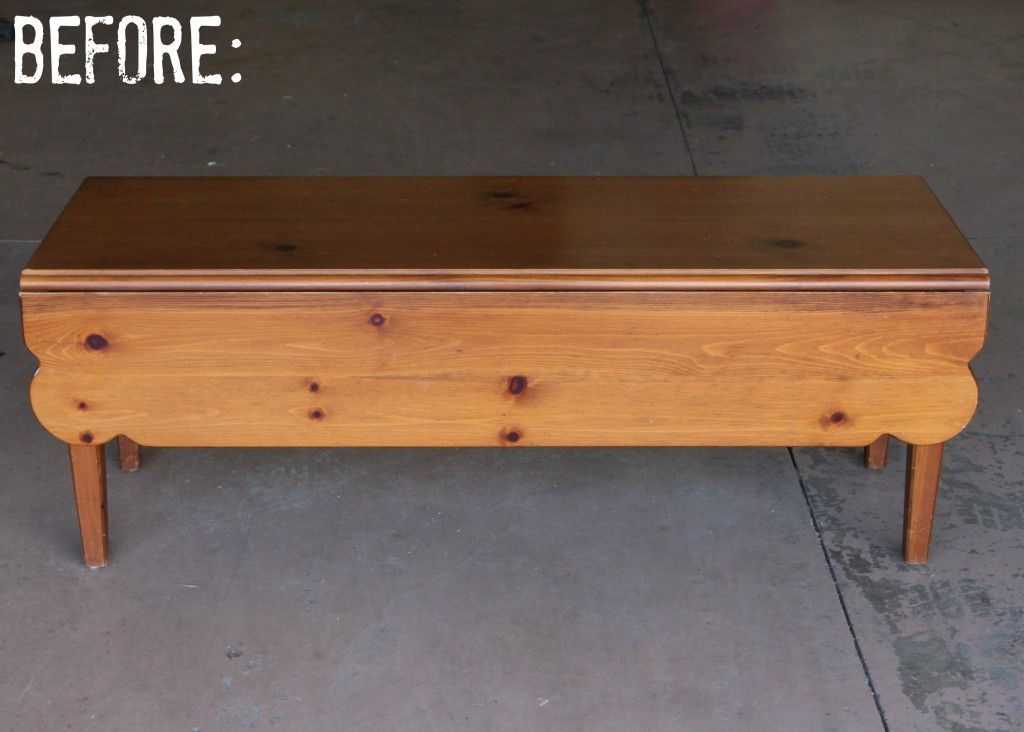
So, when I purchased this table at a garage sale, it looked like this. Orange, knotty, and outdated. The funny thing is that Mr. Hoff had this exact same coffee table in his house growing up (and in his collage apartment). I’m guessing that this coffee table was a pretty popular model about 15-20 years ago. 😉
I wanted to remove the orange-colored stain from the table (especially on the table top and flaps), so I used a hand sander and sanded the whole thing. Next, I used Klean Strip Premium Stripper and scraped off as much finish as I could. After that, I sanded again, then stripped again (hahahaha!!), and repeated this process until it looked about as good and non-orange as possible. I worked a lot harder at the table top and flaps than the base of the table, because I knew I would be distressing the table top and flaps more.
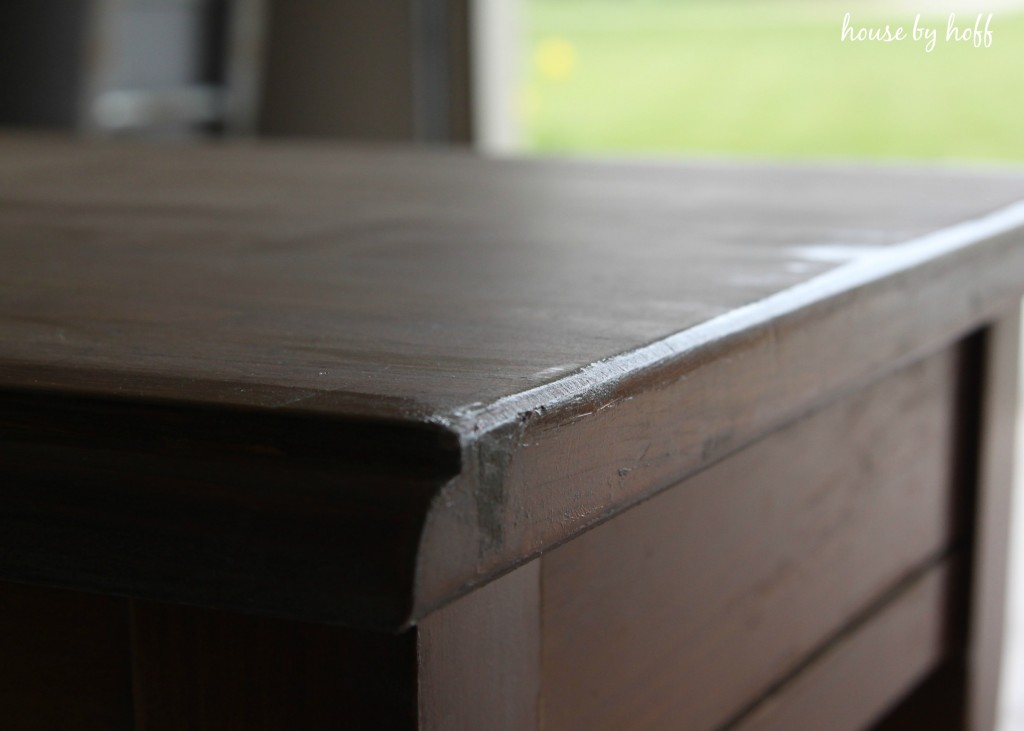
While Miss L rode laps on her tricycle and ate popsicle after popsicle, I gave the table top, base, and two side flaps 3 coats of Minwax’s Wood Stain in “Classic Gray”. So, you might be wondering why I went to all the trouble of stripping and staining this table, if I was just going to paint over it. The simple answer is this: I knew I wanted to heavily distress this thing, and I knew I didn’t want the orange color to show through. I wanted a nice gray to show when I was finished distressing. That’s why. 😉
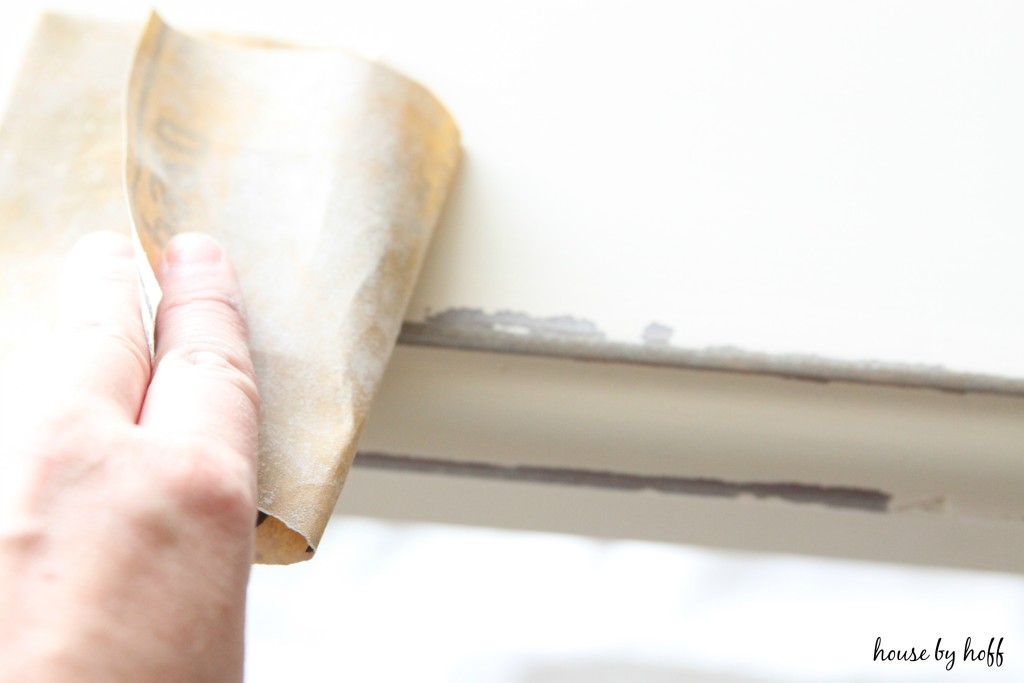
Mmmmmkay. So here is the secret to getting this awesome, distressed, chippy look: VASELINE! I was fully aware that after I painted this piece, I wanted the white chalk paint to chip right off very easily along the edges, thus leaving me that pretty gray showing through. If I would not have used vaseline, I still would have had to sand pretty hard, and I was nervous that I would sand right through the gray and get the orange wood showing through…make sense?
So, you can see below, I rubbed vaseline on the edges of the table, and everywhere I wanted the white chalk paint to chip right off:
I painted the piece with about three coats of chalk paint. I used a custom made chalk paint (by Rhetta at Not Too Shabby for my local readers). She gave me a great suggestion to dip my brush in a little bit of water between strokes on the last coat of chalk paint. It gave me a very smooth and even finish that looks fantastic and reduced the appearance of brush strokes!
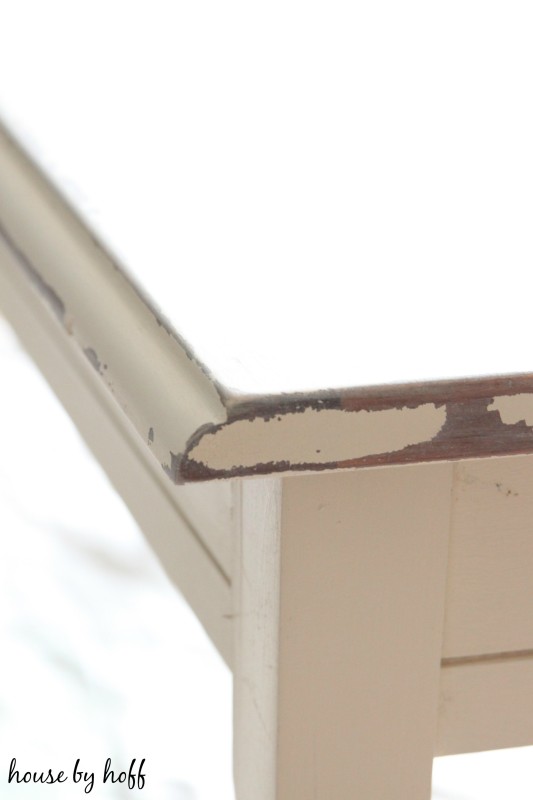
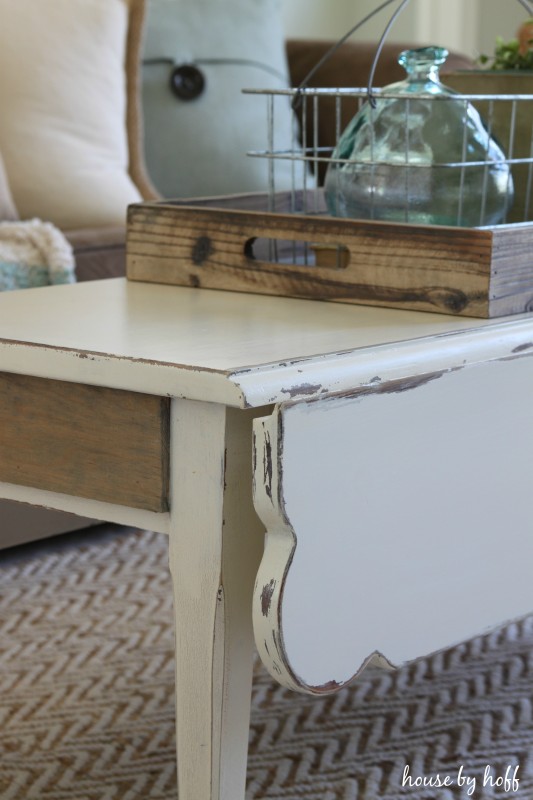
After my last coat of chalk paint dried completely, I ever so gently sanded the sides of my table with fine grit sand paper. You can see that the vaseline worked like a charm, and the paint chipped off beautifully leaving my gray showing through.
I gave the entire table a couple of coats of Minwax’s Water Based Polycrylic Protective Finish because I know darn well that this coffee table is going to be used and abused. 😉
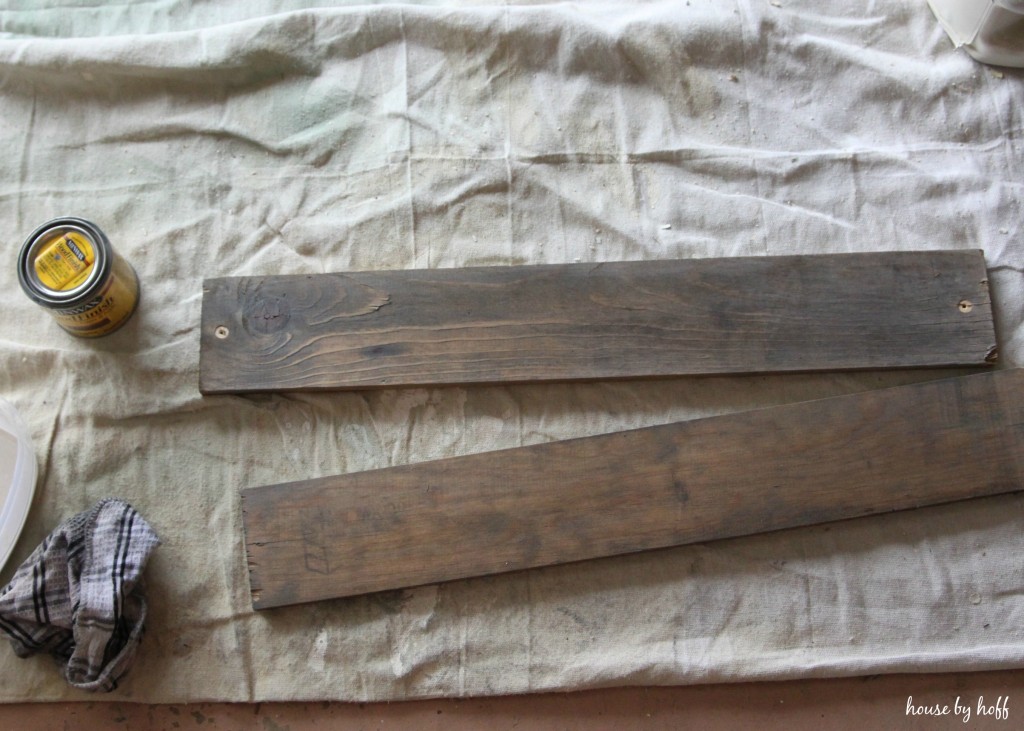
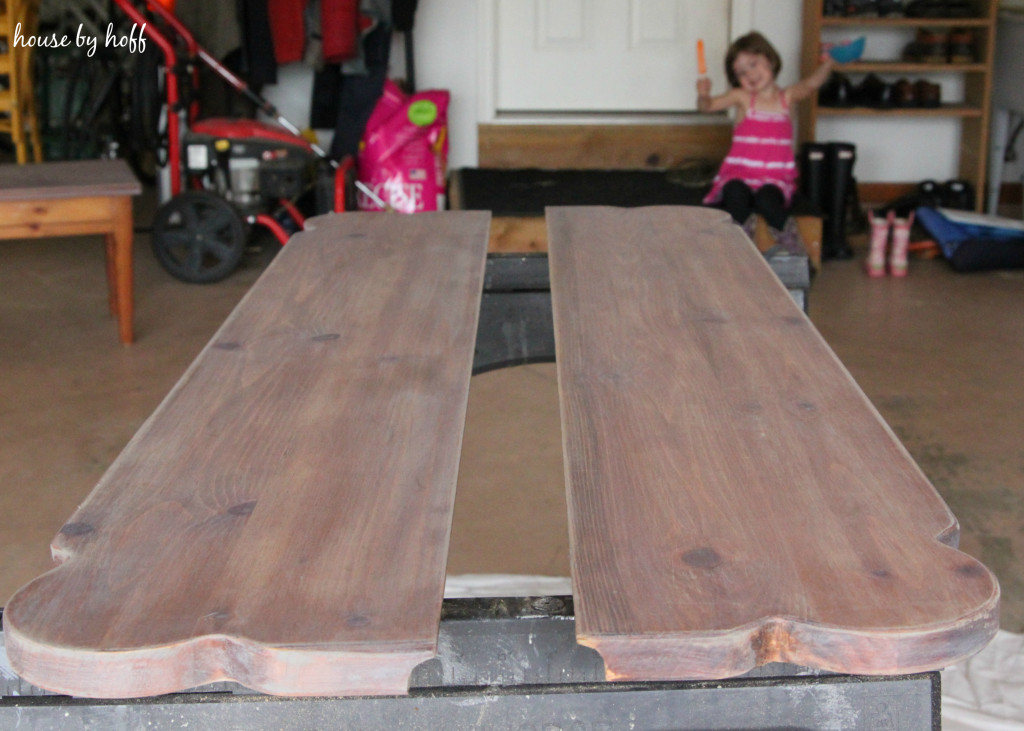
To add a little bit of rustic charm and character to the table, we cut two pieces of pallet wood, which I stained in “Classic Gray” and attached them to the two sides of the table with a nail gun.
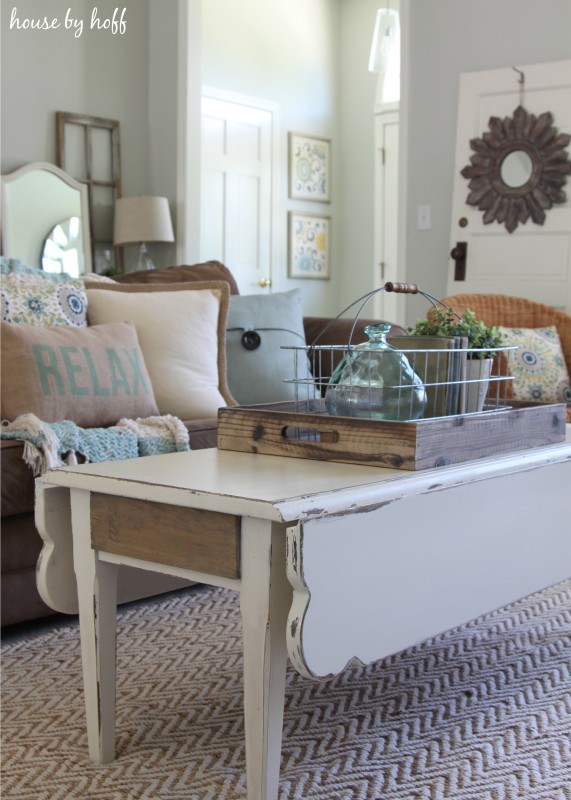
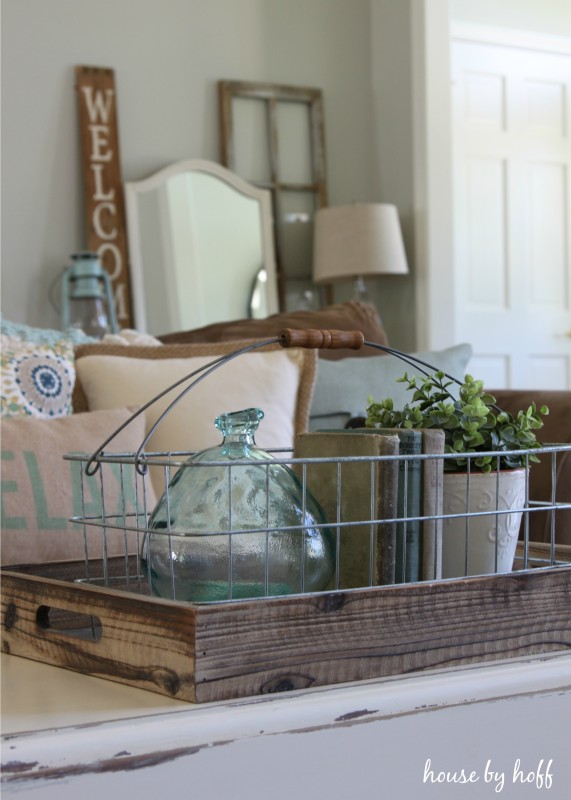
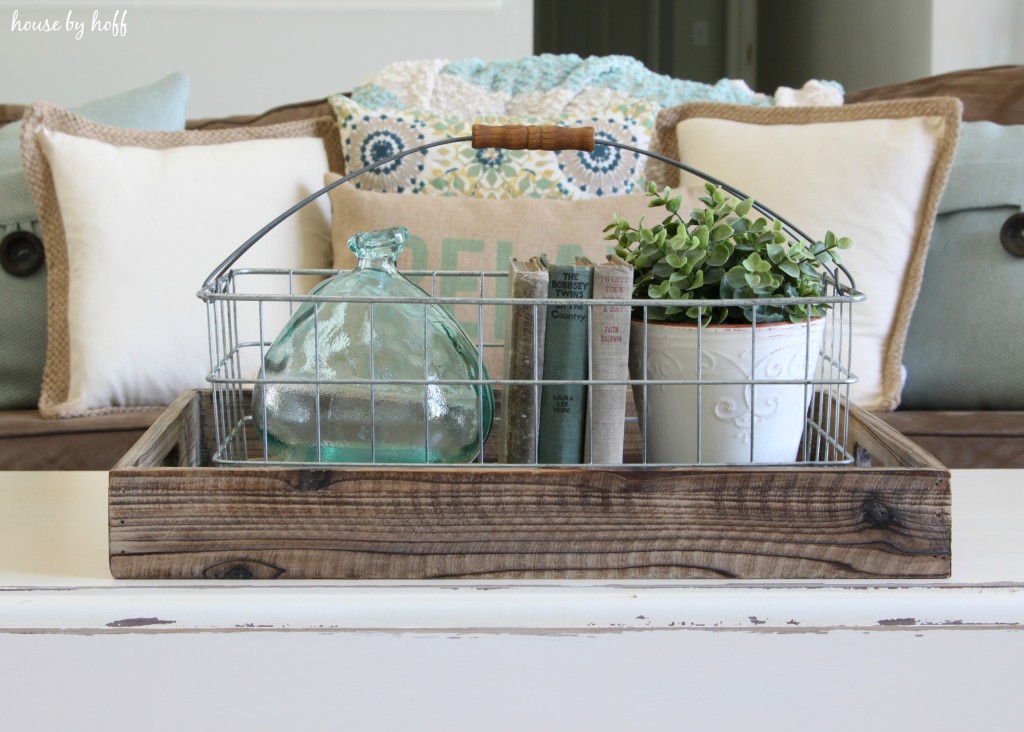
The Finished Product:
So, what do you think? Are you going to go get the vaseline out of your medicine cabinet right now? 😉
Have a great day!
~
I’m linking up at: Link Party Palooza
Such a beautiful finish! I think you just convinced me to give the vaseline trick a try. Thanks for the beautiful inspiration. xoxo
Love how it turned out…well worth the effort! I’ve used the Vaseline trick before but then forget exactly where I’ve put it so I’m not sure where to sand. Maybe just doing the corners and edges would fix that.
Ha! I could so see myself doing something like that! 😉
Hey girl- Great tips!! Love the table!!
Gorgeous! It IS the perfect weathered finish. I just finished a piece that started orangey, and when I distressed it I didn’t like the orange showing. I’m going to have to revise it, so next time I’ll use your advice! 🙂
What a great tip! Who knew?
Beautiful table April and such a clever trick. I just might have to try it. After i get all unpacked and recoup from our big move ( : Miss L is so darn cute ((**))
HI!
Love the tutorial, the table looks great. I love the weathered tray you have sitting on it and also the oval one in your dining table vignette. Do you have the sources for those? I’m having trouble finding trays in the right finish and dimensions. I love yours!! Thanks!!
Thank you, Melissa! The tray on my coffee table is from Kirkland’s and the oval one on my dining room is from Wayfair.com (it comes in a set of two!) 😉
Thanks so much for the quick reply, April! I’ll see if they have something like it still. You have great taste:)
Love it!! I’m going to give this a try today…like you, I have tried various ways of distressing and I like how easy this sounds…thanks for spilling the beans!!
I have a puppet theatre in my classroom that is currently sage green with decorative design of Gold drama faces and a sun and moon and a couple other designs surrounding border/window.
I would like to paint it ivory with the weathered look. Should I cover the decorative embellishments with Vaseline if I don’t want them to be completely covered? Any other suggestions on weathering an item with other designs on it?
Yes! That’s exactly what I would do! Just dab little bits of Vaseline on the embellishments. (A little goes a long way!) 🙂