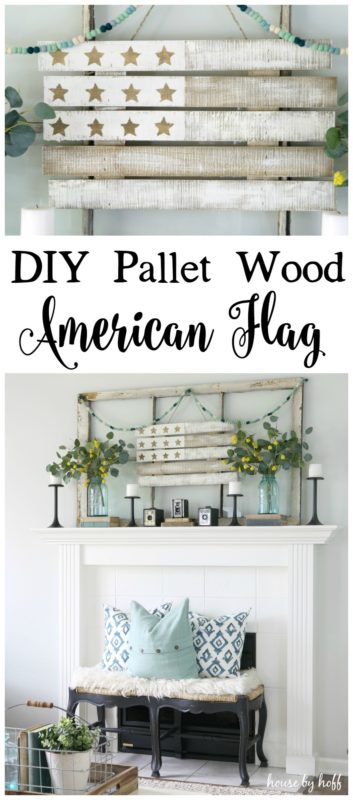
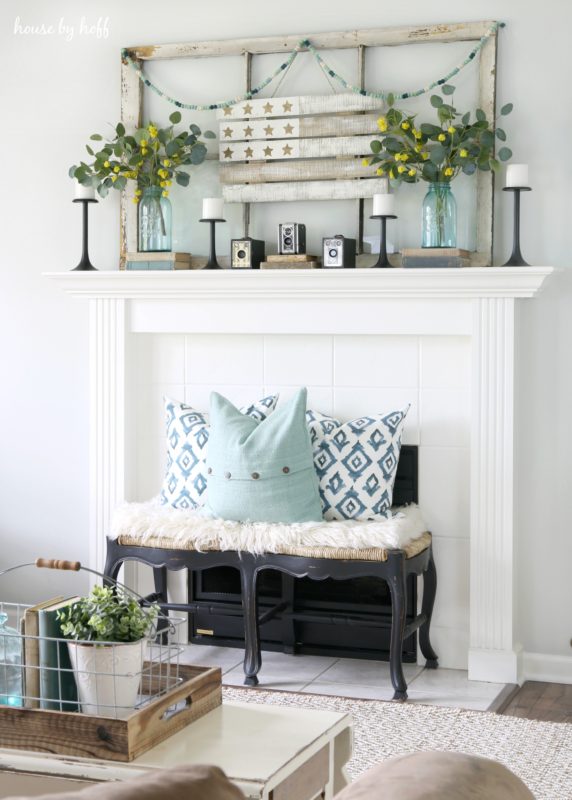
This DIY pallet wood American flag is the perfect July 4th project!
I hate to jinx anything, but I think we’re having the best summer ever.
Miss L. has been happy, busy, and enjoying summertime just the way a four-year old should. Her daddy and I are having the best time watching her splash in the pool with her cousins, play in the lake, watch fireworks with glee, catch frogs and turtles, and ride her bike in the driveway. Our weekends are a flurry of pool days, lake days, boat rides, and grilling, and we’re just loving every minute.
We’re having a great summer, and life is feeling balanced for me. This is something I struggle with. If you’ve read my blog for any given amount of time, you may know that I teach full-time, run my own photography business, and write this blog. To say that things can feel out of balance at times, would be such an understatement. I know I’m not the only mother out there who struggles to balance motherhood, being a wife, working full-time, and perhaps start a creative business and chase dreams on the side. Nobody said it was easy….but man, do I love it! 😉
This summer things feel more balanced, and I recently had time to sit down and do something that I haven’t had time to do for awhile: Make a project just because I wanted to. It was awesome. 😉
Now, I have to admit something right off the bat. I didn’t actually assemble this sign. I bought a pre-made pallet wood sign from Hobby Lobby.
#iknow #slacker #whatev
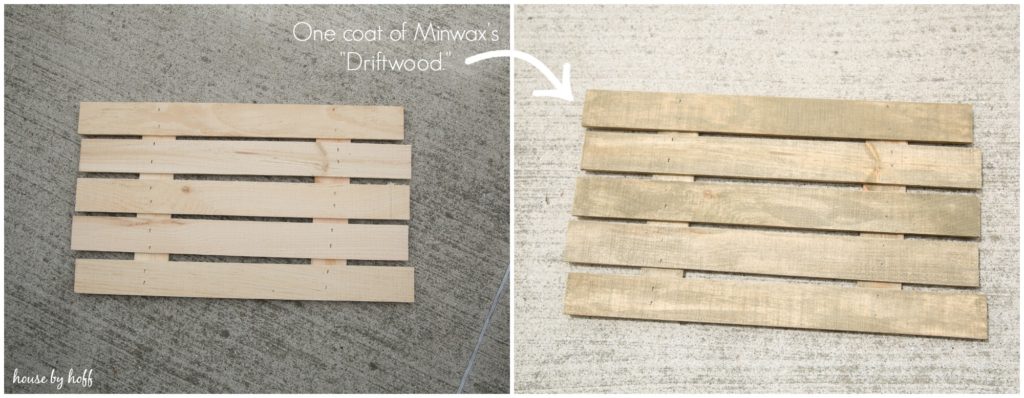
First, I stained the pre-made sign with Minwax’s “Driftwood.” I was careful to try and stain in between the boards so that none of the original unfinished wood color could be seen. It was nice that I tried, but when all the stained dried, you could still see some spots I missed. Here’s the thing though: When you’re making a very rustic sign like this, your mistakes just kind of all blend together and don’t matter. It all ends up looking like it was supposed to be that way.
At least that’s what I tell myself.
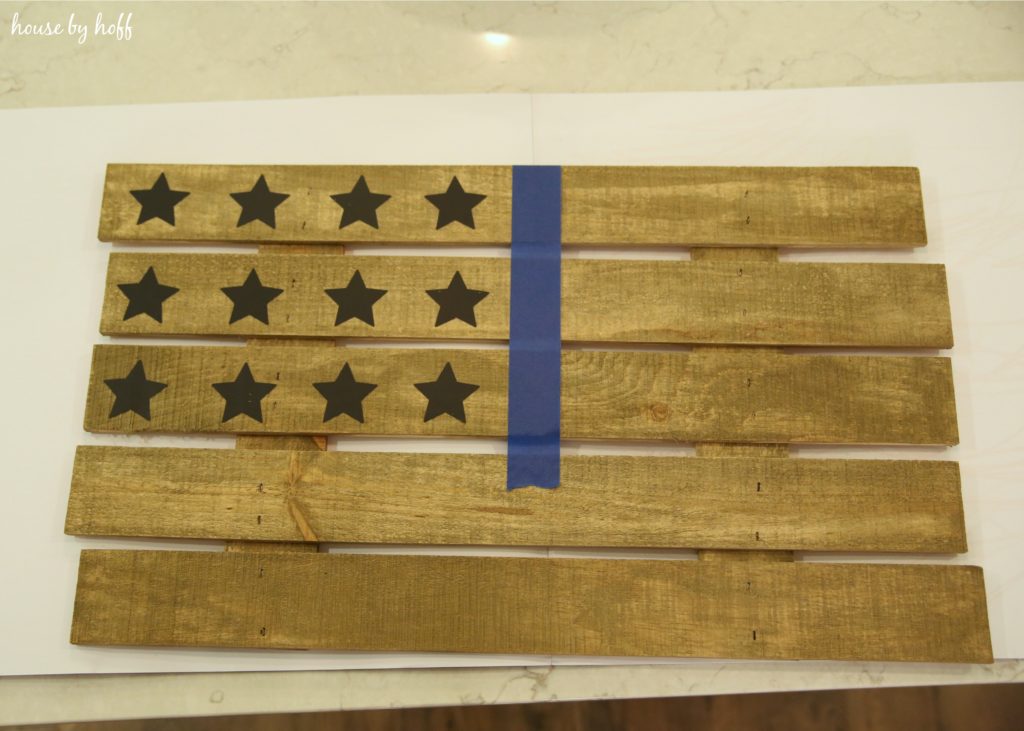
I had two choices when designing the flag: 1) Make a perfect American flag with 50 stars and 13 stripes OR 2) Kind of make up a design that resembles the American flag.
Obviously, you can see which route I went.
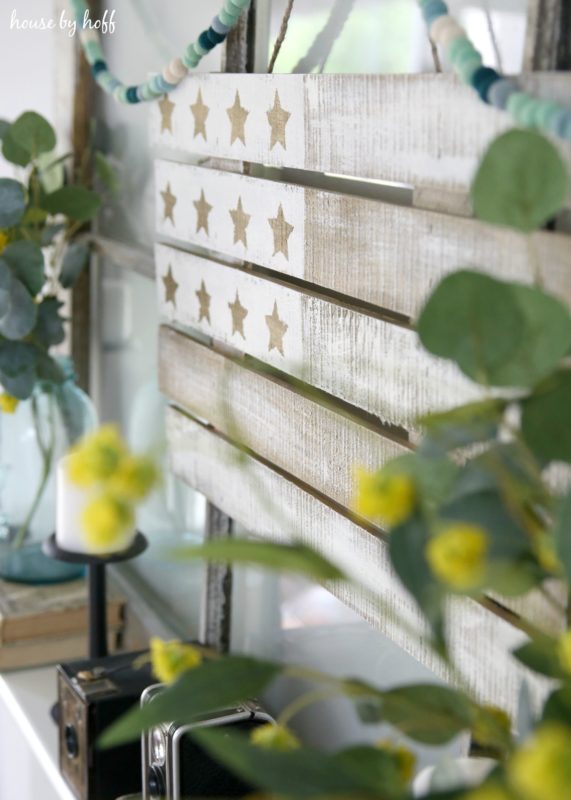
To create the stars, I cut some vinyl stars on my Silhouette Cameo. I used painter’s tape to tape off “star area” and painted over the vinyl stars with white chalk paint. After I finished, I just peeled the vinyl stars off. I created the stripes by dry-brushing each board and then I added a little more paint to the boards that I wanted to be whiter, and left the other two with a little less paint…make sense?
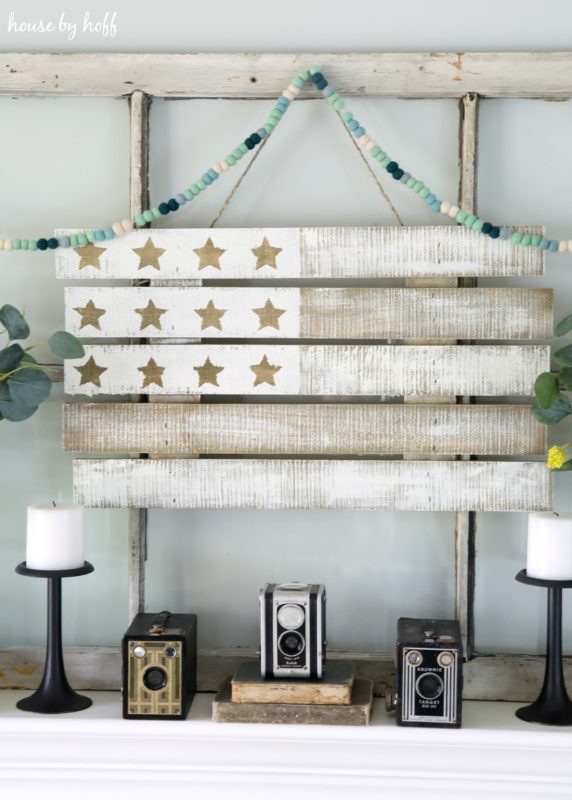
Even though I was kind of unsure about how this little idea in my mind would turn out, I just love it! Isn’t it nice when things just work out! Happy July 4th!
I love it too!! It is so great to make something that’s easy and turns out fabulous. I’m going to give it a try!
Thank you so much, Mary! Good luck with yours! 🙂
hey girl love the sign! So cool! I’m so glad you are having a great Summer with the family! God has blessed you so much!
Awww, you are so sweet and so right, Shawnna. Thank you! 🙂 xo
April, your mantle looks amazing as always. I just wanted to tell you how much my mom and I enjoyed how you decorated your home for every season. I lost her two weeks ago, after being on life support for over a week, after a sudden illness. Thank you for sharing your home with us. Each time I see a new blog post I will think of her. Have a beautiful summer with Ms. L and your Mr. Love, Jennie
Hi Jennie! I’m just now reading this, and I’m completely humbled by this comment. I am so sorry for your loss, and I take your sweet words to heart. xo
Such a cute project, April!! I love how aged it looks:)
Thank you, Krista! 🙂