I will show you how to make a DIY wooden serving tray with handles!
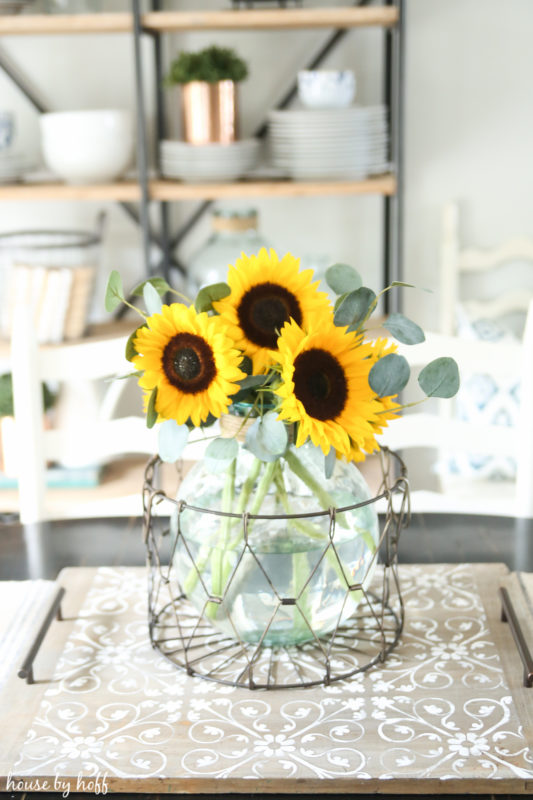
I’m so excited to be sharing this fun trash to treasure project with you today! This great DIY Wooden Serving Tray is my new favorite piece on the dining room table, but it didn’t always look this way!
I found this great piece of rustic wood in my parents’ neighbor’s dumpster. They’re cleaning the place out, and I’ve actually been able to pull a few treasures out of there. Lucky me! 🙂
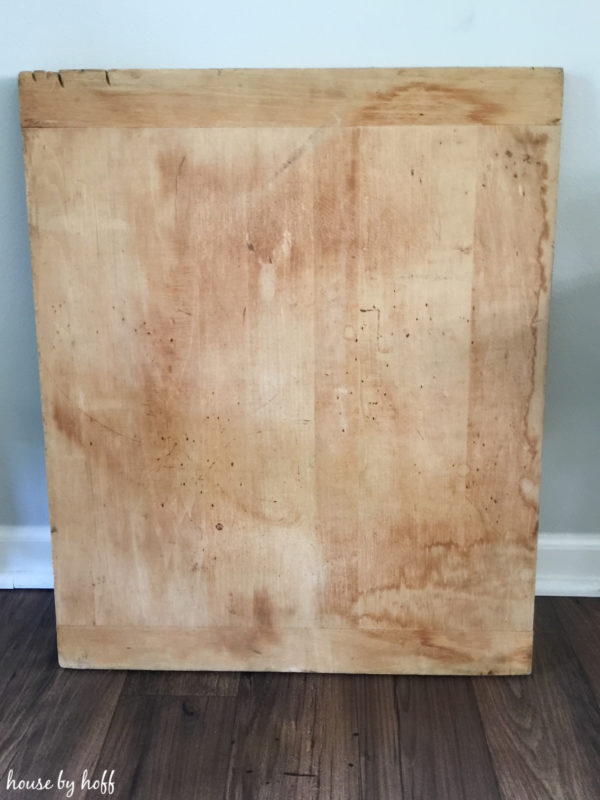
I knew this piece of wood had tons of DIY potential and after going back and forth about it for awhile, I decided to turn it into a serving tray with handles. Below I’ll outline the steps I took to turn this old piece of wood into a gorgeous wooden tray:
DIY Wooden Serving Tray
*Affiliate links used*
Supplies:
- A piece of wood (mine is a 24″ x 20″)
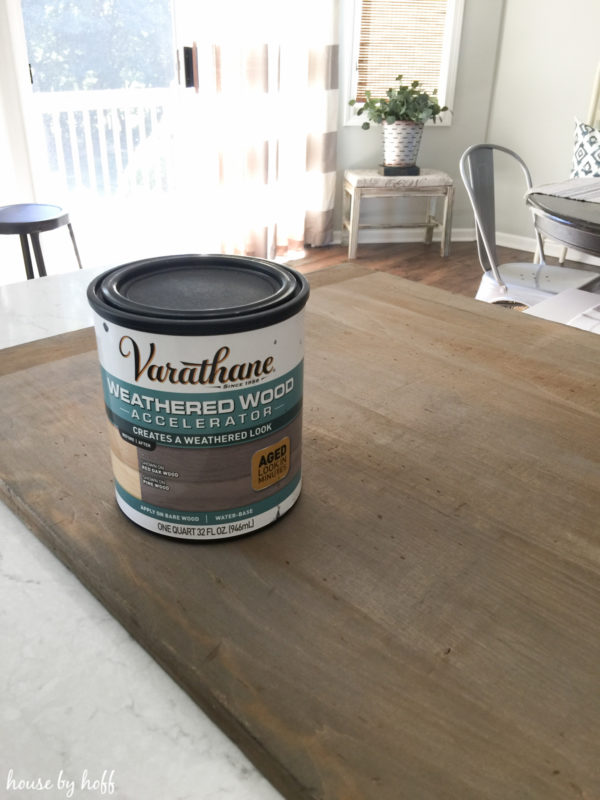
- Varathane Weathered Wood Accelerator
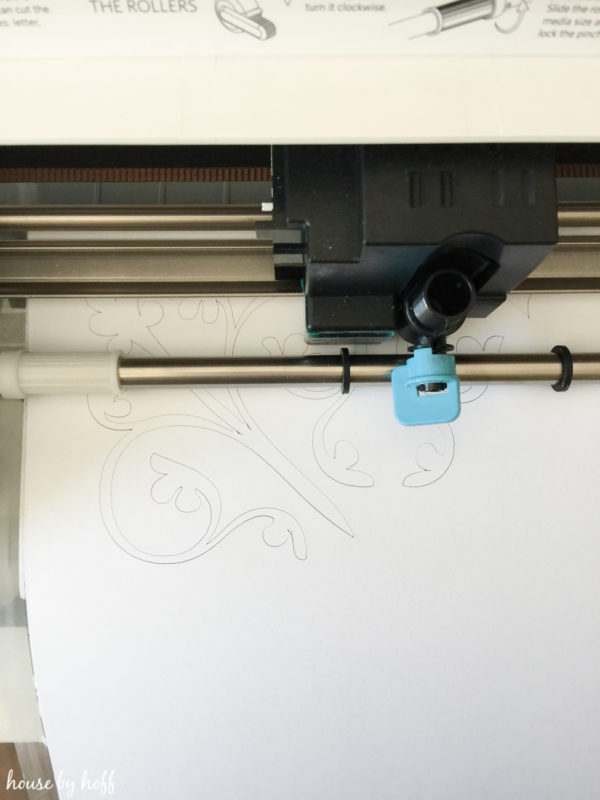
- Stencil, (I made mine on my Silhouette Cameo) find similar stencil here
- Americana Decor Chalky Paint in Lace
- Round Sponge Brush
- Handles (mine were found in the hardware section of Menards)
- Painter’s tape
- Fine grit sandpaper
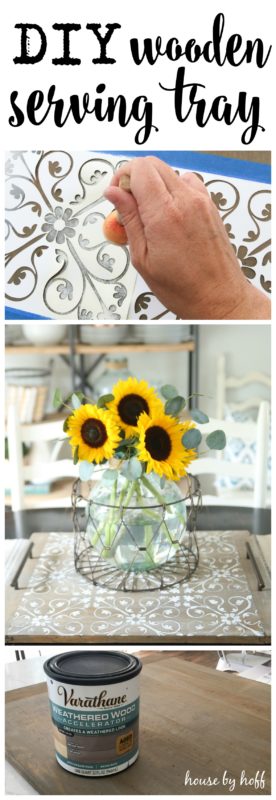
First I gave the wood two generous coats of Varathane’s Weathered Wood Accelerator. It did a great job turning the orange wood a more weathered gray color. It also really evened out the imperfections in the wood.
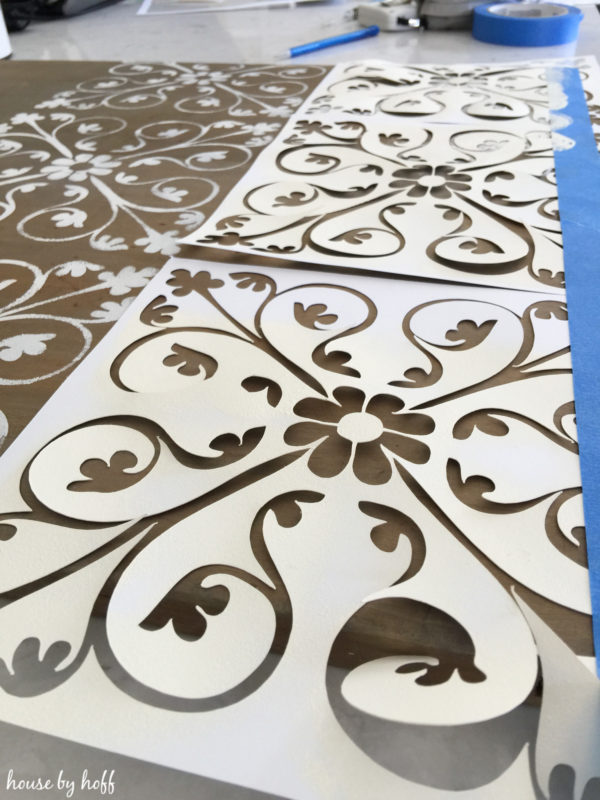
I made my floral stencils using my Silhouette Cameo. I purchased a tile stencil in their Silhouette Store, and just had them cut on cardstock. If you do not own a Silhouette, I found a similar stencil here.
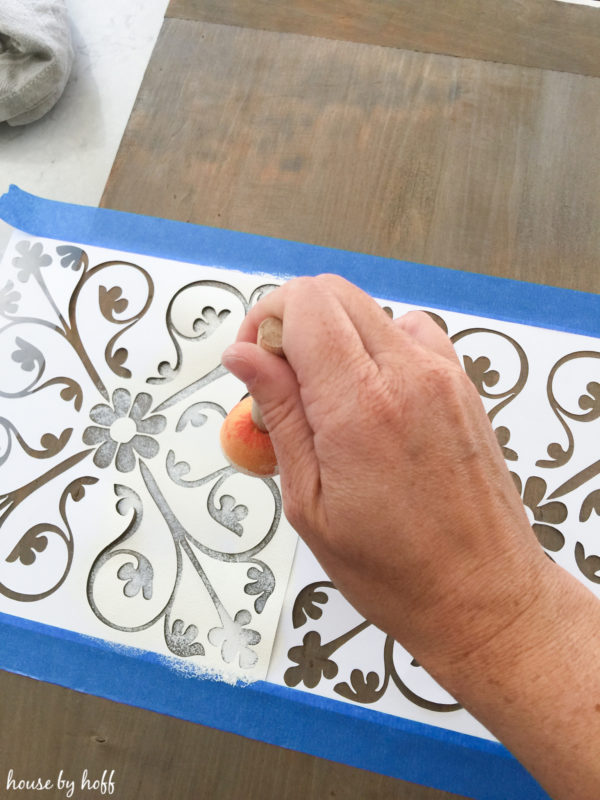
In total, I had three stencils made. I aligned the first stencil dead center in the board. Then I lined up the other two on either side. Using a sponge brush, I simply dabbed chalk paint onto my stencil. When I stencil, I make sure to remove the excess paint on a paper towel or something.
Here is an overhead shot of the board with the first row of stencils all lined up.
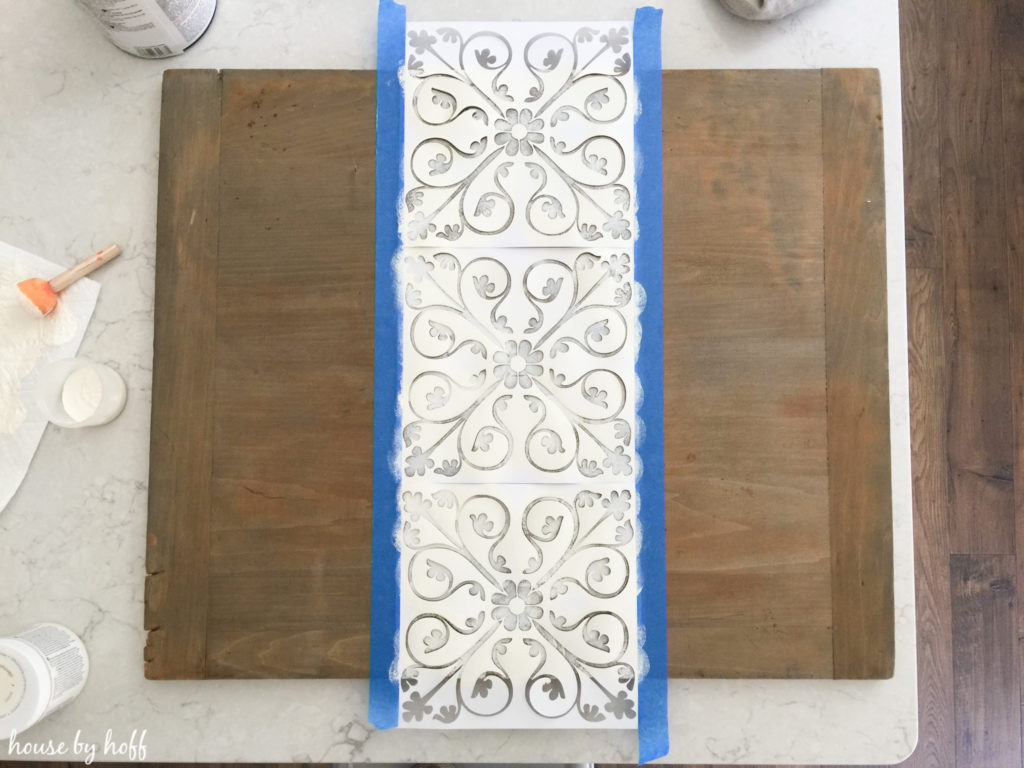
I used the painter’s tape to keep the stencils aligned. After the first row was finished, I reused the same stencils and aligned them above the first row and stenciled away. When that row was finished, I aligned them under the first row and stenciled.
Here is the completely stenciled piece decorative serving tray:
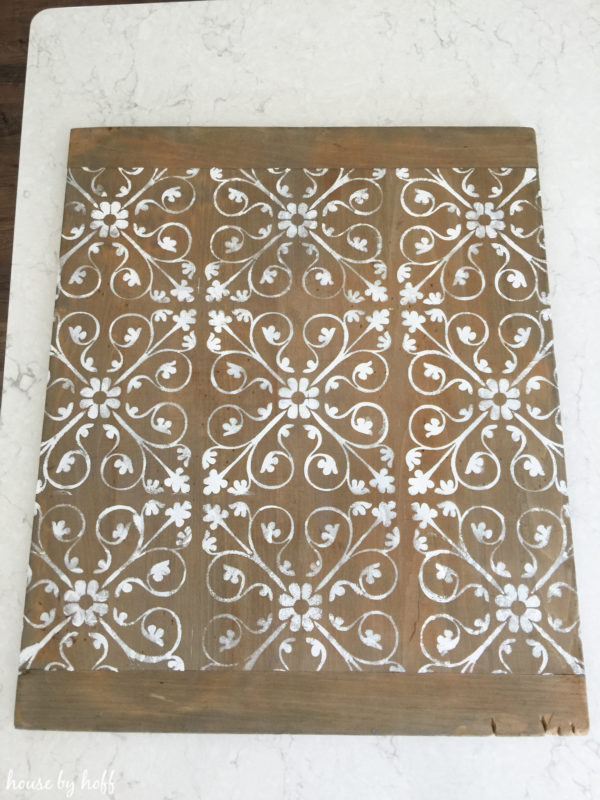
After the paint was dry I ended up going over it with some sandpaper to distress the paint as I wanted it to look a little more rustic.
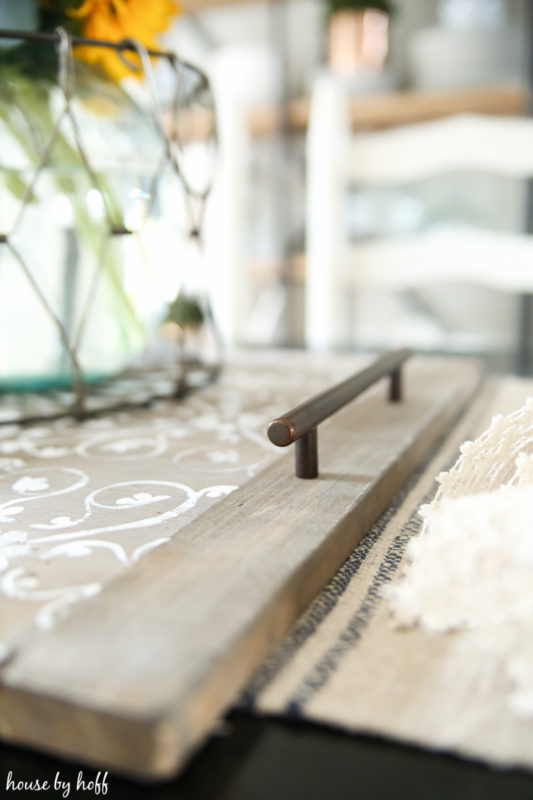
I added handles to each side and I chose a brass color, which I really love! 🙂
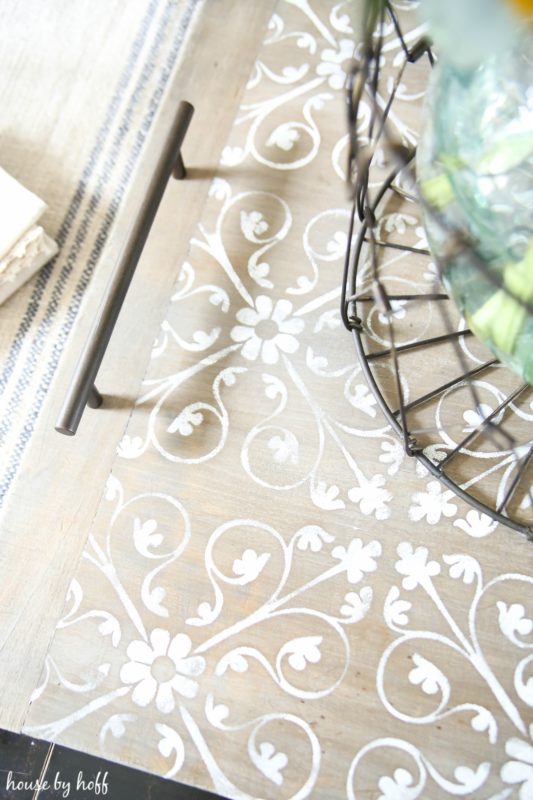
I’m so thrilled with how this rustic serving tray turned out!
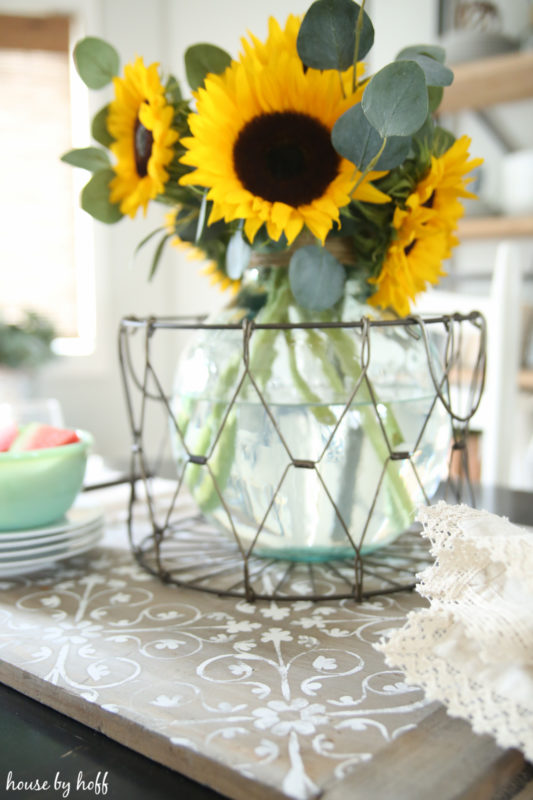
It’s a great size, and big enough to fit lots of dishes and accessories on!
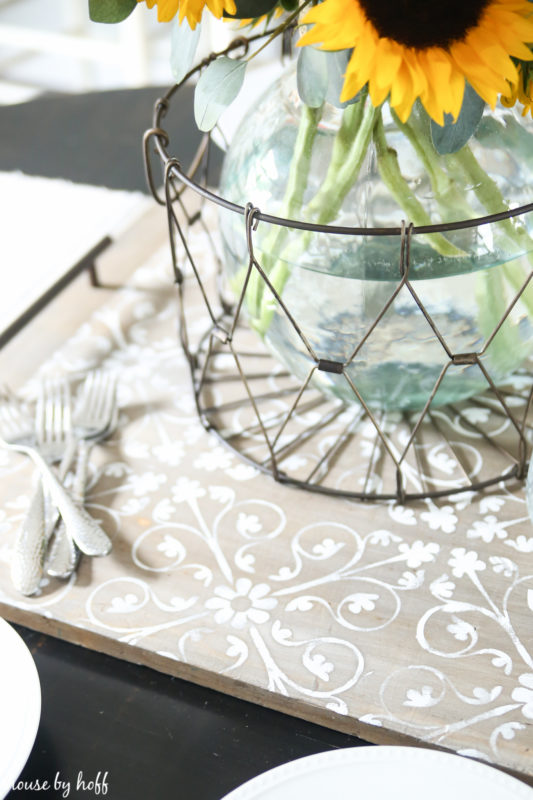
I love it on the dining room table, but I feel like I could use it on the coffee table to and you just might see this piece roam around all over my house!

If you love this idea, don’t forget to pin it!
Have a great day!
[…] DIY Wooden Serving Tray from housebyhoff.com […]