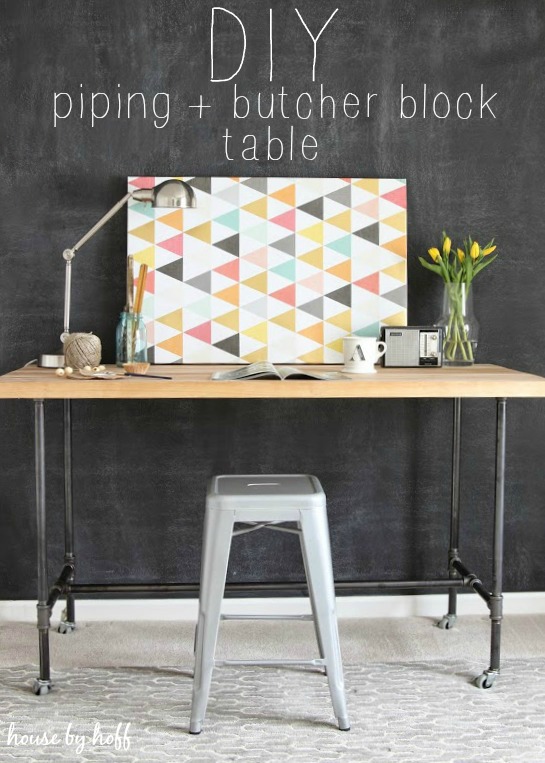
This tutorial will show you how to easily make your own DIY piping table!
I had to pinch myself when Home Depot recently asked me to take part in a DIY Challenge. I was all like, “Who? Me? For real?!”
As it turns out, they were for real, and I (obviously) jumped at the chance to take part in such a cool DIY opportunity!
They challenged 6 bloggers to use piping in a DIY Project. I quickly decided that I wanted to make a DIY Piping Table for my photography studio/work space.
Butcher Block and Piping table
This room has changed A LOT in the past few months. It went from being our spare bedroom, to Miss L’s playroom, to my photography studio and work space within like a month. I really wanted a proper work table in this space, and I wanted it to be on casters so that I could easily move it out of the way when indoor photography jobs arose.
So, without further ado, here is the tutorial for the DIY Piping Table
Supplies for this Butcher Block and Pipe Work Table:
– Level
– Cordless Drill
– File
– Pipe Wrench (optional)
– 5 ft Butcher Block Workbench Top
– 3/4″ Piping
– (4) 3/4″ Flanges
– (6) 3/4″ Tees
– Wood Screws
– (4) Casters
– 3/4″ Dowel Rod
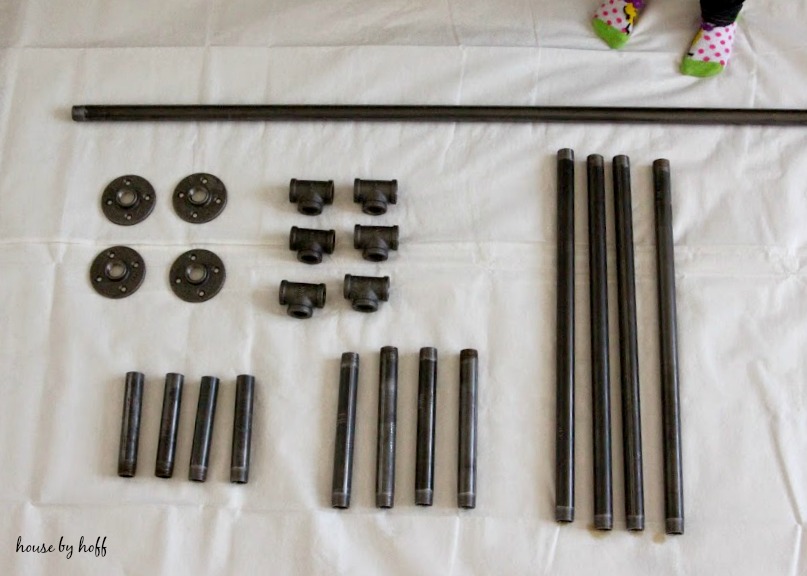
Cute little feet are not part of the supply list! 😉
3/4 inch piping cut list:
4 @ 6″ (one end threaded)
4 @ 22.5″ (both ends threaded)
4 @ 9″ (both ends threaded)
1 @ 48″ (both ends threaded)
Instructions:
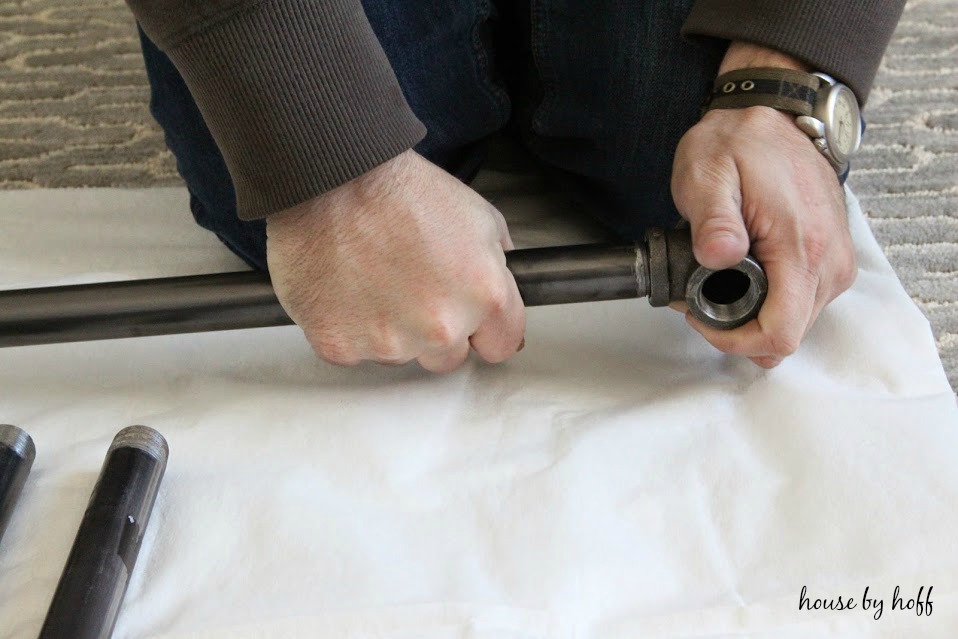
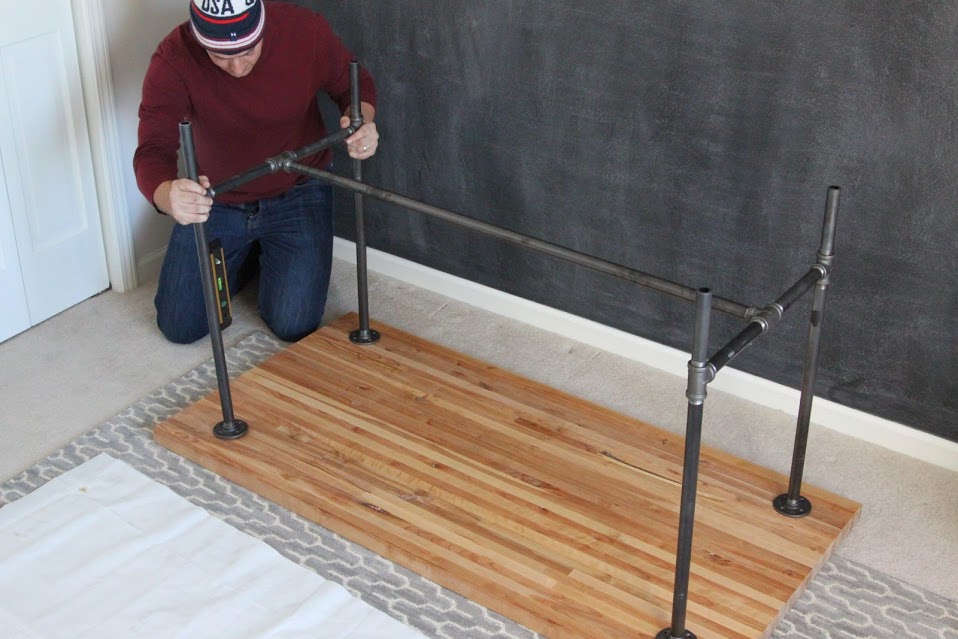
Once we had worked out the logistics of the table, and had the pipes cut at Home Depot (for free!), putting it together took like 40 minutes. First we screwed two of the tees to each end of the 48″ pipe. Next we attached 9″ pipes to the ends of the tees. This created the “I” section at the base of the table.
We attached tees to the end of each 9″ pipe and added the the 6″ pipes to the bottom, and the 22.5″ pipes to the top. I am sure that looking at this picture below explains it a lot better than I just did. 😉
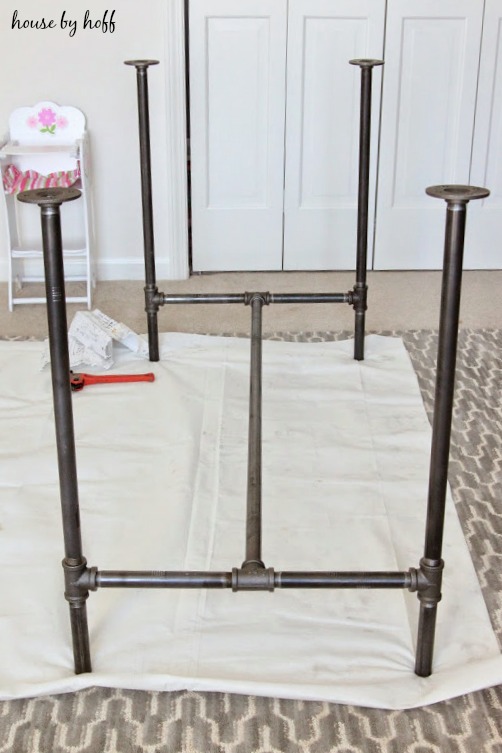
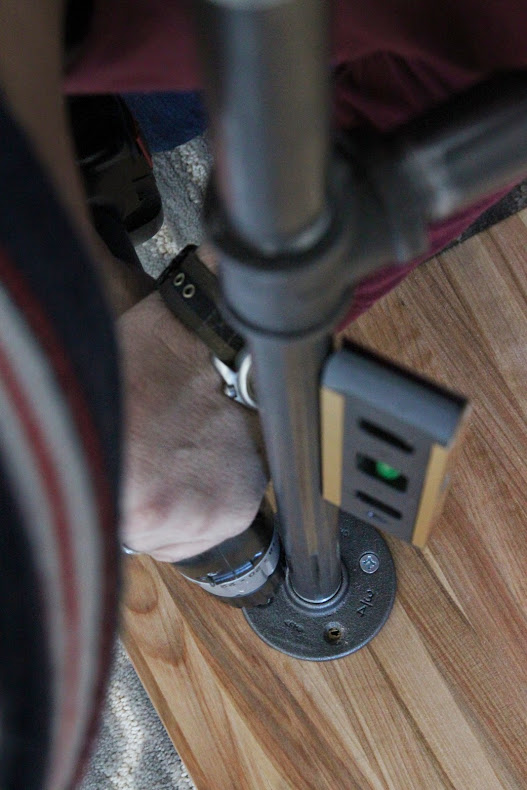
To attach the piping base of the table to the butcher block top, we used 3/4″ flanges.
It was quite easy to screw the base to the wooden butcher block top.
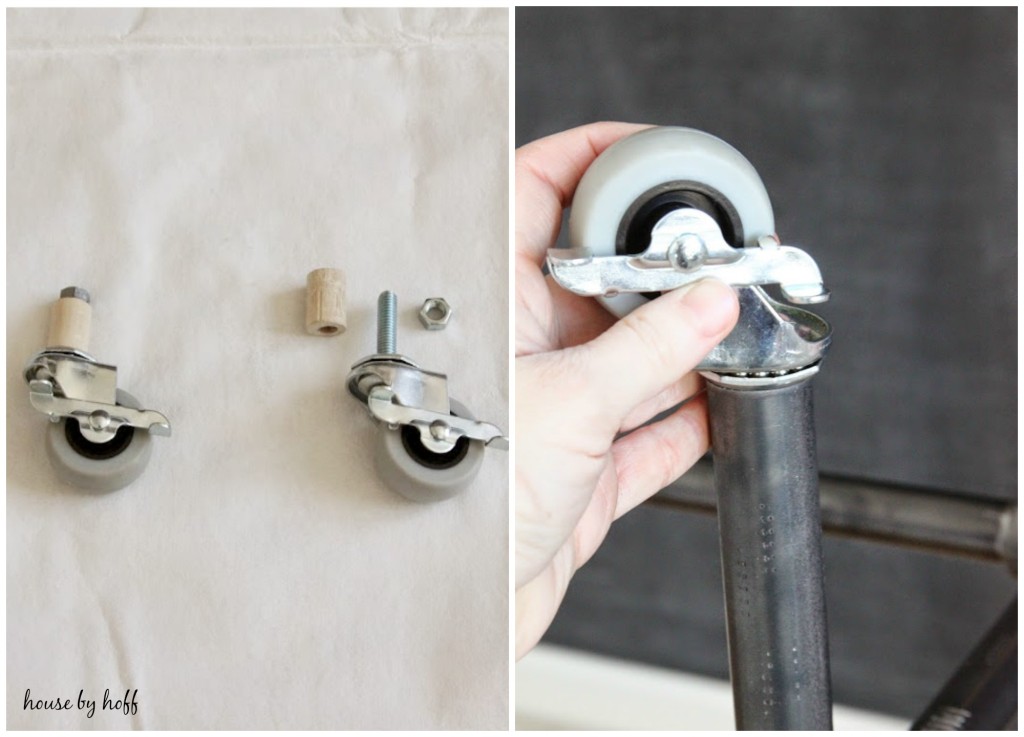
We needed to be creative to get casters on the bottom of this table. I have to give credit to my dad for figuring it out. We ended up cutting 1.5″ sections from a 3/4″ dowel rod and drilling holes in each piece. Then we screwed the dowel rod pieces onto casters, and topped each one with a nut. Finally, we placed them into the ends of each piping leg. (We did have to file the inside of each leg down a bit to get the dowel rod casters to fit.)
…and that is how you make a DIY Piping Table!
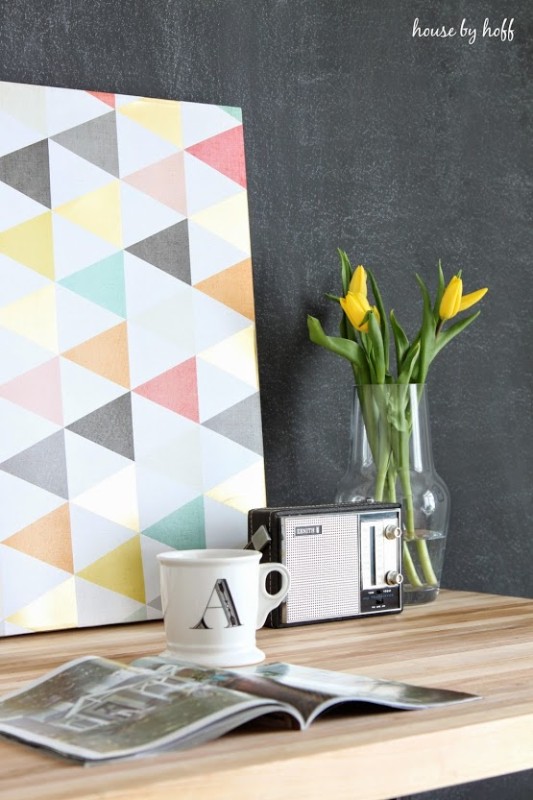
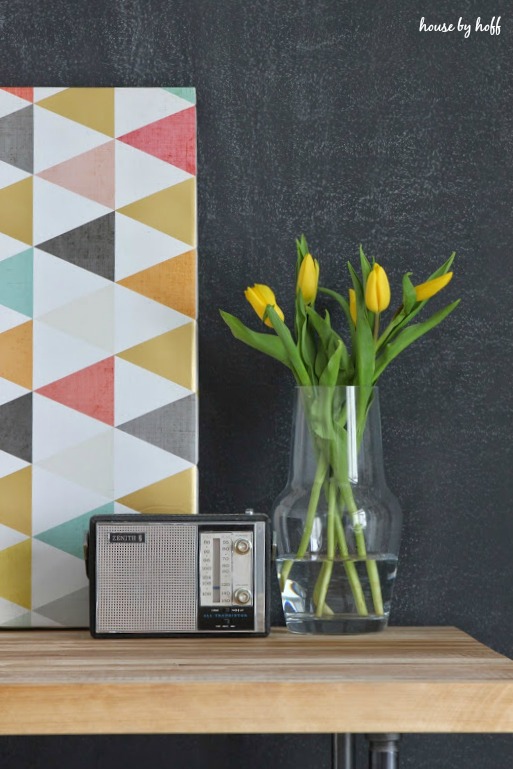
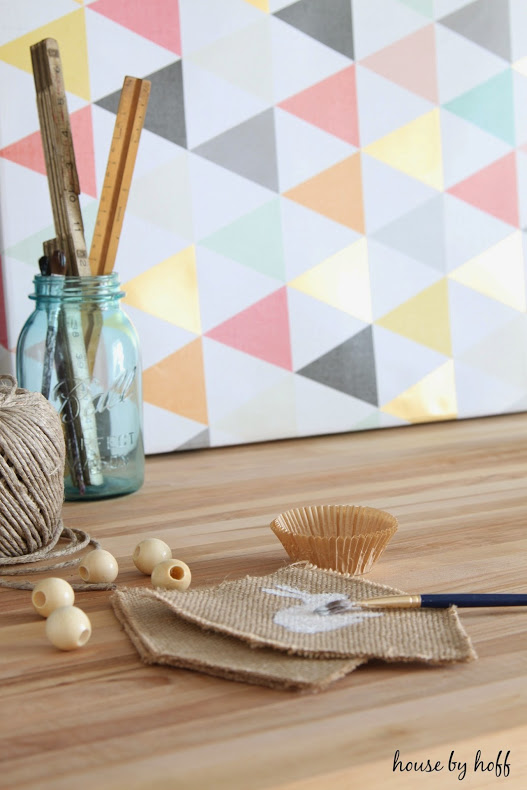
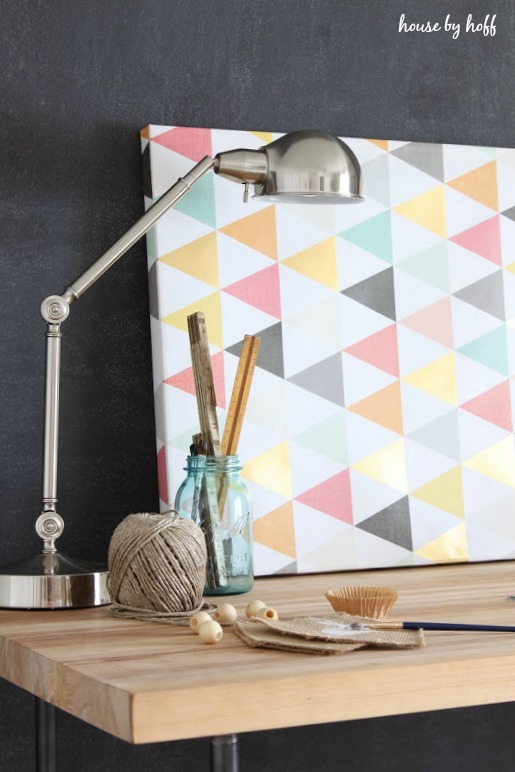
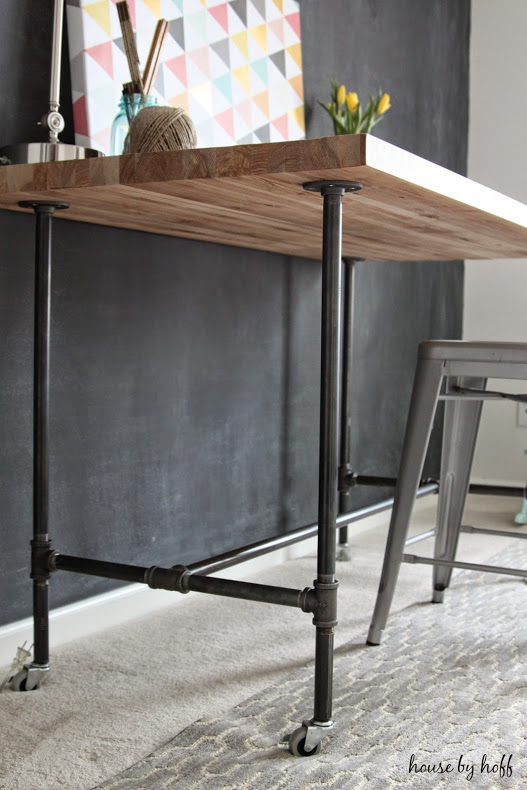
Now I want to make a piping coffee table, a piping shelf, etc, etc….
Be sure to check out my tutorial for Home Depot, here.
Have a great day!
I’m linking up at: Link Party Palooza, Furniture Feature Friday
I love it, April! That turned out great!!
Thank you, Robin!!!
Love this!
Thank you, Melissa! 😉
Stunning! I so want this!!!
Thank you, Anne! 😉
Love this table! I would turn it in to an island for my kitchen. Can you tell me where you purchased the 5ft butcher block?
Thank you Kim! The butcher block is from Home Depot (online only). 😉
I love this way this looks- so did you pay about 350 for that piece of butcher block? Or can it be cut smaller/cheaper?
what was the total cost?
Hi Allison, the total cost was probably about $400. It’s been about a year since I did this, so I no longer have receipts. The piece of butcher block was about $350, and I ordered it directly from Home Depot’s website as is. I don’t think you can have them cut it down. You could look elsewhere for a smaller piece of butcher block, and then adjust your piping dimensions from there. I build the table around the size of the 5′ butcher block…does that make sense? 😉
yes it makes sense! thanks- I’m looking to make a similar but more of a bar top- long and narrow- for a kitchen space saver table.
Thanks!
Oh! Well, actually, I know a friend who cut a piece of butcher block in half and built something similar to what your talking about. 🙂
You could try IKEA Karlby Countertop. While I dont think its through and through butcher block(solid wood)..its much cheaper.
I love how this turned out!!
Thank you so much! 😉
What a great idea!! Perfect for a college student too. Very practical and nice looking!!
Good job!!
You are so right. This would be perfect for a college student! Thanks, Beth! 😉
This looks great!! Love it!
Wow! I love this table! Found in on Pinterest, came over here to see how you did it, and fell in love with your whole blog! 🙂 So glad I have found you! XO
Yay! So glad you found me, Jessica! xo
What is the over all table height?
Also, what are the dimensions of the butcher block you used?
Love it! We just ordered our butcher block and are going to make the desk this week! I was wondering if you did anything to your piping to make it darker. The pipes at Home Depot are very nickle/bright looking, and yours look all awesome and aged. Thanks!! xoxo
Hi Jill! Thank you for your sweet words! No, I did not do a thing to the piping. I have a friend who spray painted the piping black before assembling her project. It looked great! http://www.makinghomebase.com/wood-and-pipe-entryway-stand/
Hi there! I was hoping you could tell me how tall your desk is. I’m looking to make one exactly 44″ tall. Did the 3/4″ tees screw all the way in? I’m trying to account for all the measurements so they will equal 44″ and wasn’t sure if the tees added any height once everything is screwed in and together. Thanks so much!
Where is the artwork from?
It’s from Hobby Lobby a few years ago. See my post about our playroom makeover to get the links for similar art pieces! 🙂
http://www.housebyhoff.com/2017/01/a-modern-farmhouse-playroom-makeover/
I LOVE THIS DESK!!! It is EXACTLY the project I have been looking for. Mrs. Hoff, may I ask the exact height? I have been looking for plans for a design like this but would like my desk at 44″ as I am tall. I will also be making an L shaped standup with shelfs on the L side.
Thank you so much for sharing this project.
Warm regards,
Jeremy
It looks great- but I feel a step was left out. How did you get the gunk off those pipes? When you buy them they are coated in a black substance that I have not yet figured out how to remove. Any tips would be appreciated! Handling those pipes makes you a black mess!
I didn’t leave a step out. There was no gunk. I’m not sure why there is sometimes…?
The biggest problem I am having with this project is getting the barcode stickers off the pipes. Did you use goof-off? A razor blade scratches the pipe.
I don’t remember, I’m sorry. I did this project so long ago. I would try to use goo gone or lemon essential oil.
Thank you! The goo gone worked but took longer than actually assembling the pipe.
How did you get the ends threaded?
Home Depot did it for us in store. 🙂
I really enjoy your blog! You always have great things to show us that are affordable. Your home is charming and I look forward to your posts. So glad I found you!
That is so nice, thank you! xo
Looking to build a table to be used for podcasting (desk height). The butcher block slab I am looking at is 6′ x 39″ x 1.5″. Do you have the specs for the legs (no wheels)? Thanks!
I just found this tutorial while looking for a simple desk plan. This is PERFECT for what I need! Thanks to you (& especially your dad for the caster idea), I can knock this project out quickly & efficiently with an excellent end product! Super thrilled to get started!!
Whoop! So glad it was helpful! xo