I will show you how I rope wrapped my Ikea topiaries!
I’m going to tell you a story, friends. One that you may not even believe. One that I wouldn’t believe myself if it hadn’t happened to me.
It happened about a month ago…
You may remember when I shared all about our family’s summer vacation. It was a road trip. One that should take normal people two days to drive home, but my determined husband decided that we should make it in one. We left South Carolina at about 9:00 AM, made it to Ashville, NC for lunch, and then hunkered down for the very long haul. We traveled long hours, that turned into longer hours, which then turned into even. longer. hours.
Where am I going with this? Hold on. We’ll get there, I swear.
At around 7:00 PM, (for those of you too lazy to do math, that was 10 hours into our trip), Mr. Hoff said something. Something I never thought I’d hear come out of his mouth.
Something remarkable.
“There’s an IKEA in Cincinatti…Want to stop?”
Hold up.
Yes, you read that correctly. My husband had the idea to stop in Cincinatti and let me go to IKEA. During a road trip home. With a van already packed to the gills. While he and Miss L. got gas and dinner.
I must confess. Right then and there, I’d never loved him more. Going to IKEA is a huge (and rare) treat for me. We really don’t have one closer than 4 hours away, so you see, this was a big deal. 😉
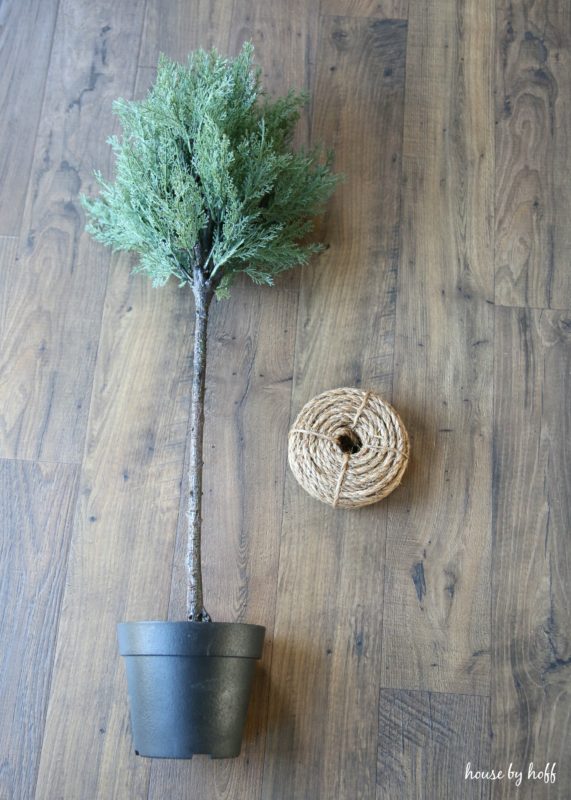
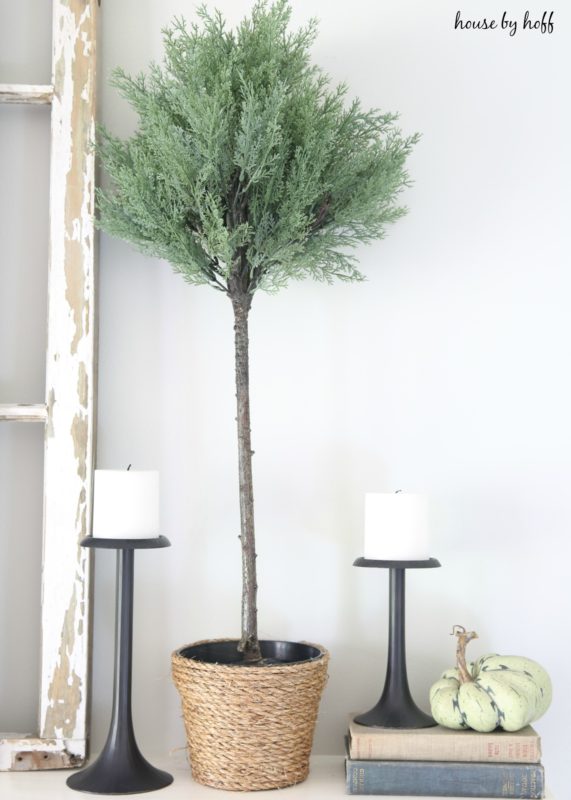
So, at last, we arrive to the point of this post: To share with you how I transformed the base of these awesome IKEA topiaries that I bought that day. I loved these little trees from the moment I saw them, but I needed to do something to the boring, plastic bases. I decided to wrap them with rope for a couple of reasons:
1) The texture and color of the rope would go perfectly with my decor.
2) I already had all the supplies on hand.
3) I knew it would take me mere minutes…and I rarely have time for a project that takes longer than 10 minutes.
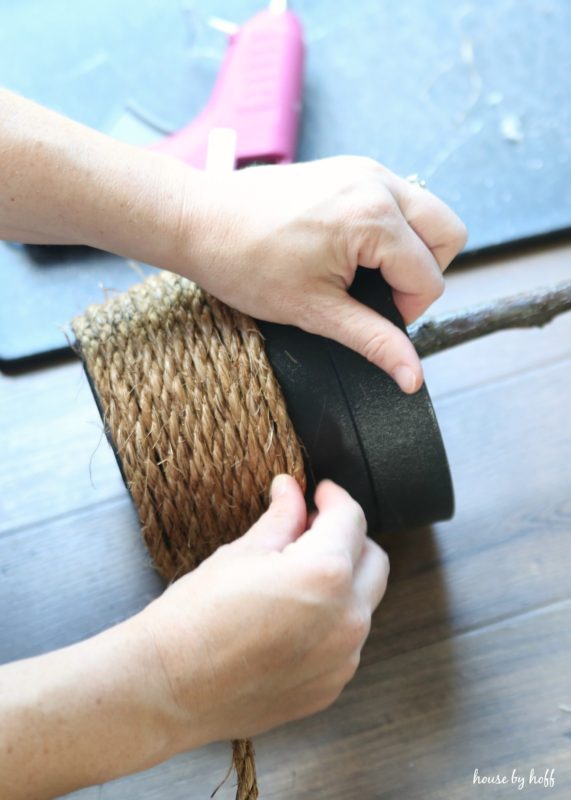
Wrapping these plastic planters with rope was about as easy as you’d imagine. I started at the bottom, securing the rope to the base with hot glue. I then began wrapping the rope around the planter. I’d stop on occasion to secure with hot glue, then just kept wrapping.
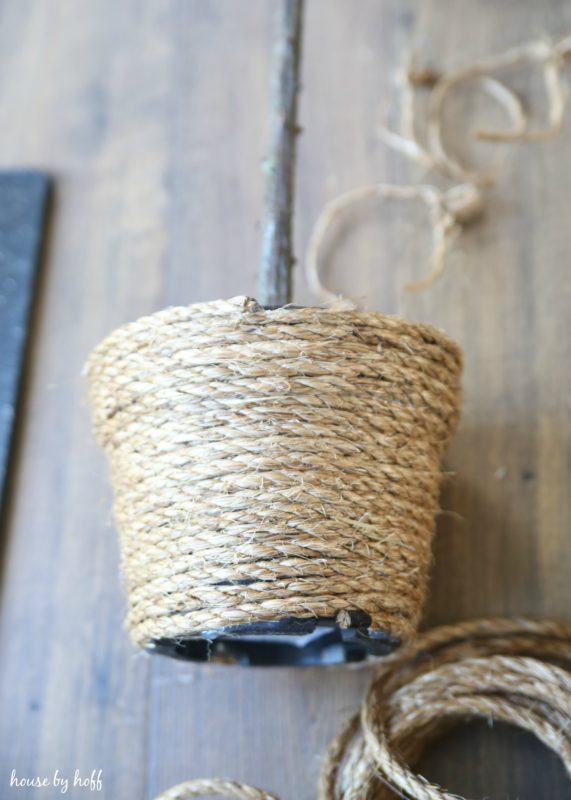
When I got to the top, I snipped the rope and secured it with hot glue. I also used hot glue on the end of my rope to prevent it from fraying.
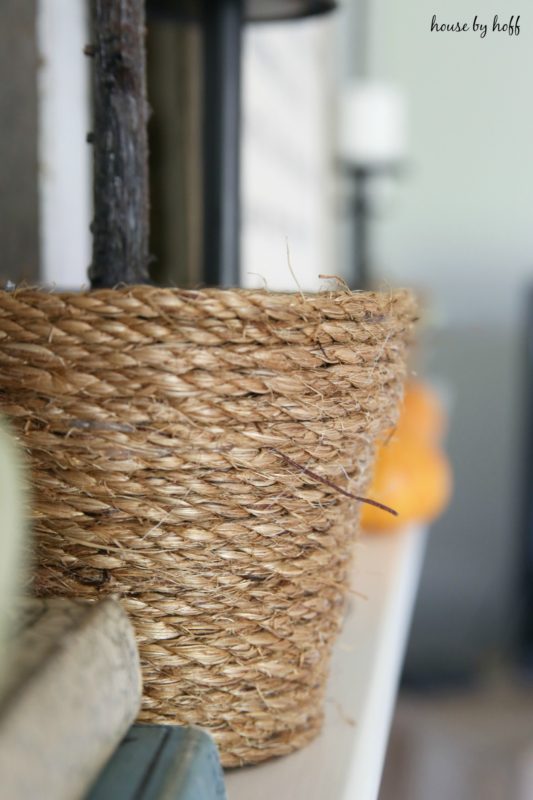
…and that’s about it! Wrapping both topiary pots with rope took about 10-minutes, and it was one of those instantly satisfying results.
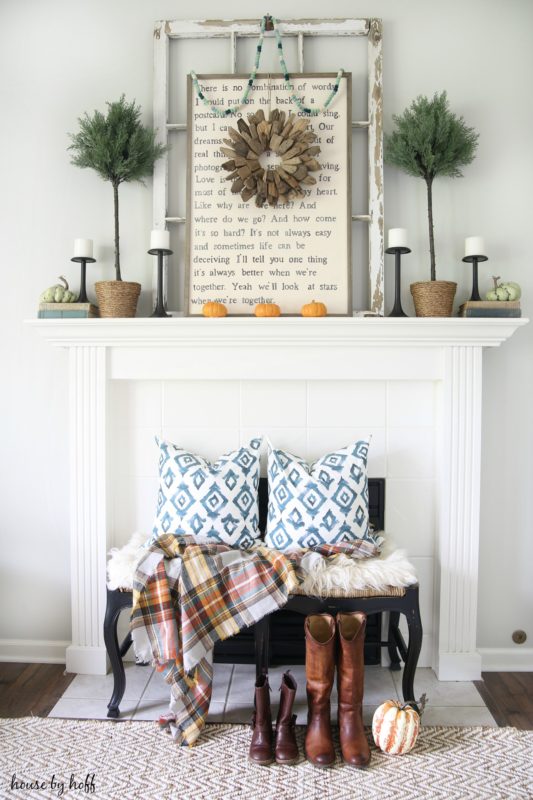
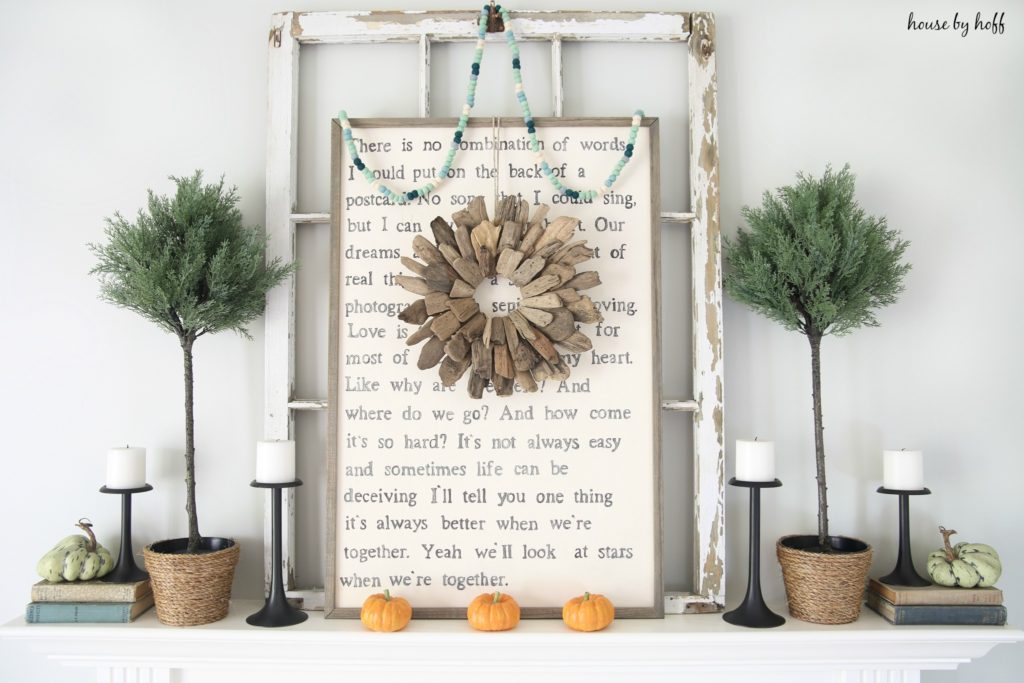
I love how these IKEA topiaries look on my fall mantel. They’re very seasonally neutral, and I have a feeling they’ll be up there for awhile! 😉
My Fall Home Tour 2016 is coming up next week, so make sure to pop back in!
Have a great day!
Oh, he is such a keeper!! Topiary looks great. Happy Fall.
Yes he is! 🙂 Thanks so much, Lynn! 🙂
These look so great!! I miss IKEA, when I lived in Cincinnati, I went to that one all the time. What a fun road trip to get to stop and shop. 🙂
It was awesome! I can’t even fathom living close to one! I’d be in heaven! Thanks, Meg! xo