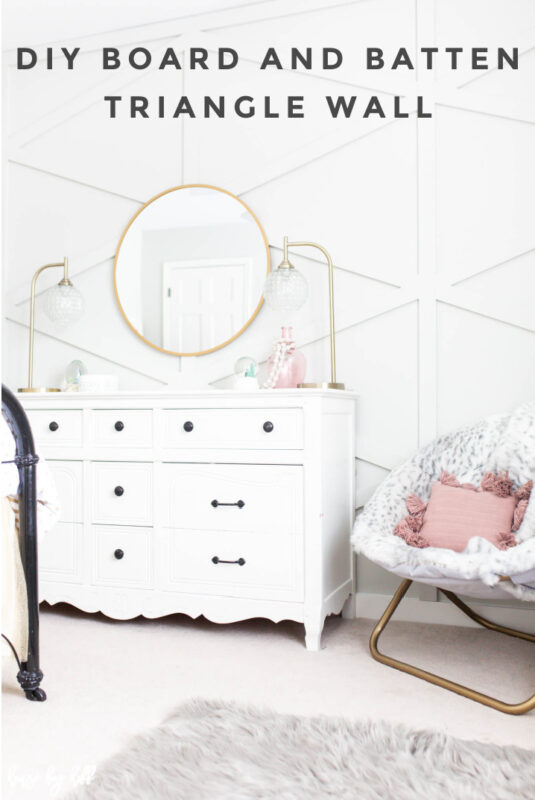
We added some character and charm to our daughter’s bedroom with this DIY Board and Batten Triangle Wall.

What a week it’s been! We completed one of my favorite DIYs to date as part of the New Year, New Room Refresh and our daughter’s bedroom makeover. To see before pictures of her room, click here. To see progress from last week, click here. This week I’m sharing the best part of this room, The DIY Board and Batten Triangle Wall. Mr. Hoff would like me to tell you that we are not professional construction workers, and we definitely kind of made this up as we went…ha!
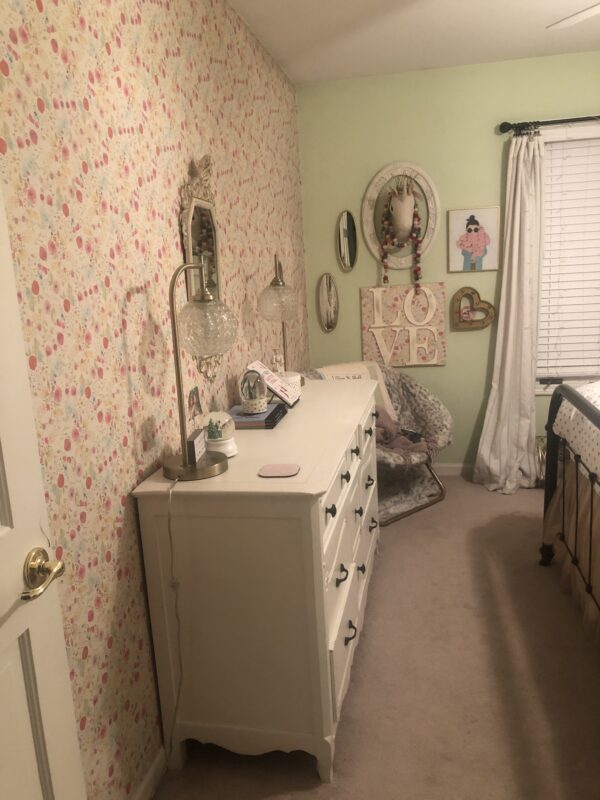
Before:
As a reminder, here was the before. It was actually a pretty room, but the poor lighting and cell phone photo make it look a lot worse than it did. I just feel better letting you know that.
DIY board and batten triangle wall
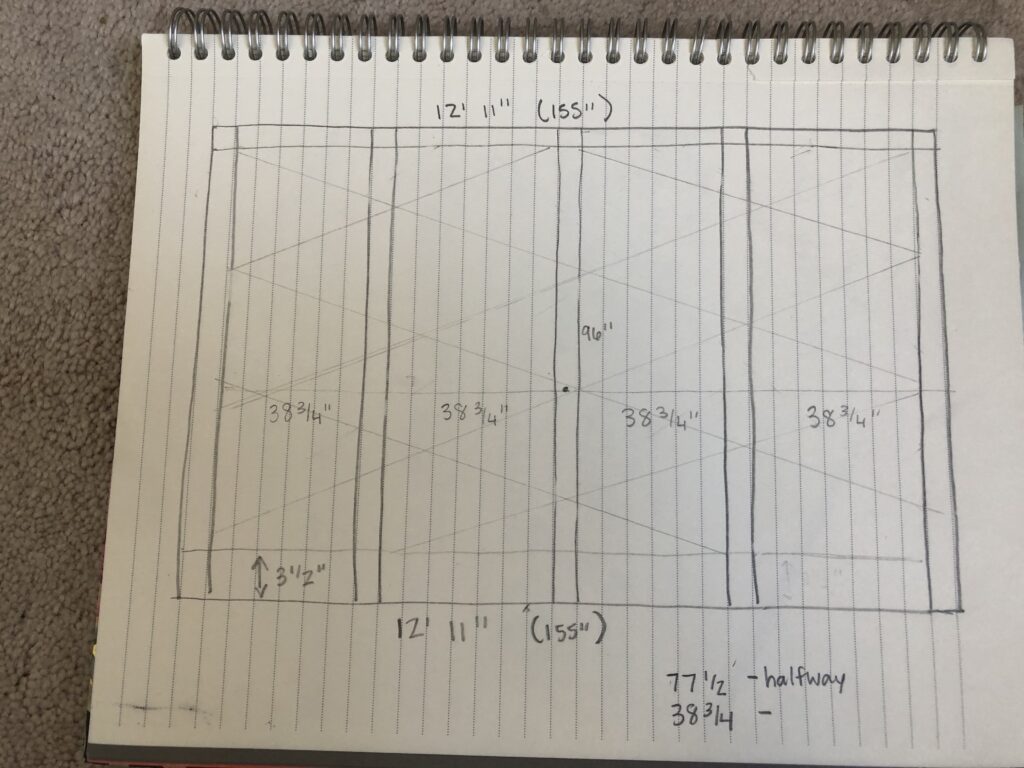
I had a pretty good idea of what I wanted this feature wall to look like. I measured the wall and sketched out a very basic and kind of wonky drawing of what I was thinking.
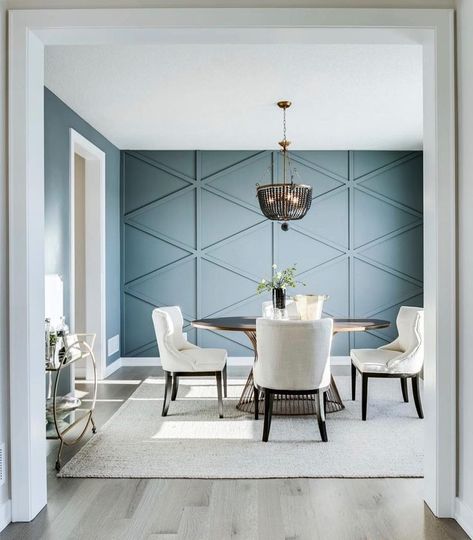
Here is the inspiration photo that I was using:
With a drawing in hand, we headed to Home Depot to get the primed pine boards we would need for the project. We had a pretty good idea what kind of boards we wanted to use, because they are the same type that we used to construct our DIY Board and Batten Wall last year.
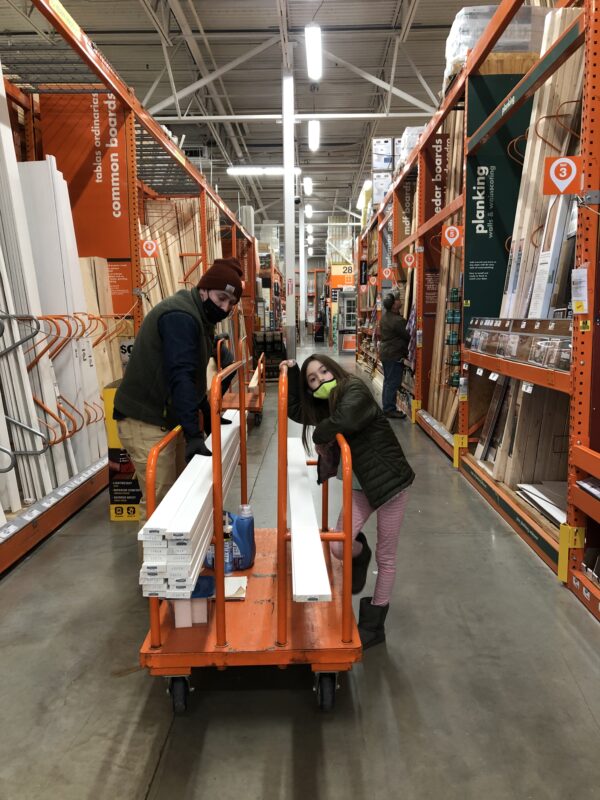
Supply List:
- 1″ x 4″ x 8ft Primed FJ Pine Board (We used this for the bottom piece of trim only. I wanted the base board to be a little thicker.)
- 1″ x 3″ x 8ft Primed FJ Pine Board (We used this for everything else.)
- Liquid Nails
- Brad Nail Gun + Nails
- Miter Saw
- Stud Finder
- Level
- Straight Edge
- Measuring Tape
- Nail filler
- LOTS of paintable caulk
- Sandpaper
- Paint: Benjamin Moore’s “Vapor Trails” in an eggshell finish
Instructions
Alright, so as I mentioned, we are not professionals. We kind of just made this up based on one inspiration picture, and we were definitely winging it. That being said, I think this could still be a helpful tutorial for those wanting to create a similar wall.
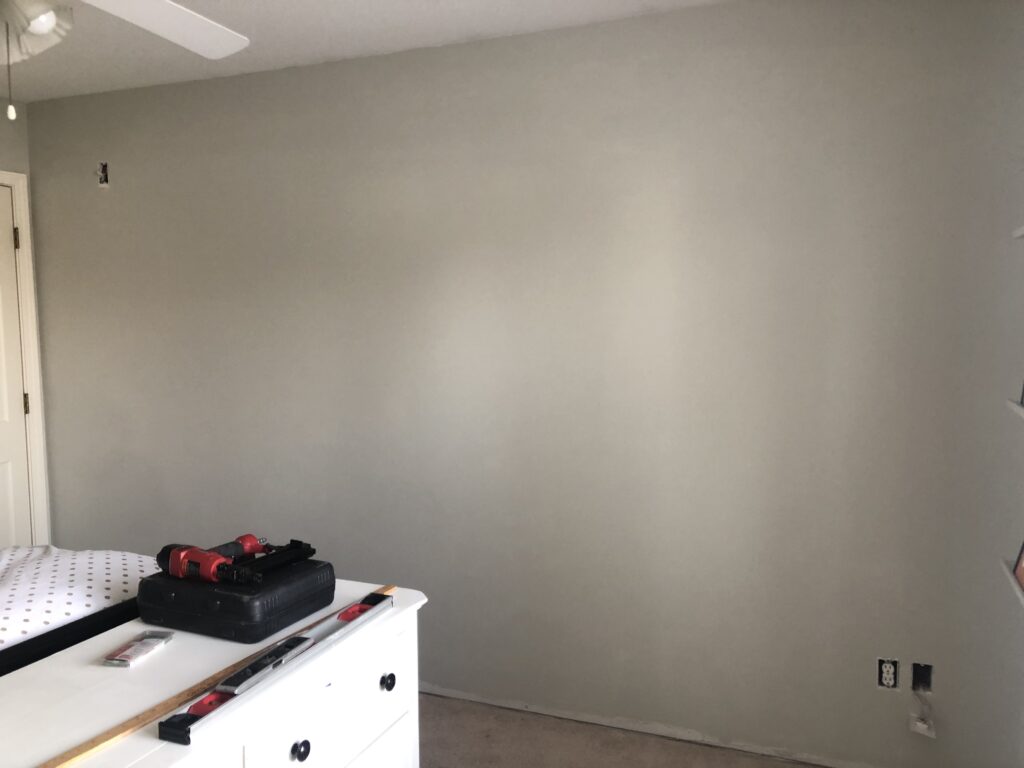
First we removed the existing base molding and put in 1″ x 4″ primed FJ board. These boards are one inch higher than the rest of the boards we used. We used a level to make sure we installed these boards as straight as possible. I wanted it to be a bit more substantial looking as the base molding. Mr. Hoff also used a stud finder to mark the studs behind the drywall. This helped us know where to nail our boards throughout the process. It should also be noted that we used Liquid Nails and our brad nailer to install each and every board.
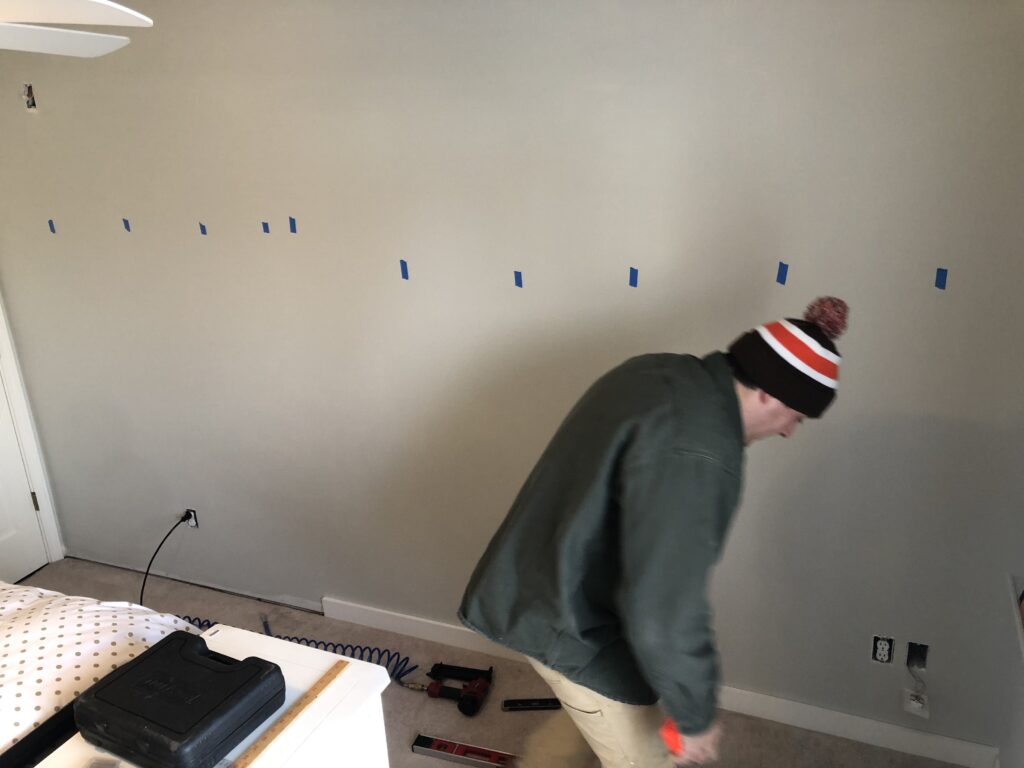
The next boards to be installed were the top horizontal boards. They were the 1″ x 3″ primed FJ boards. We were very careful to keep this boards as level as possible. I had already given all of the boards one coat of “Vapor Trails” by Benjamin Moore. I used an eggshell finish. It’s easier to get one coat of paint on before you install.
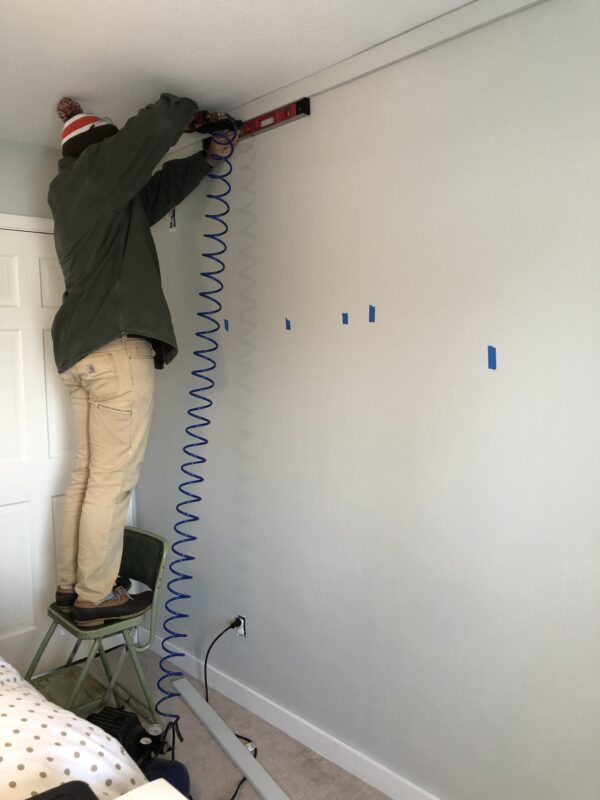
Next we found and used a pencil, straightedge, and level to mark the very center of the wall.
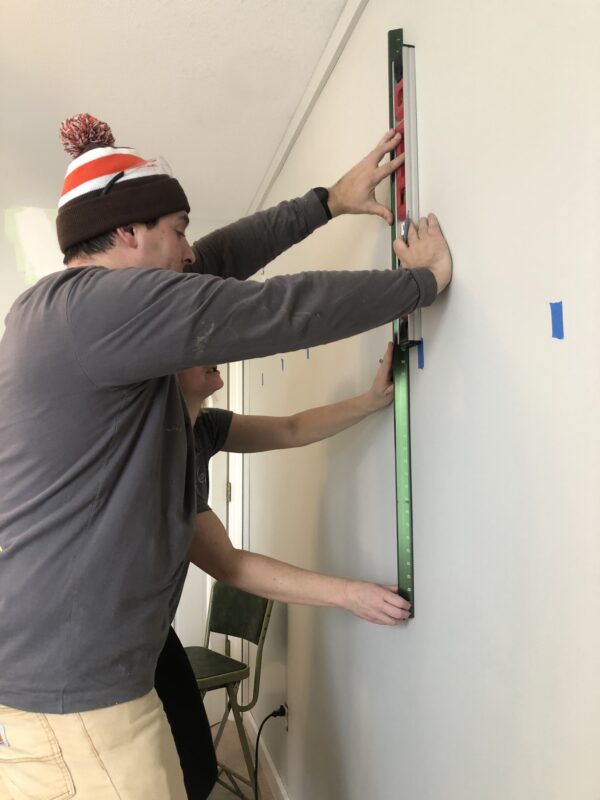
Next came the five vertical 1″ x 3″ boards. I considered these the “framework” of the design, and you better believe every single one of these boards were as evenly spaced and level as possible.
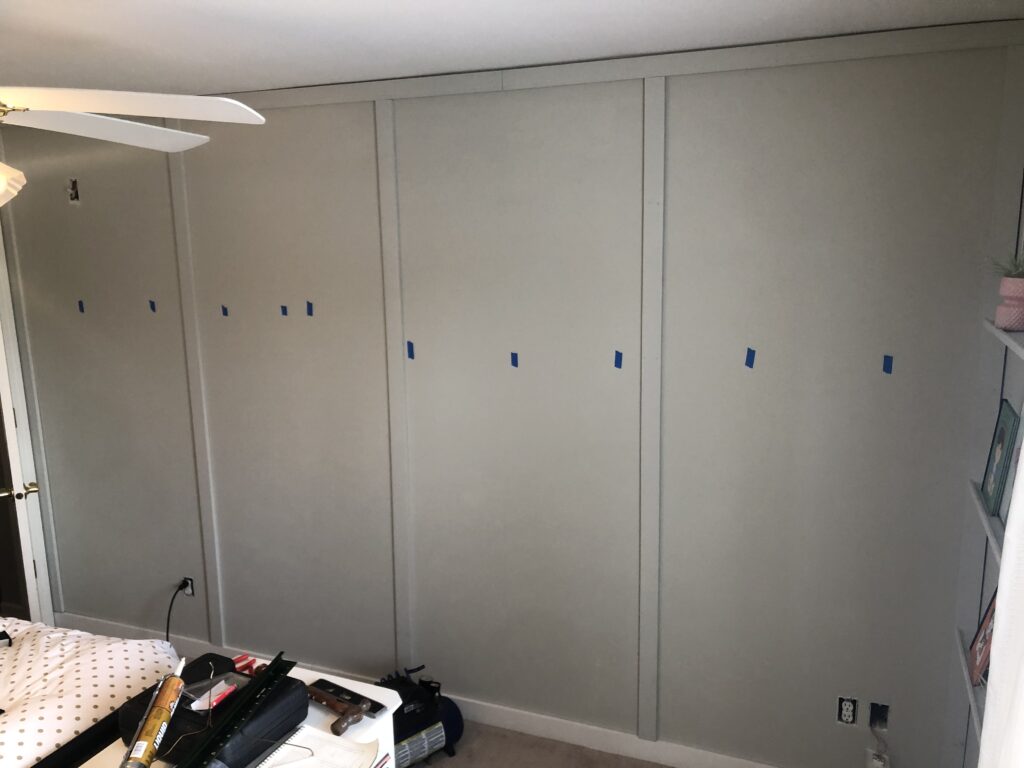
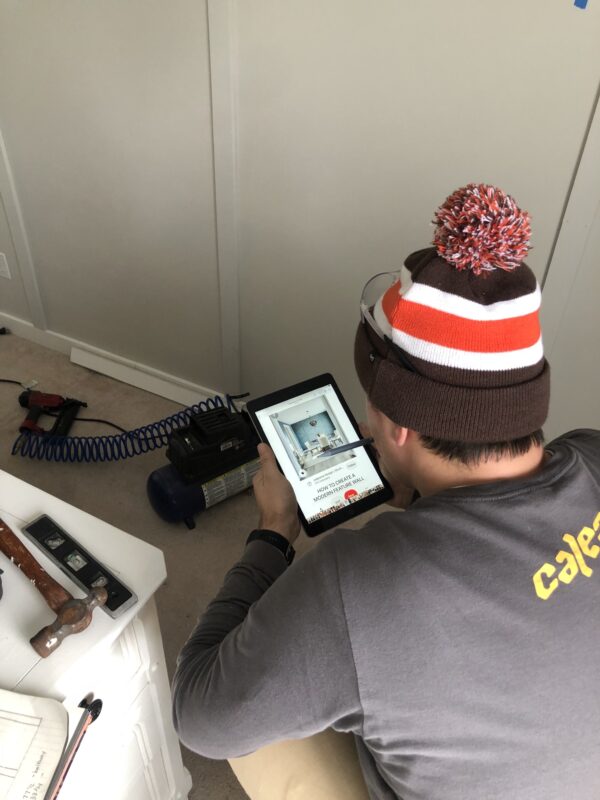
Then we hit a standstill. No, really. We took a breather, studied our inspiration picture (which doesn’t have a tutorial…nor could I find any tutorials for a wall like this out there in Pinterest-land.) We were just two crazy kids trying to figure it out.
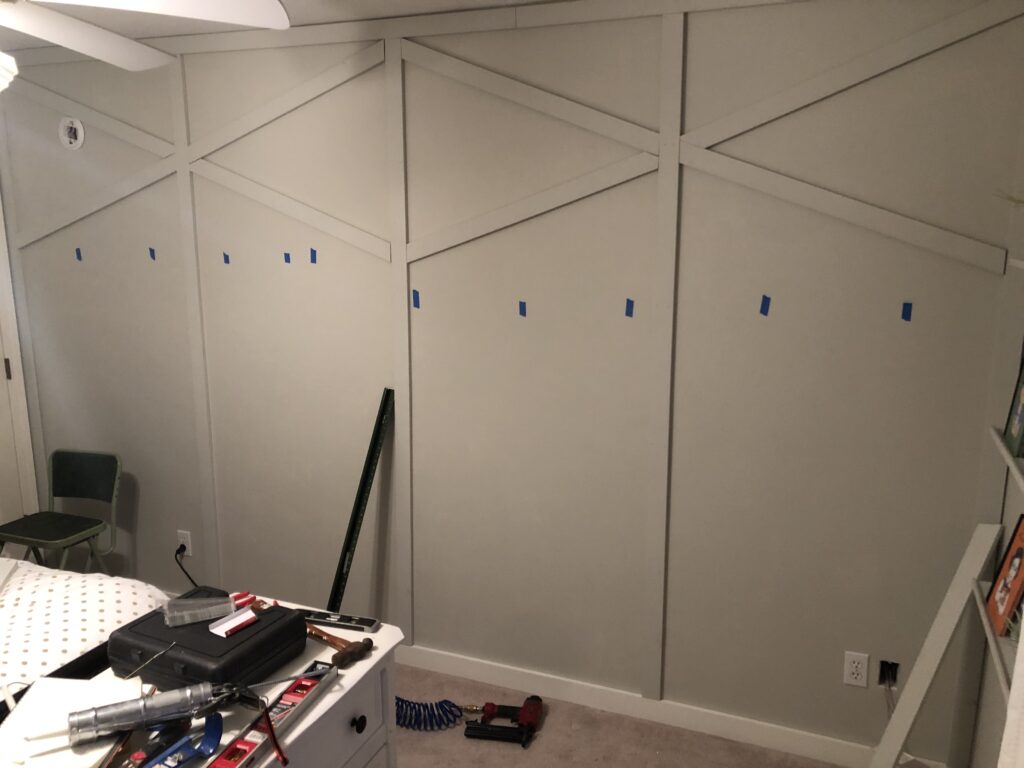
After some lunch, and a nap (well I took a nap), and some head scratching, we started installing the first pieces. We measured and marked the wall (vertically) into thirds, so that we knew about where we wanted the boards to hit the outer edges. It wasn’t so hard. Just some measuring, and cutting, and installing.
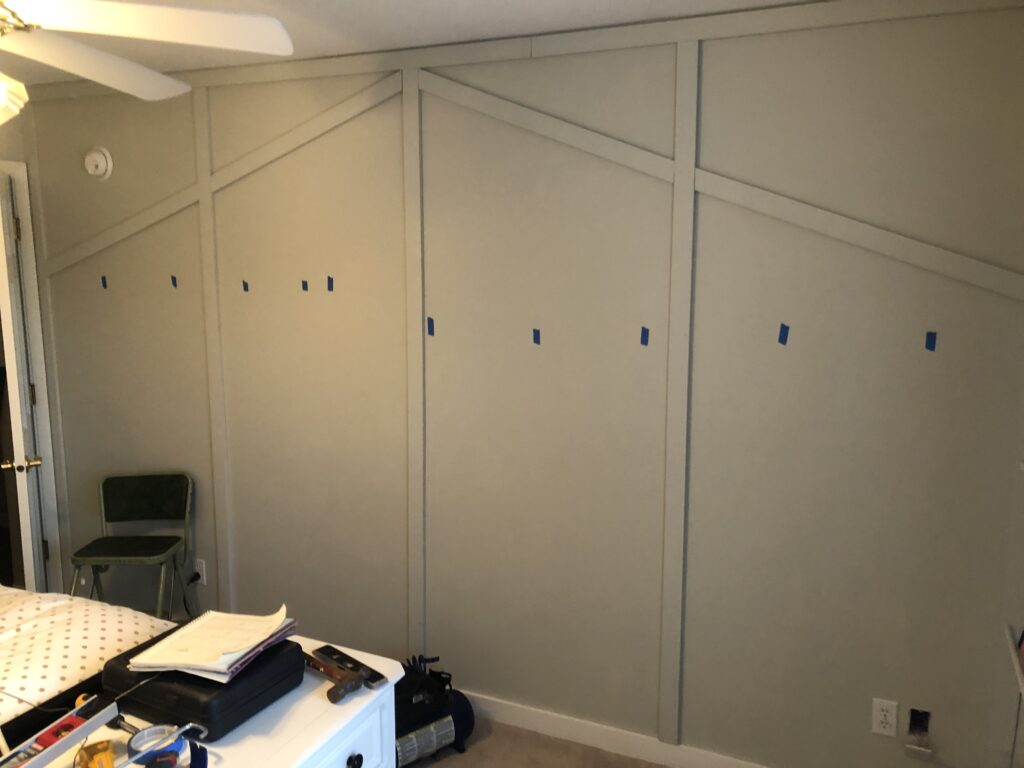
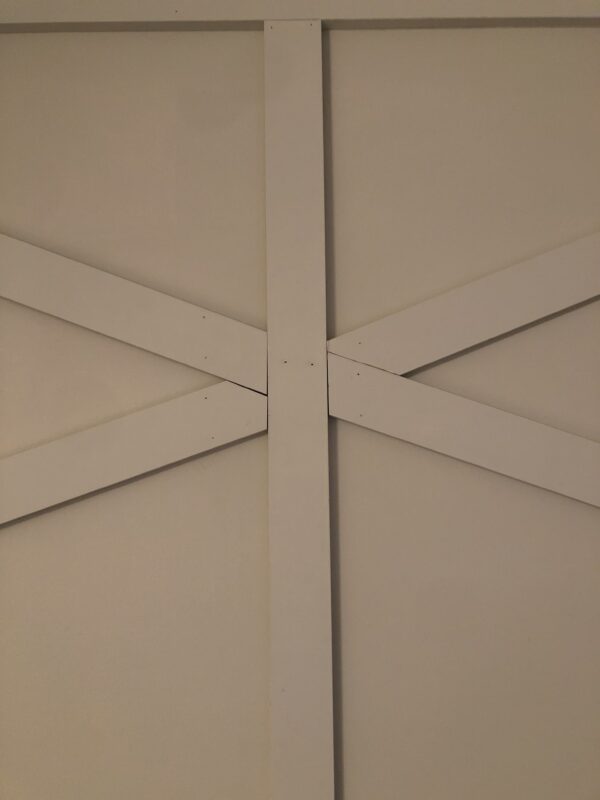
Then came the first X intersections, and let me tell you, that was a little more tricky. Mr. Hoff used his miter saw to to correctly cut and install these pieces. There were some tricky angles.
See, I told you, Tricky angles:
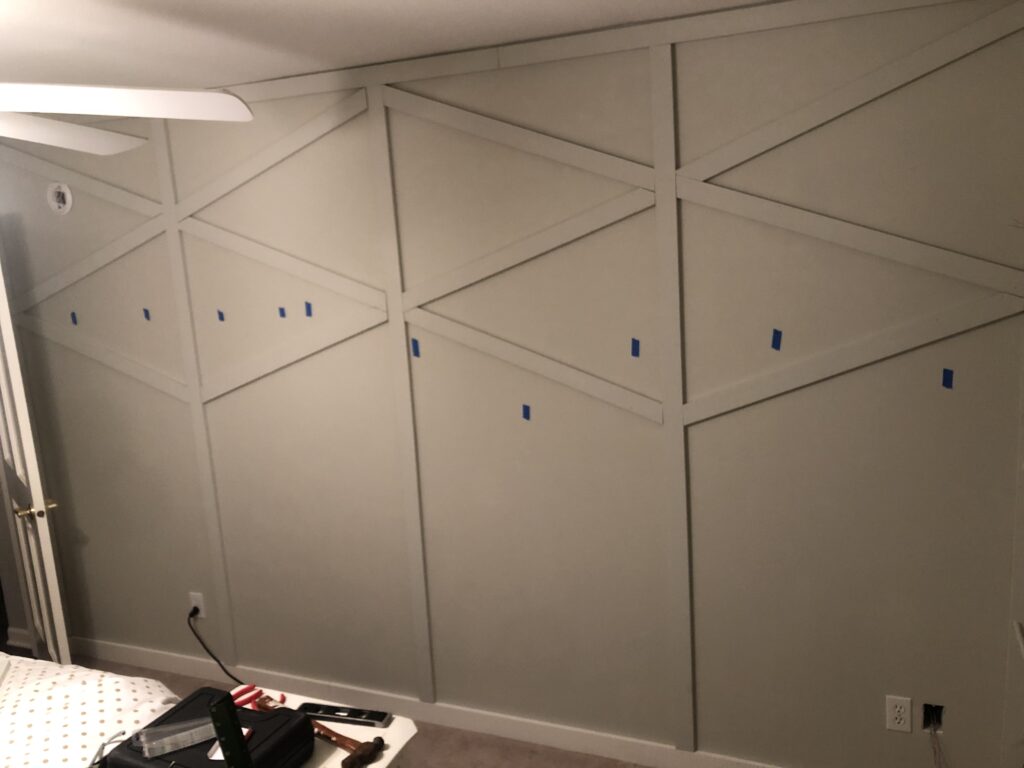
Then we just kept repeating the process, making sure that each triangle was the same size. The base of each triangle was 24.5″, and that was how we kept them congruent each step of the way.
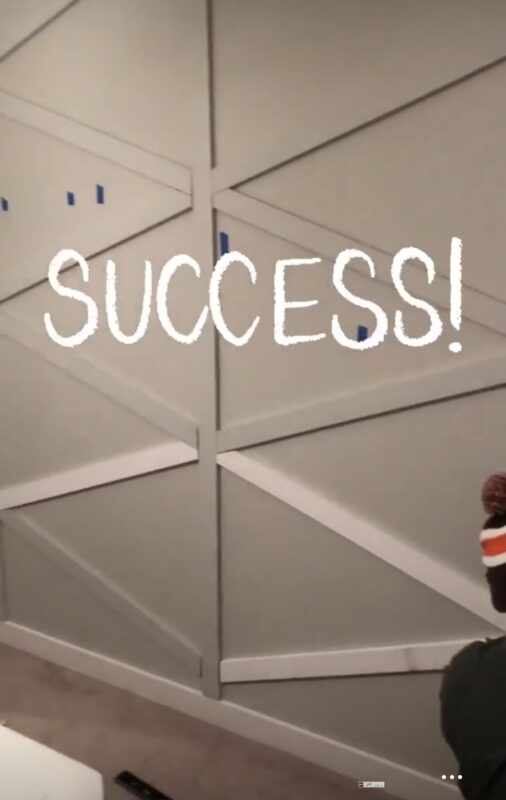
I am sorry, this is the best shot of the final step of installation that I have. I was Insta-storying, and delirious, and I didn’t really get a great shot of the entire wall.
After installing all of the boards, we did a lot of caulking and nail hole filling. I finished by adding one more coat of Vapor Trails over the whole wall and all of the boards.
finished board and batten triangle wall:
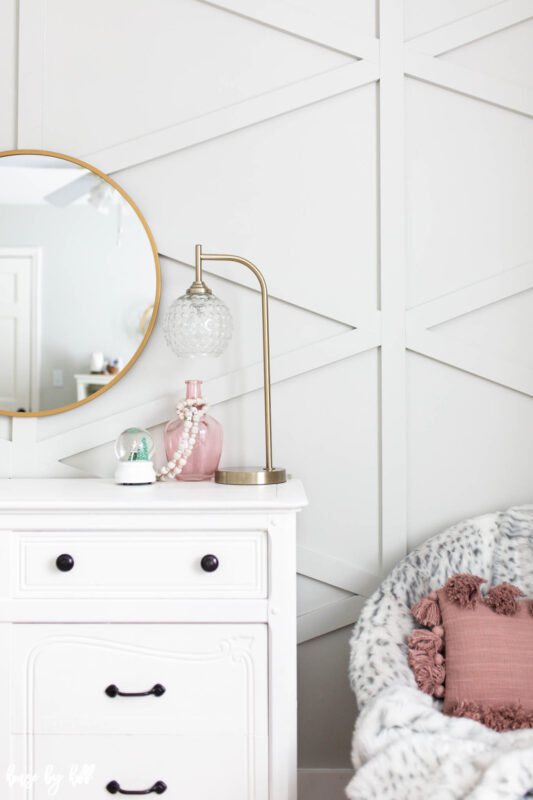
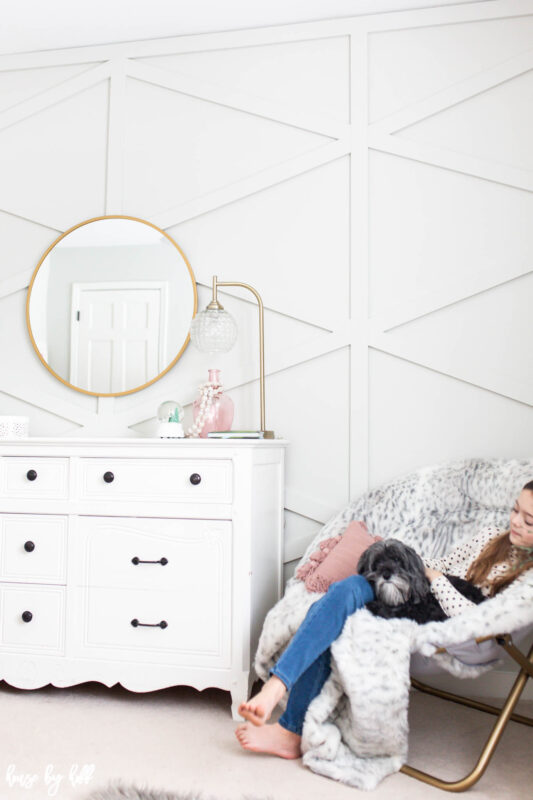
Isn’t it pretty? If you like our DIY Board and Batten Triangle Wall then you might enjoy last year’s DIY Board and Batten Wall Tutorial!
Don’t forget to check out all the progress being made with my blogger buddies who are also participating in the New Year, New Room Challenge!

Casa Watkins Living // Up To Date Interiors // House by Hoff // Our Fifth House // Jeweled Interiors // Blue I Style // Domicile 37 // Delineate your Dwelling
Have a great day! 🙂
You and your hubby did a wonderful job! I love the wall and I am sure your daughter is happy with her room.
Thank you, Cindy! We did the best we could, and YES she loves it! xo
April crossing my fingers my batten board project is going to come out great
I believe in you! It’s really not a super-difficult DIY, I promise! xo
Looks great and just what I’m looking for our Master. How much did this cost?
That’s a good question…I didn’t really track the cost, but I’d guesstimate $500-$600. That’s a rough guess. Cheap for the major impact! 😉
Incredible! What did you do to fill all the joints, to make it look flush? Did you use filler or caulk? Did you sand?
Caulk. Lots of caulk. Ha! And yes, we sanded it down before painting.
I loved your wall that I couldnt wait to do the same pattern on a wall in my new house. Absolutely love it! Thank you for the inspiration!
I’m so glad you found it helpful! xo